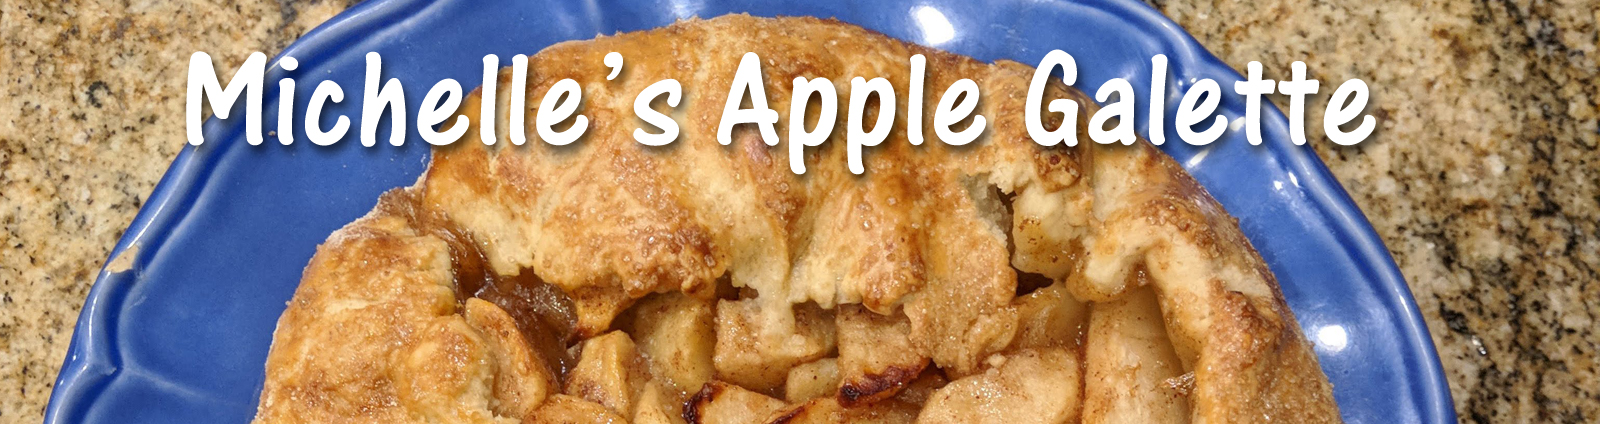
Michelle's Rustic Apple Galette Recipe
My mom and I have different names for this same dessert. I call it a 'fruit galette', and she calls it a 'fruit crostata'. They are the same thing as far as we can tell, but we like to have something delicious to disagree about! Either way, it's a charming fruit pie/tart that doesn't require a special pie pan or any skill at making handsome artisanal crusts. Throughout the year we swap other delicious seasonal fruit into this versatile dough, such as figs, pears, peaches and blackberries, (although I would recommend removing the spices if you try this, as they're especially intended for use with the apples in this recipe.) The dough recipe is adapted from the infinite wisdom of Julia Child, and we think it still holds up today against every other we've have tried. Taste it and see for yourself!
Also, this dessert is actually easy to make IF AND ONLY IF you have access to a food processor. I apologize if you do not, for the crust portion will be more of a challenge, but hopefully you will be bold and carry on anyway. Pie crust is not as daunting as everyone pretends it is. You will prevail. The added oil in my recipe makes this dough more forgiving than many other pie crust recipes, and it's equally delicious (if not more so!) BUT if you simply cannot convince yourself to try a handmade dough, it's OK to buy a rolled pie crust at the grocery store and move on to the filling section. It will still be delightful and everyone will think you made it all from scratch!
Time: 1 hour prep + 1 hour cooking
Temperatures: 400°F & 350°F
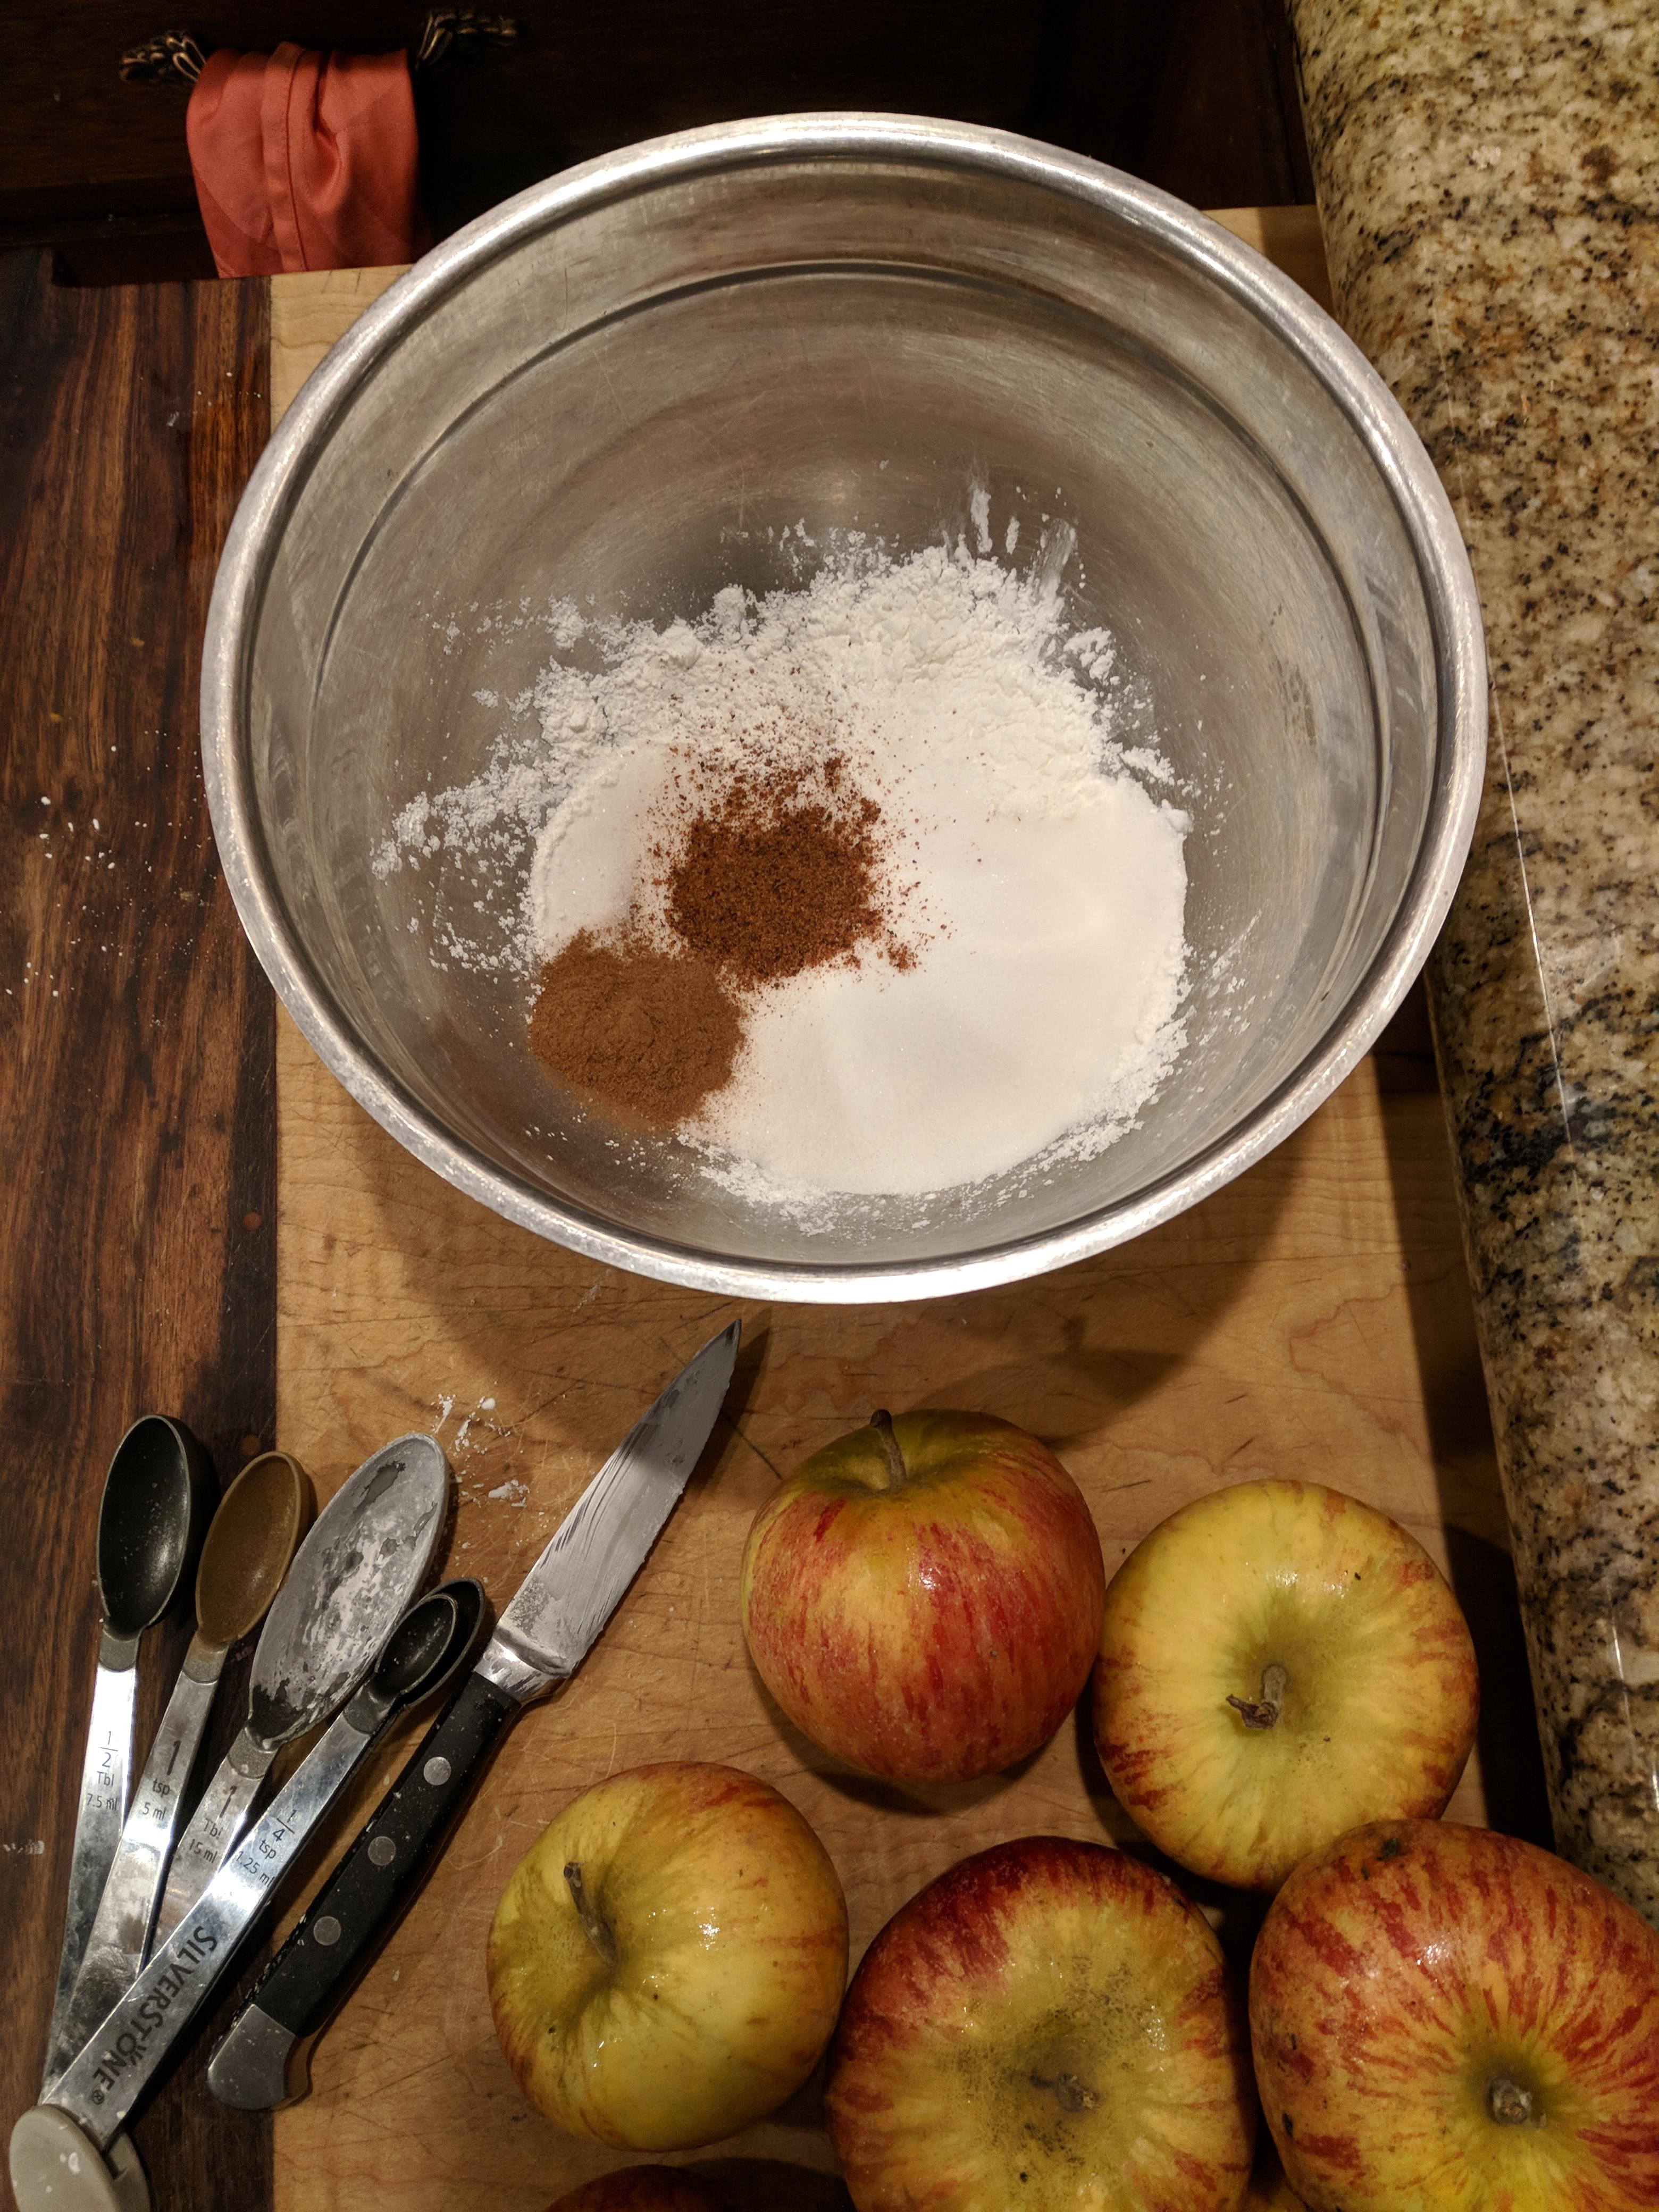
Ingredients:
For the dough:
1-3/4 cups all-purpose flour
1 tsp. salt
1 stick cold salted butter, cut into 8-12 pieces
3 Tbsp oil (any kind with minimal flavor, such as extra virgin olive oil, sunflower or canola oil, etc.)
1/2 cup ice water
For the filling:
2 lb apples, peeled and slice into 1/4-inch pieces (Your favorite variety is fine. Suggestions: Granny Smith if you like a tart apple flavor; Fuji or Pink Lady if you prefer milder, sweet apples)
1/2 cup sugar
2 tsp. lemon juice
1/2 tsp. cinnamon*
1/4 tsp. nutmeg (optional)*
1/4 tsp. salt
1 1/2 Tbsp. cornstarch
1 egg, lightly beaten, set aside
Sugar for sprinkling (prefer a coarse sugar such as Trader Joe's Turbinado sugar or a Hawaiian heavy granule sugar)
*
Flavor notes: Do not include nutmeg if you don't want this dessert to taste like Christmas. For some reason, a little nutmeg makes the whole thing reminiscent of the holidays and is much less appropriate in, let's say, May or August. Double the cinnamon and nutmeg if you want it to scream out that it's a
Delicious Seasonal Festive Dessert!
Also:
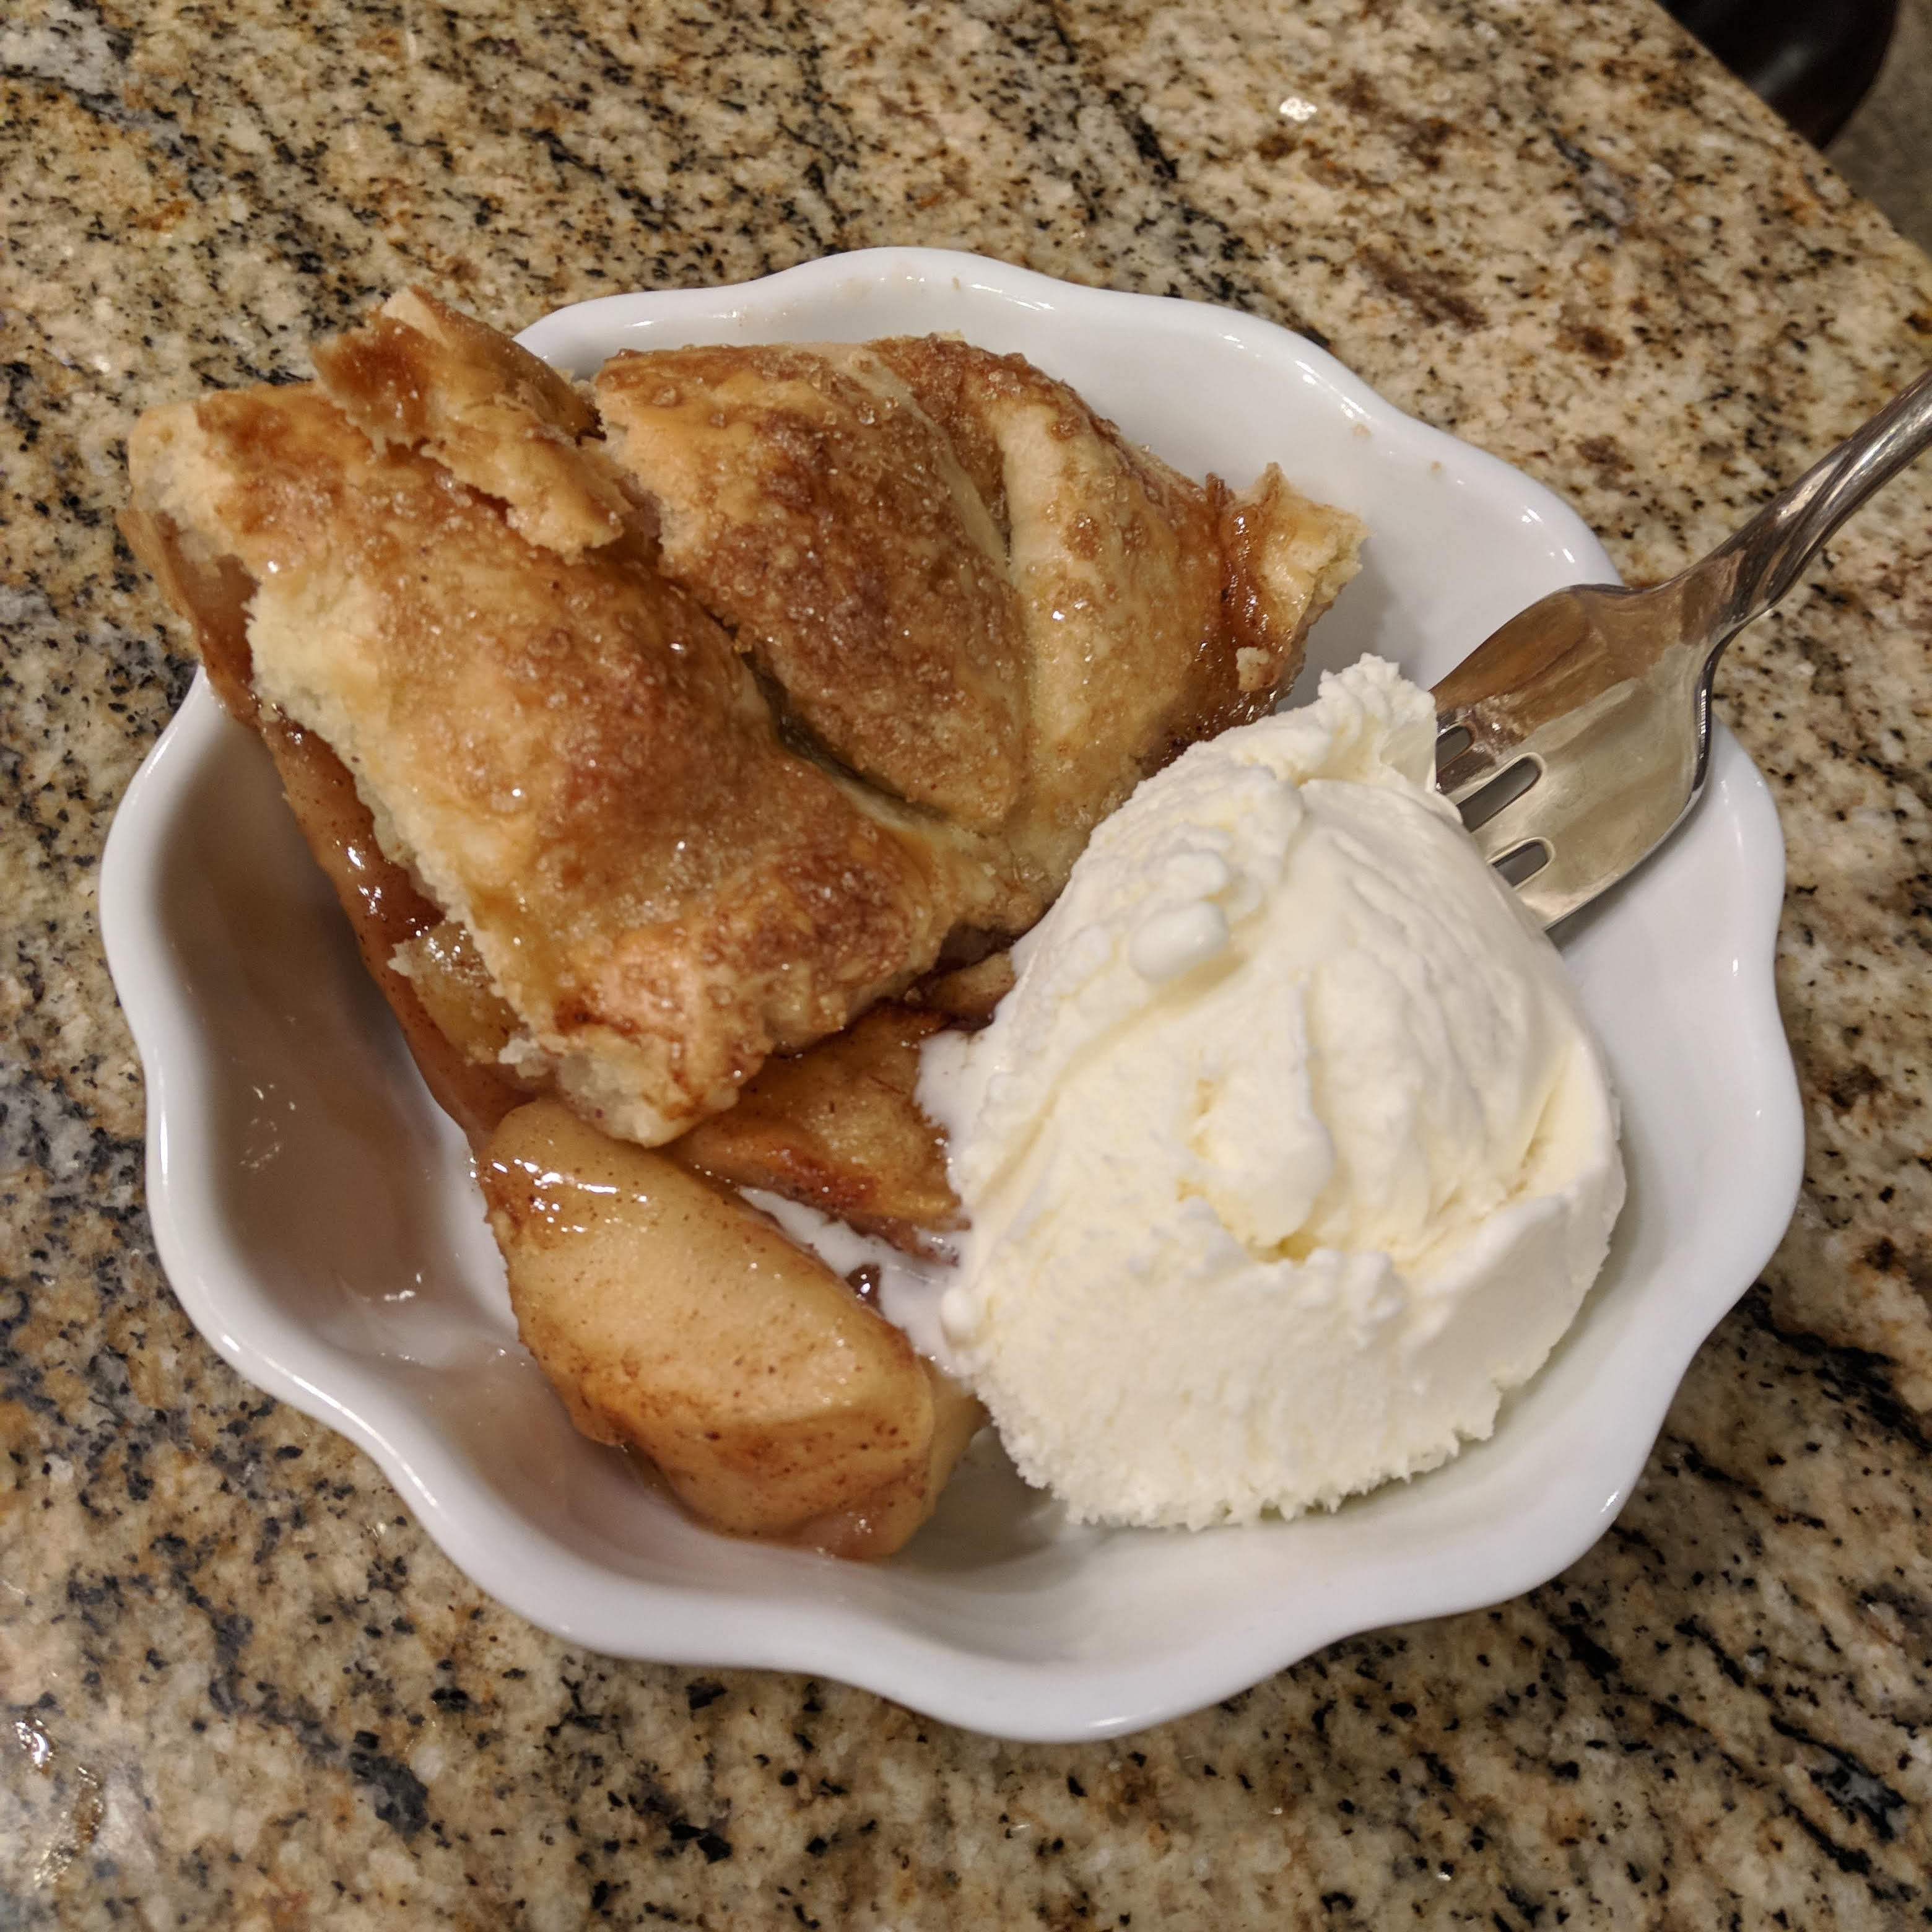
For best results, please serve vanilla ice cream with this. It's pure magic.
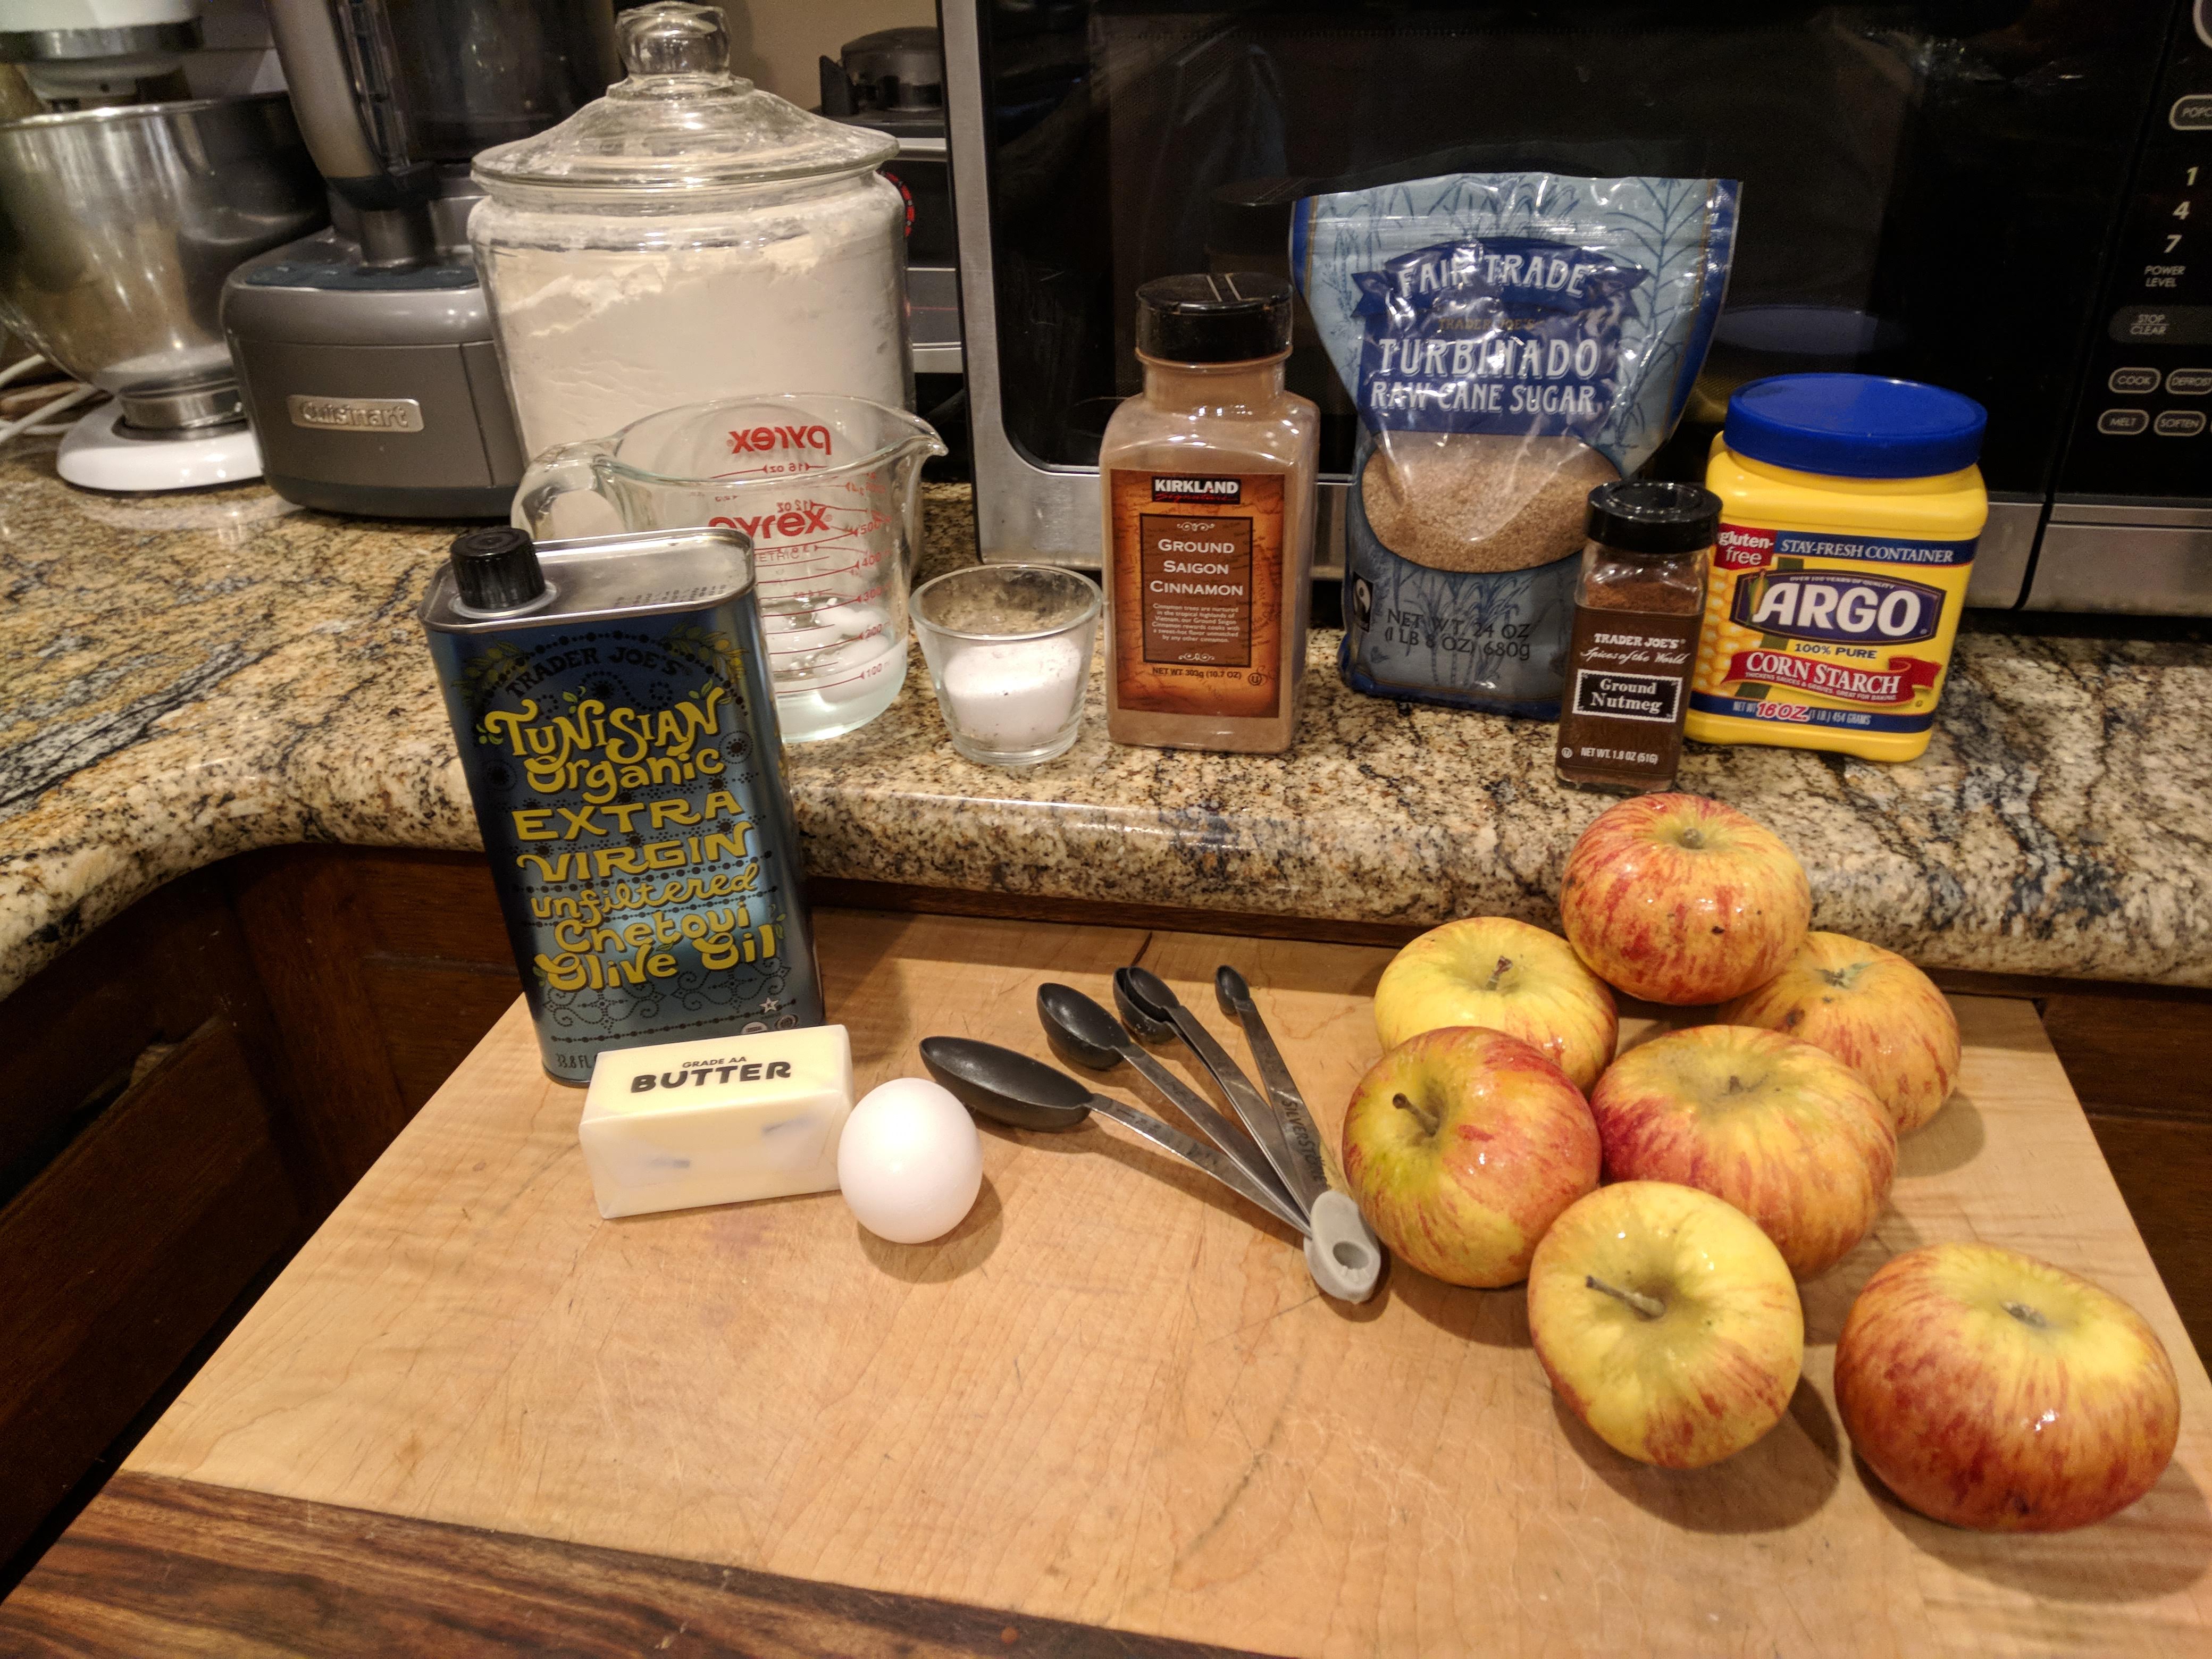
Here is what you need.
Directions:
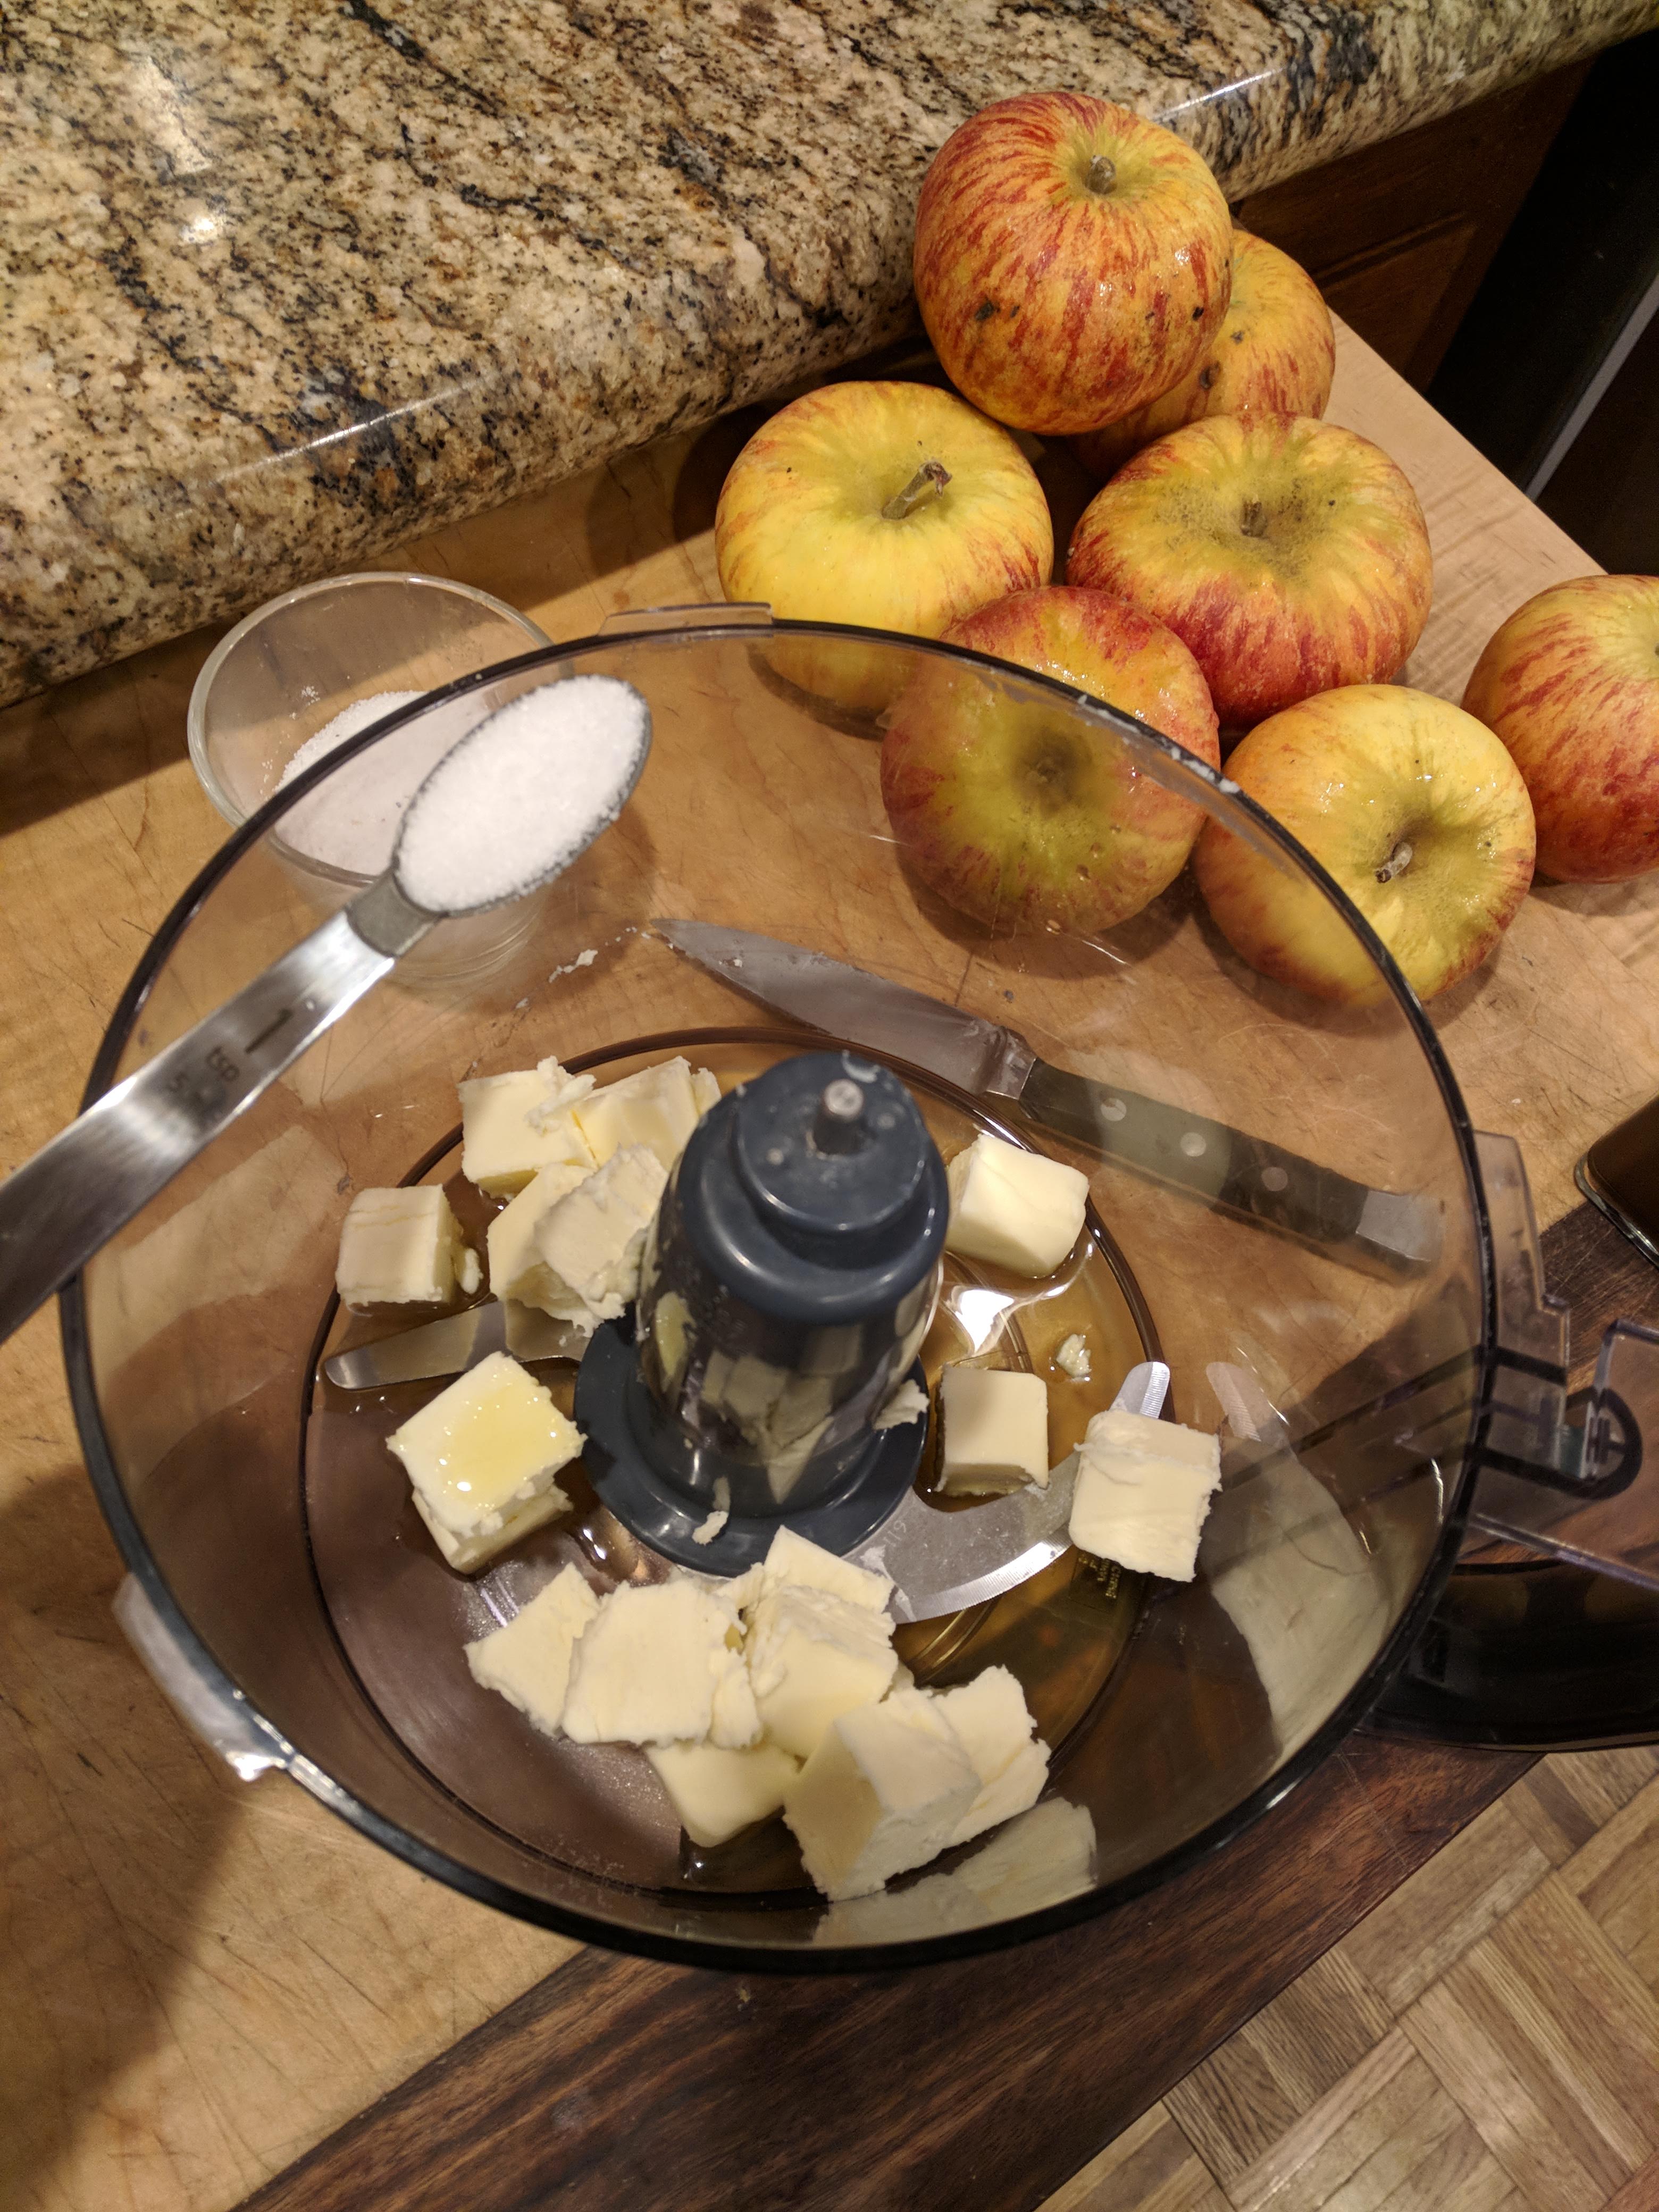
Before you begin, toss a few ice cubes in a measuring cup and then add water until you get to 1/2 cup. You probably will not use it all, but it's best to have it ready just in case. Pastry dough only has a few ingredients: butter, flour, salt and ice cold water... plus perhaps some oil and/or sugar. The ice is the important detail to remember, because the colder your dough is, the happier you will be with its final texture.
|
To make the dough, cut up the butter into chunks, and then put the
flour, salt, butter, and oil in a food processor. Note: If you want the
dough to be sweet, also add 1/4 cup of sugar at this stage. I find that
the salty, buttery goodness of my version balances the sweet fruit well
enough to go without; then again, I always serve this with ice cream, so
adding sugar to the crust would be overkill. So, based on your own
tongue's preference, decide now whether or not you will sweeten this
deal or go for the original sweet-savory balance in my recipe. There is
no going back, but either way is delicious.
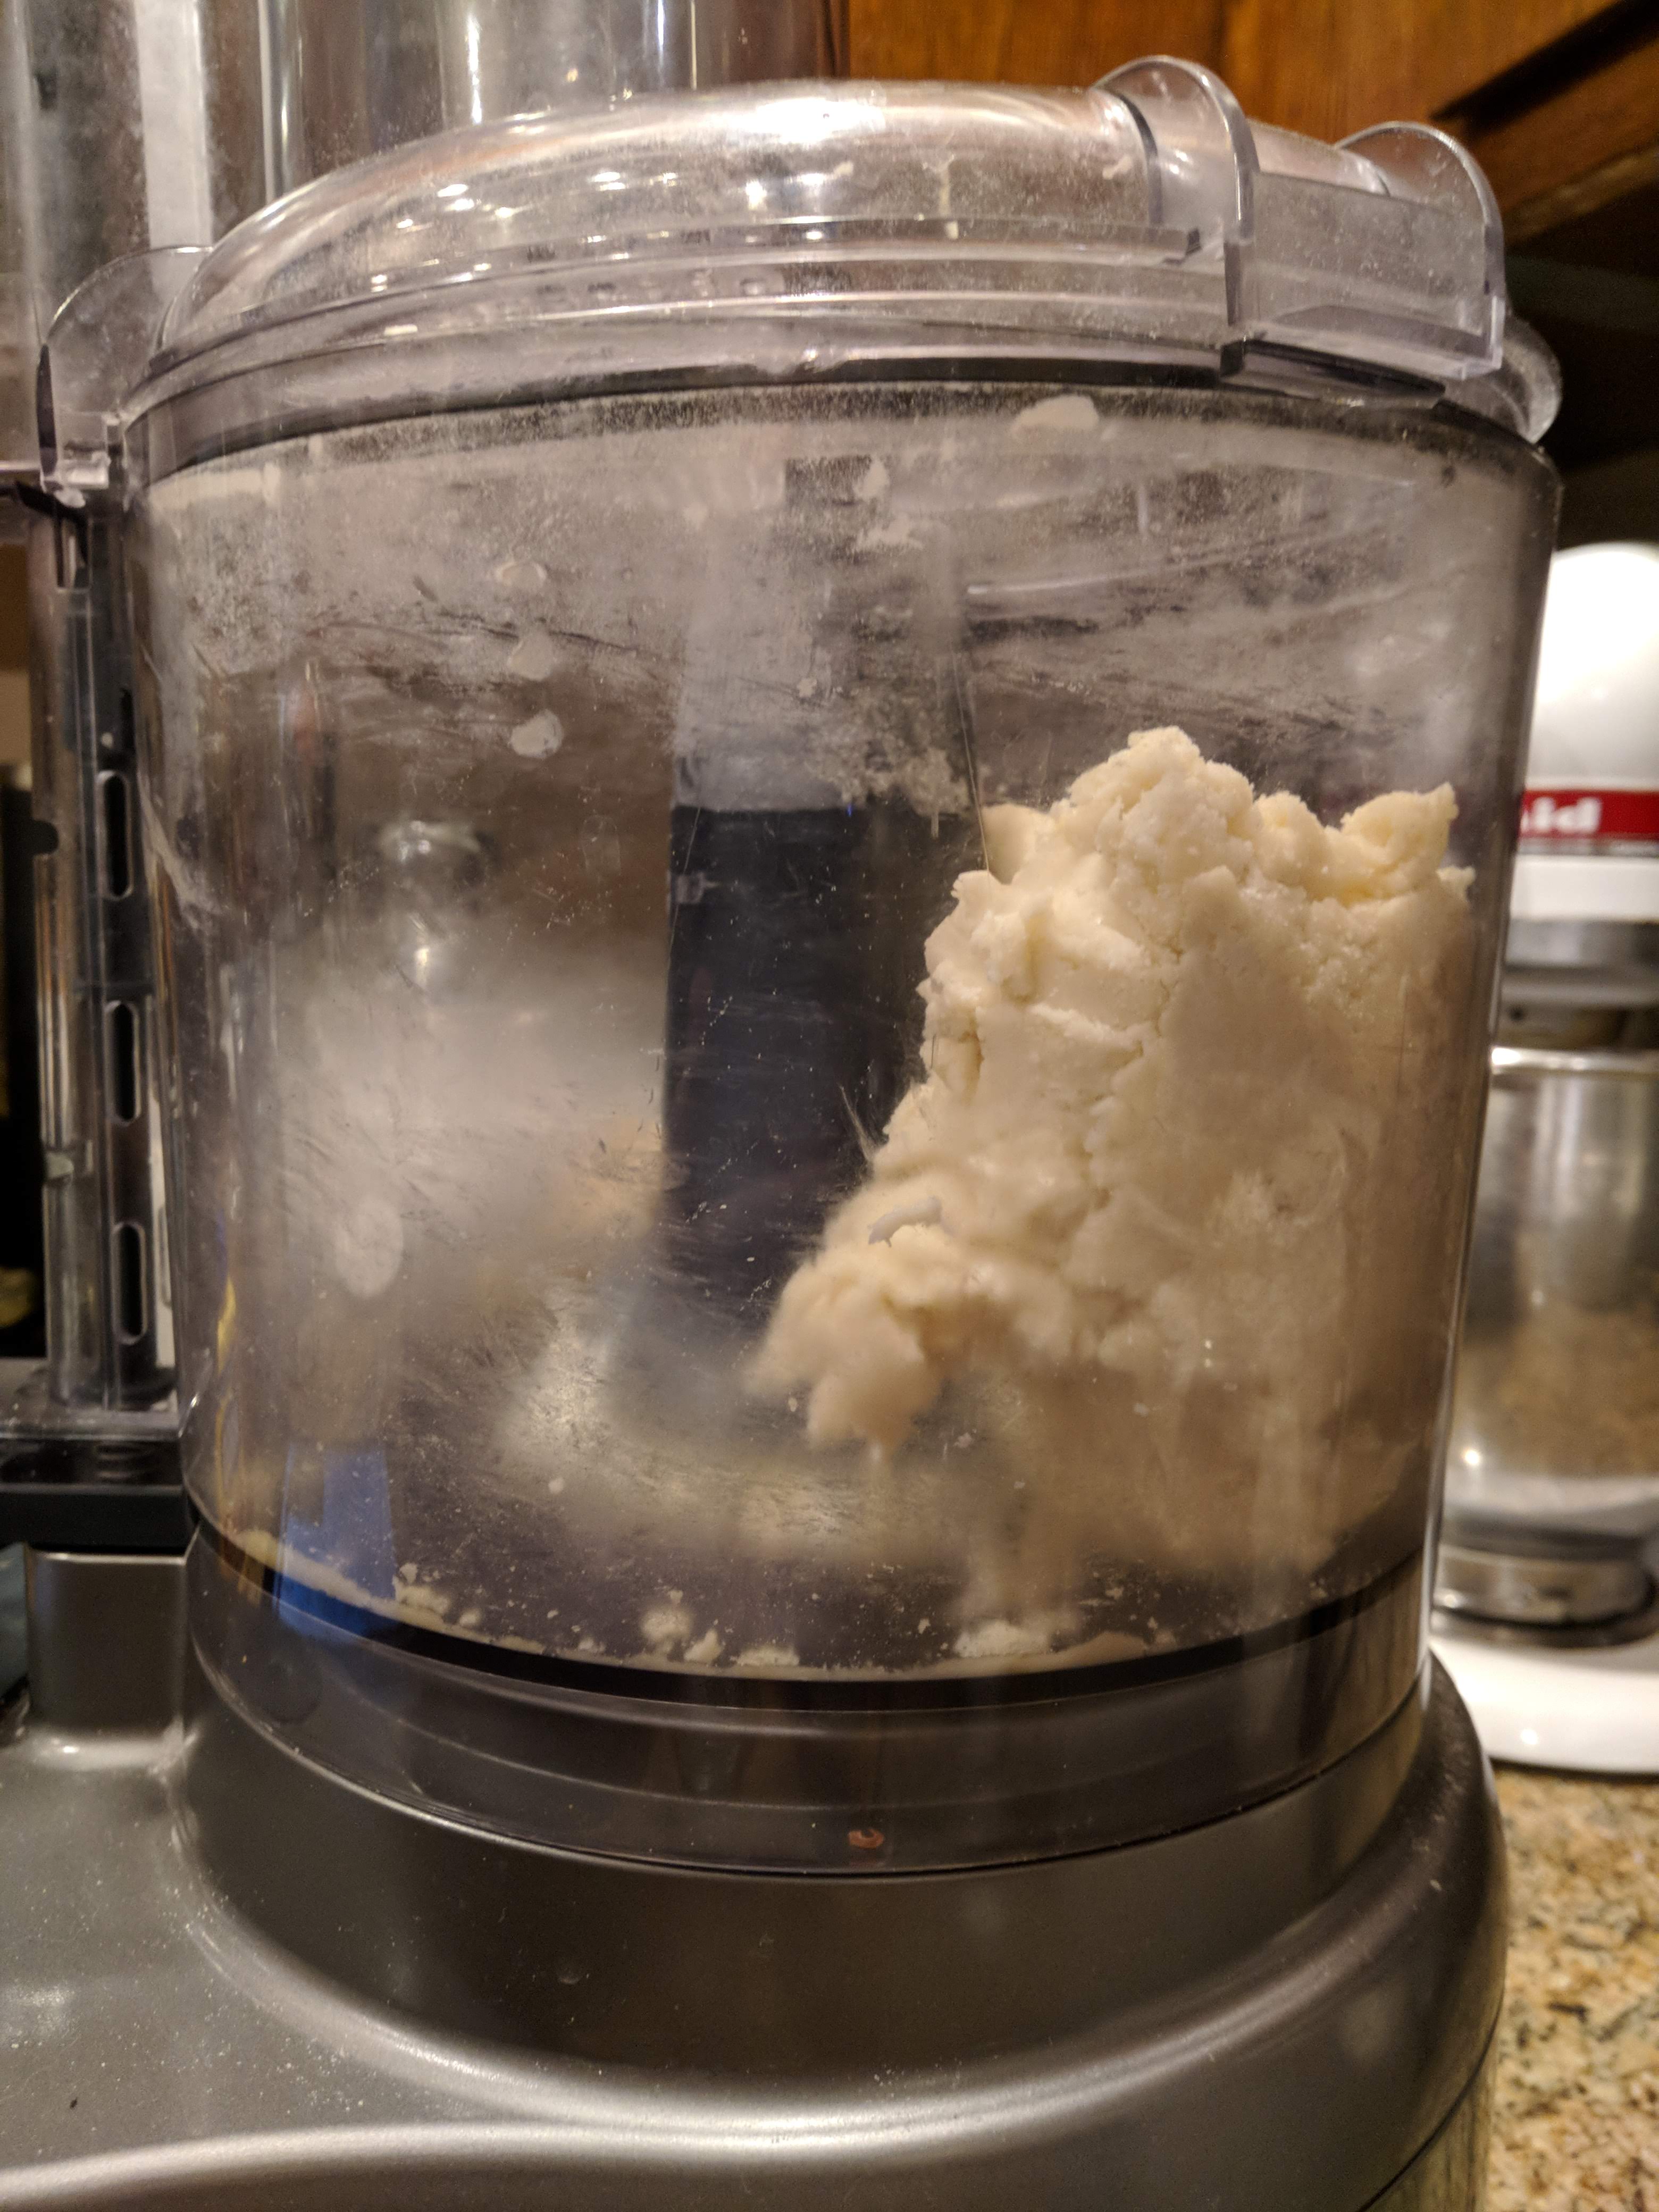
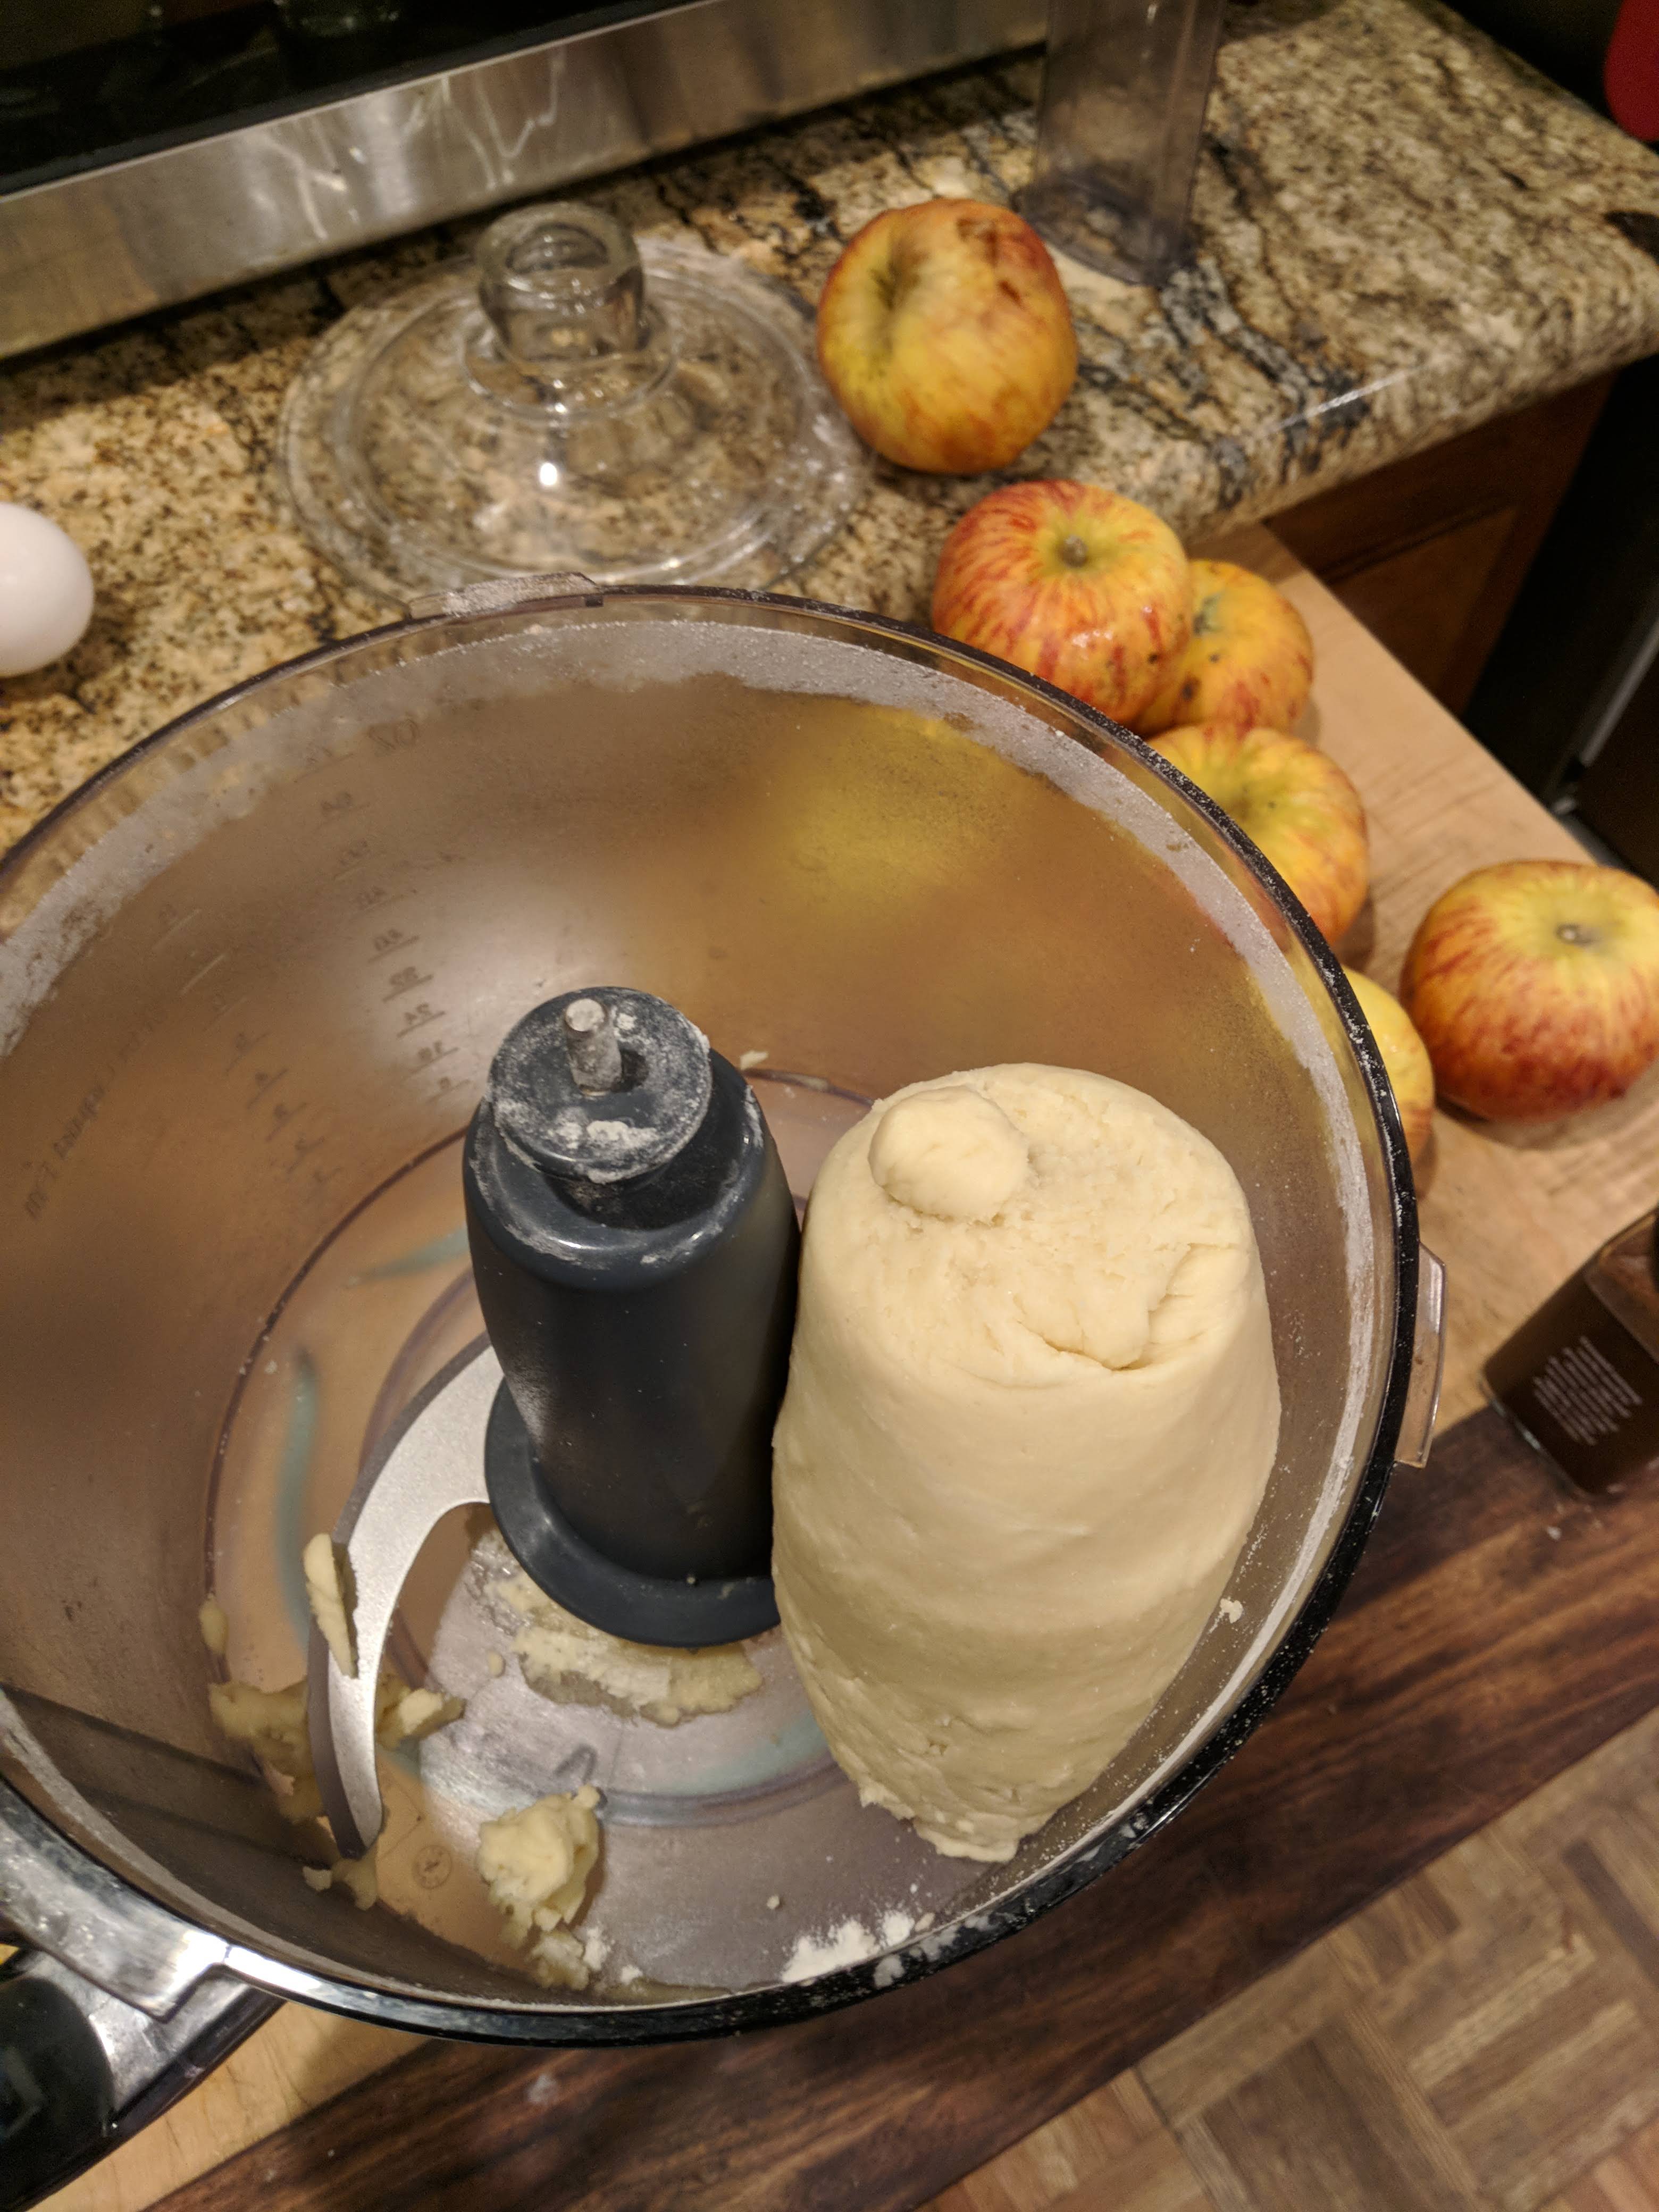
Pulse the ingredients together about 10 times or put the food processor on low for 15 seconds, until the mixture resembles a coarse meal. Next, add about 1/4 cup of the ice water, ideally in a slow drizzle through the opening at the top while the machine is running. Keep the machine running on low until the dough comes together and forms a beautiful little dough ball that "cleans up" the walls of the food processor for you and leaves very little residue. If it is still too crumbly and refuses to form a ball, add more water a drizzle at a time, running on low or pulsing after each addition until you get the right consistency. |
|
|
|
|
|
|
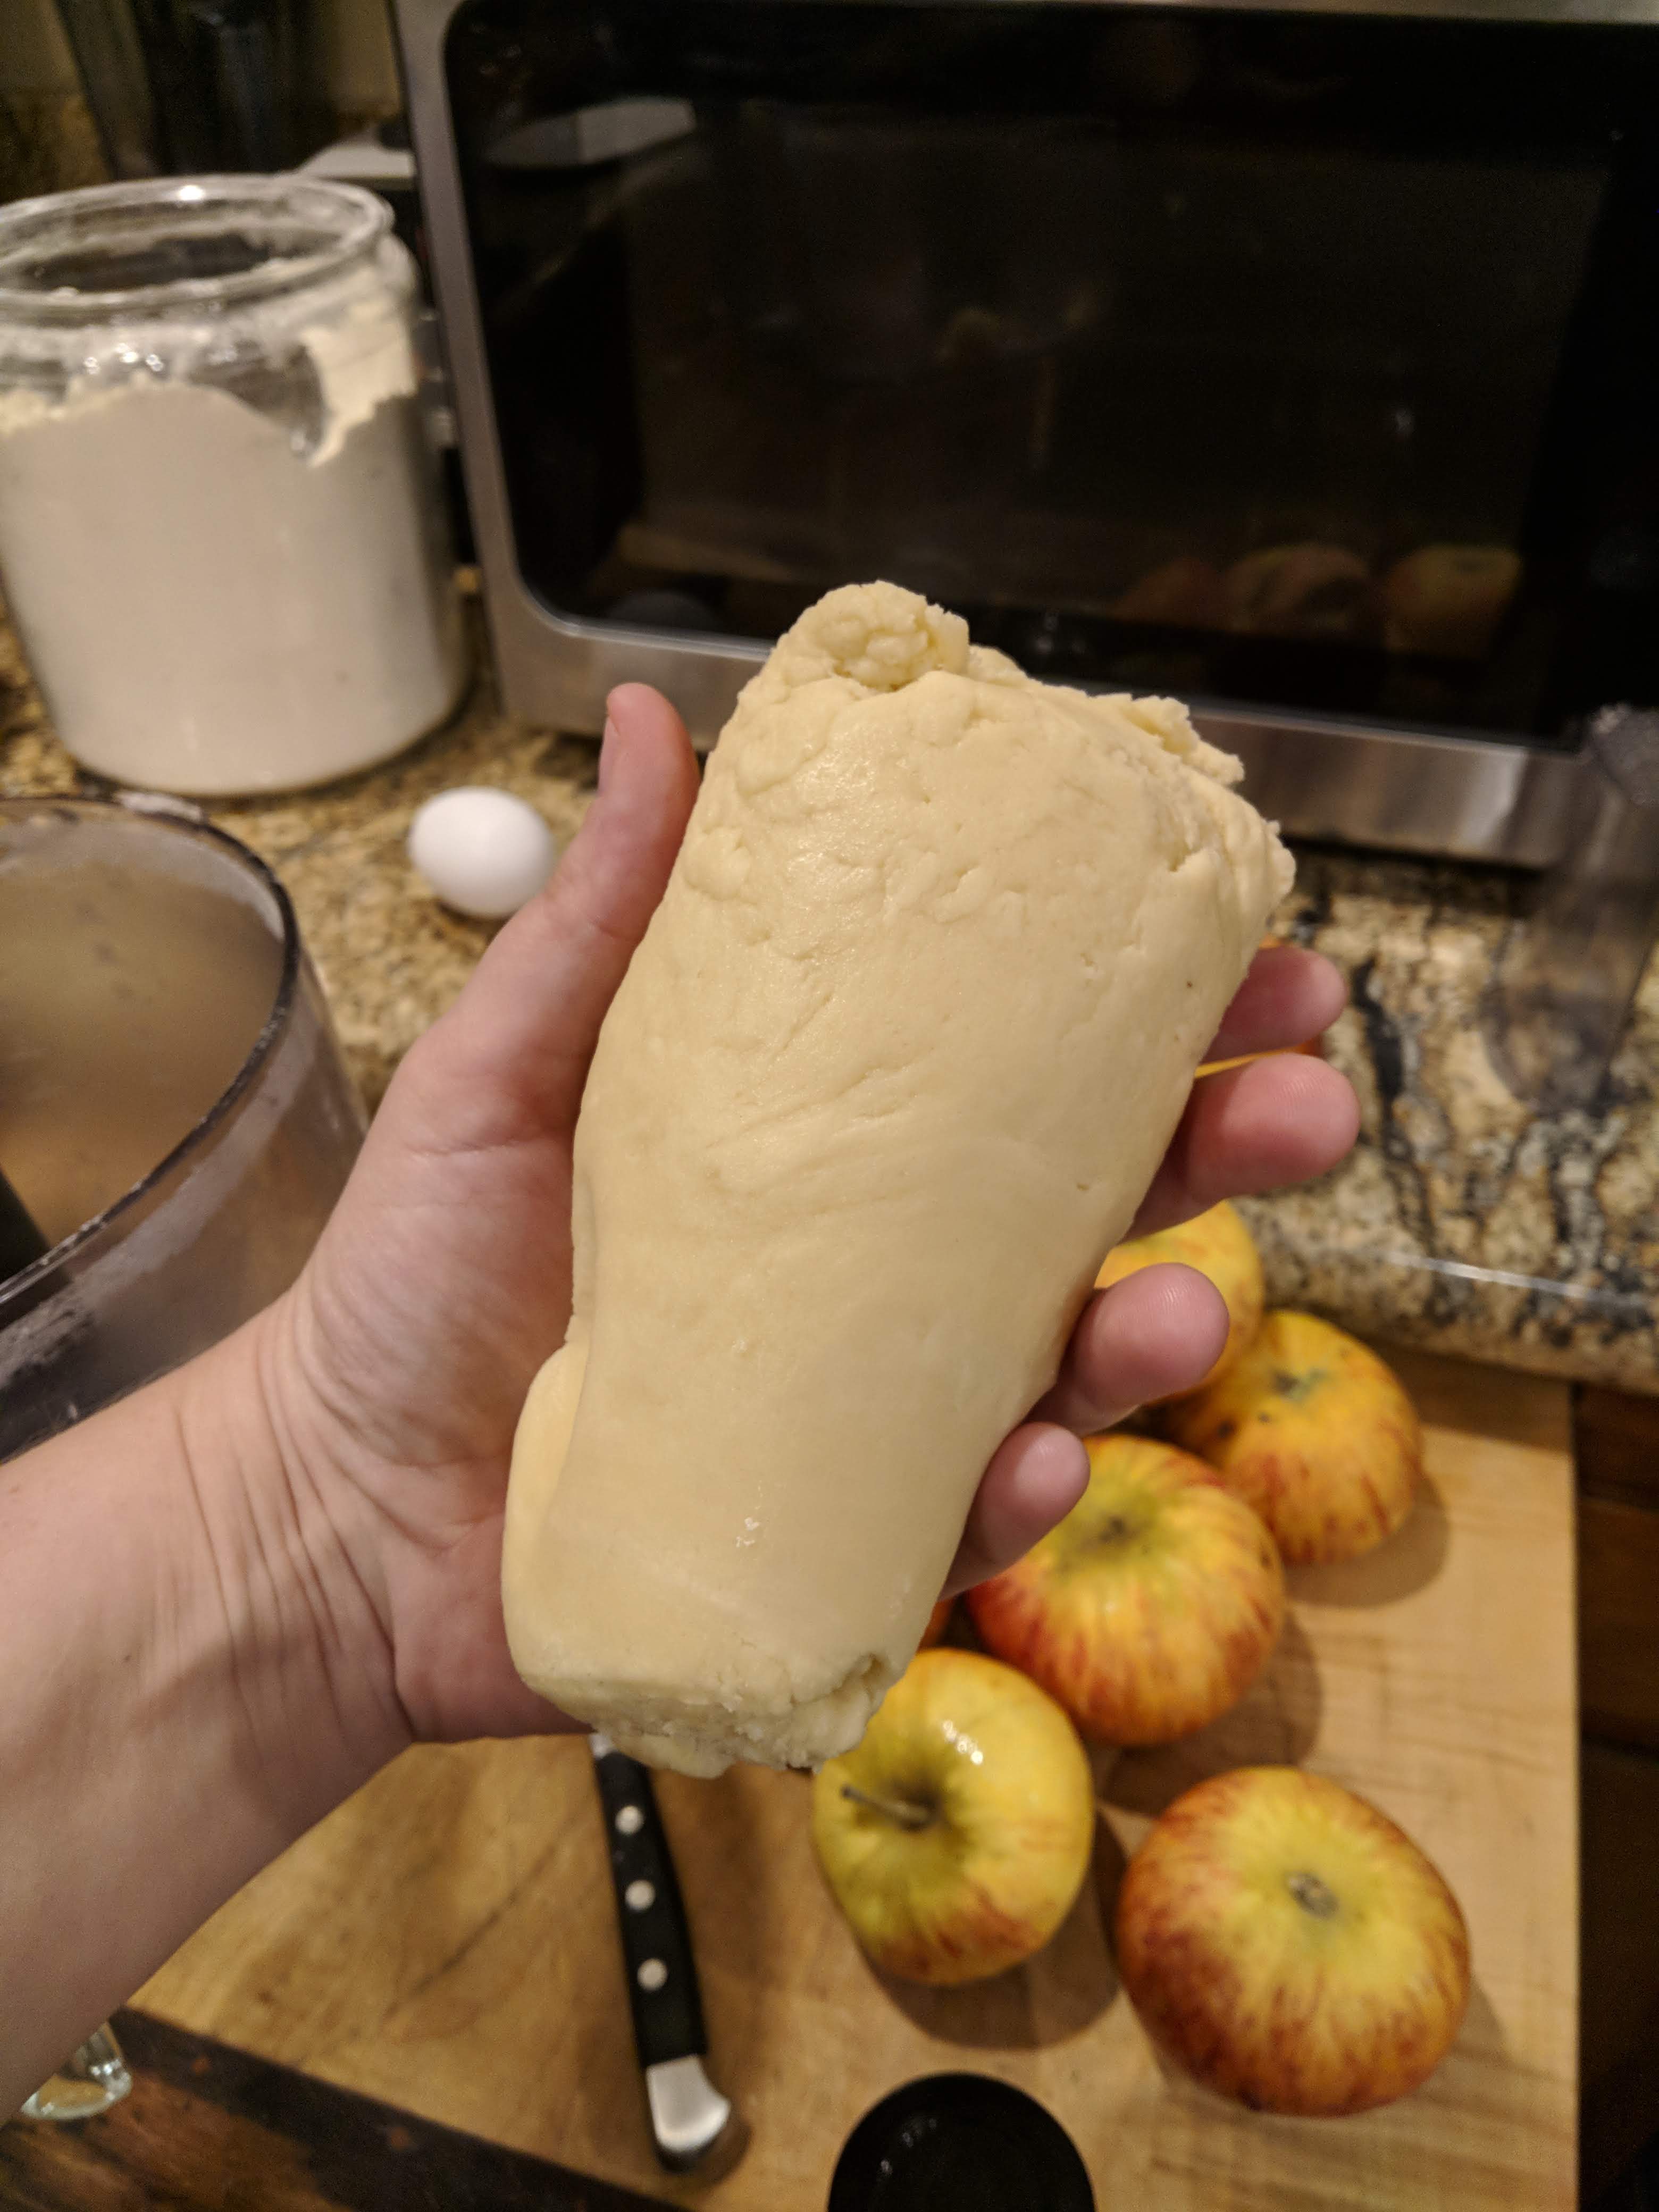
Gather the dough into a ball and flatten it somewhat into a disk. Wrap in plastic wrap and refrigerate for 30 minutes to 1 hour.
Preheat the oven. I learned a handy trick from Williams Sonoma to prevent the bottom from burning but ensure it cooks thoroughly: place a baking sheet on the bottom rack of an oven as a protective layer. Position another rack in the lower third of the oven and preheat between 375 and 400°F, closer to 400. Line a second baking sheet with a piece of parchment, or use a Silpat nonstick liner or just grease the pan really well. Note: Using a Silpat or parchment allows you to remove the whole galette without it crumbling, which is why this is definitely the preferred way to go. However, if no one is going to see it before you serve it, you can get away with baking it on the metal sheet pan and cutting in - while on the pan - into single serve pieces, carefully removing one piece at a time with a spatula. |
|
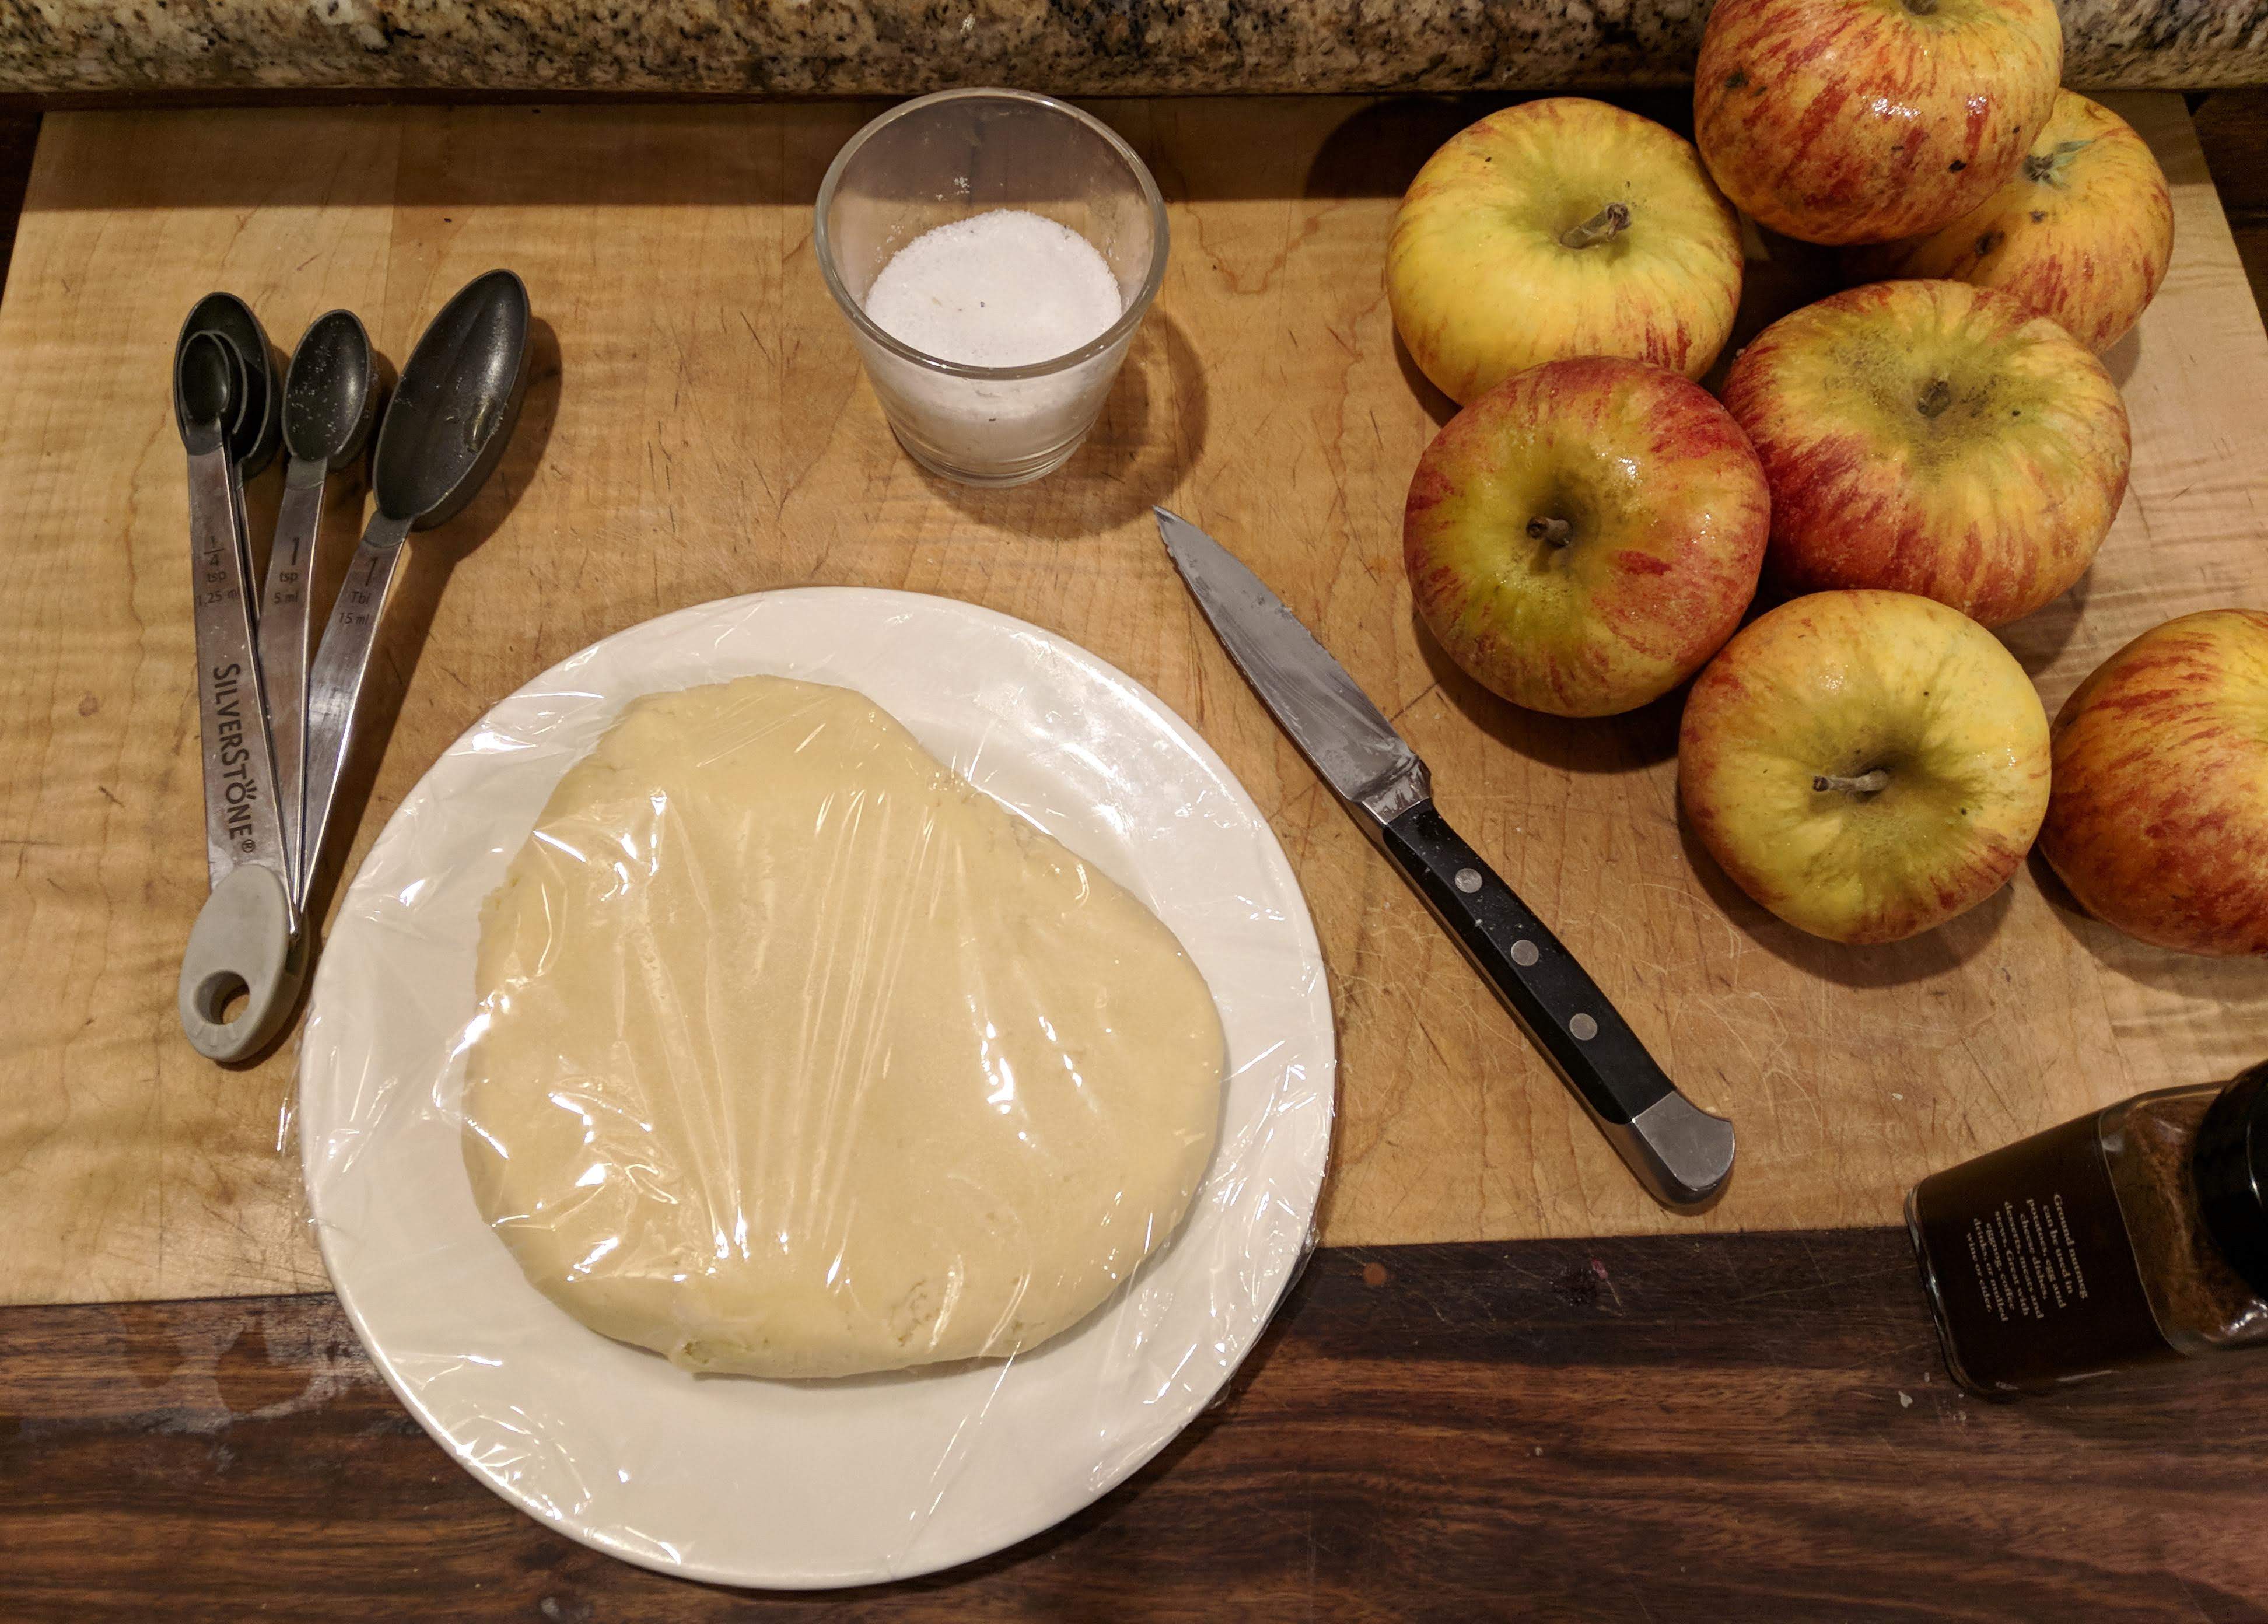
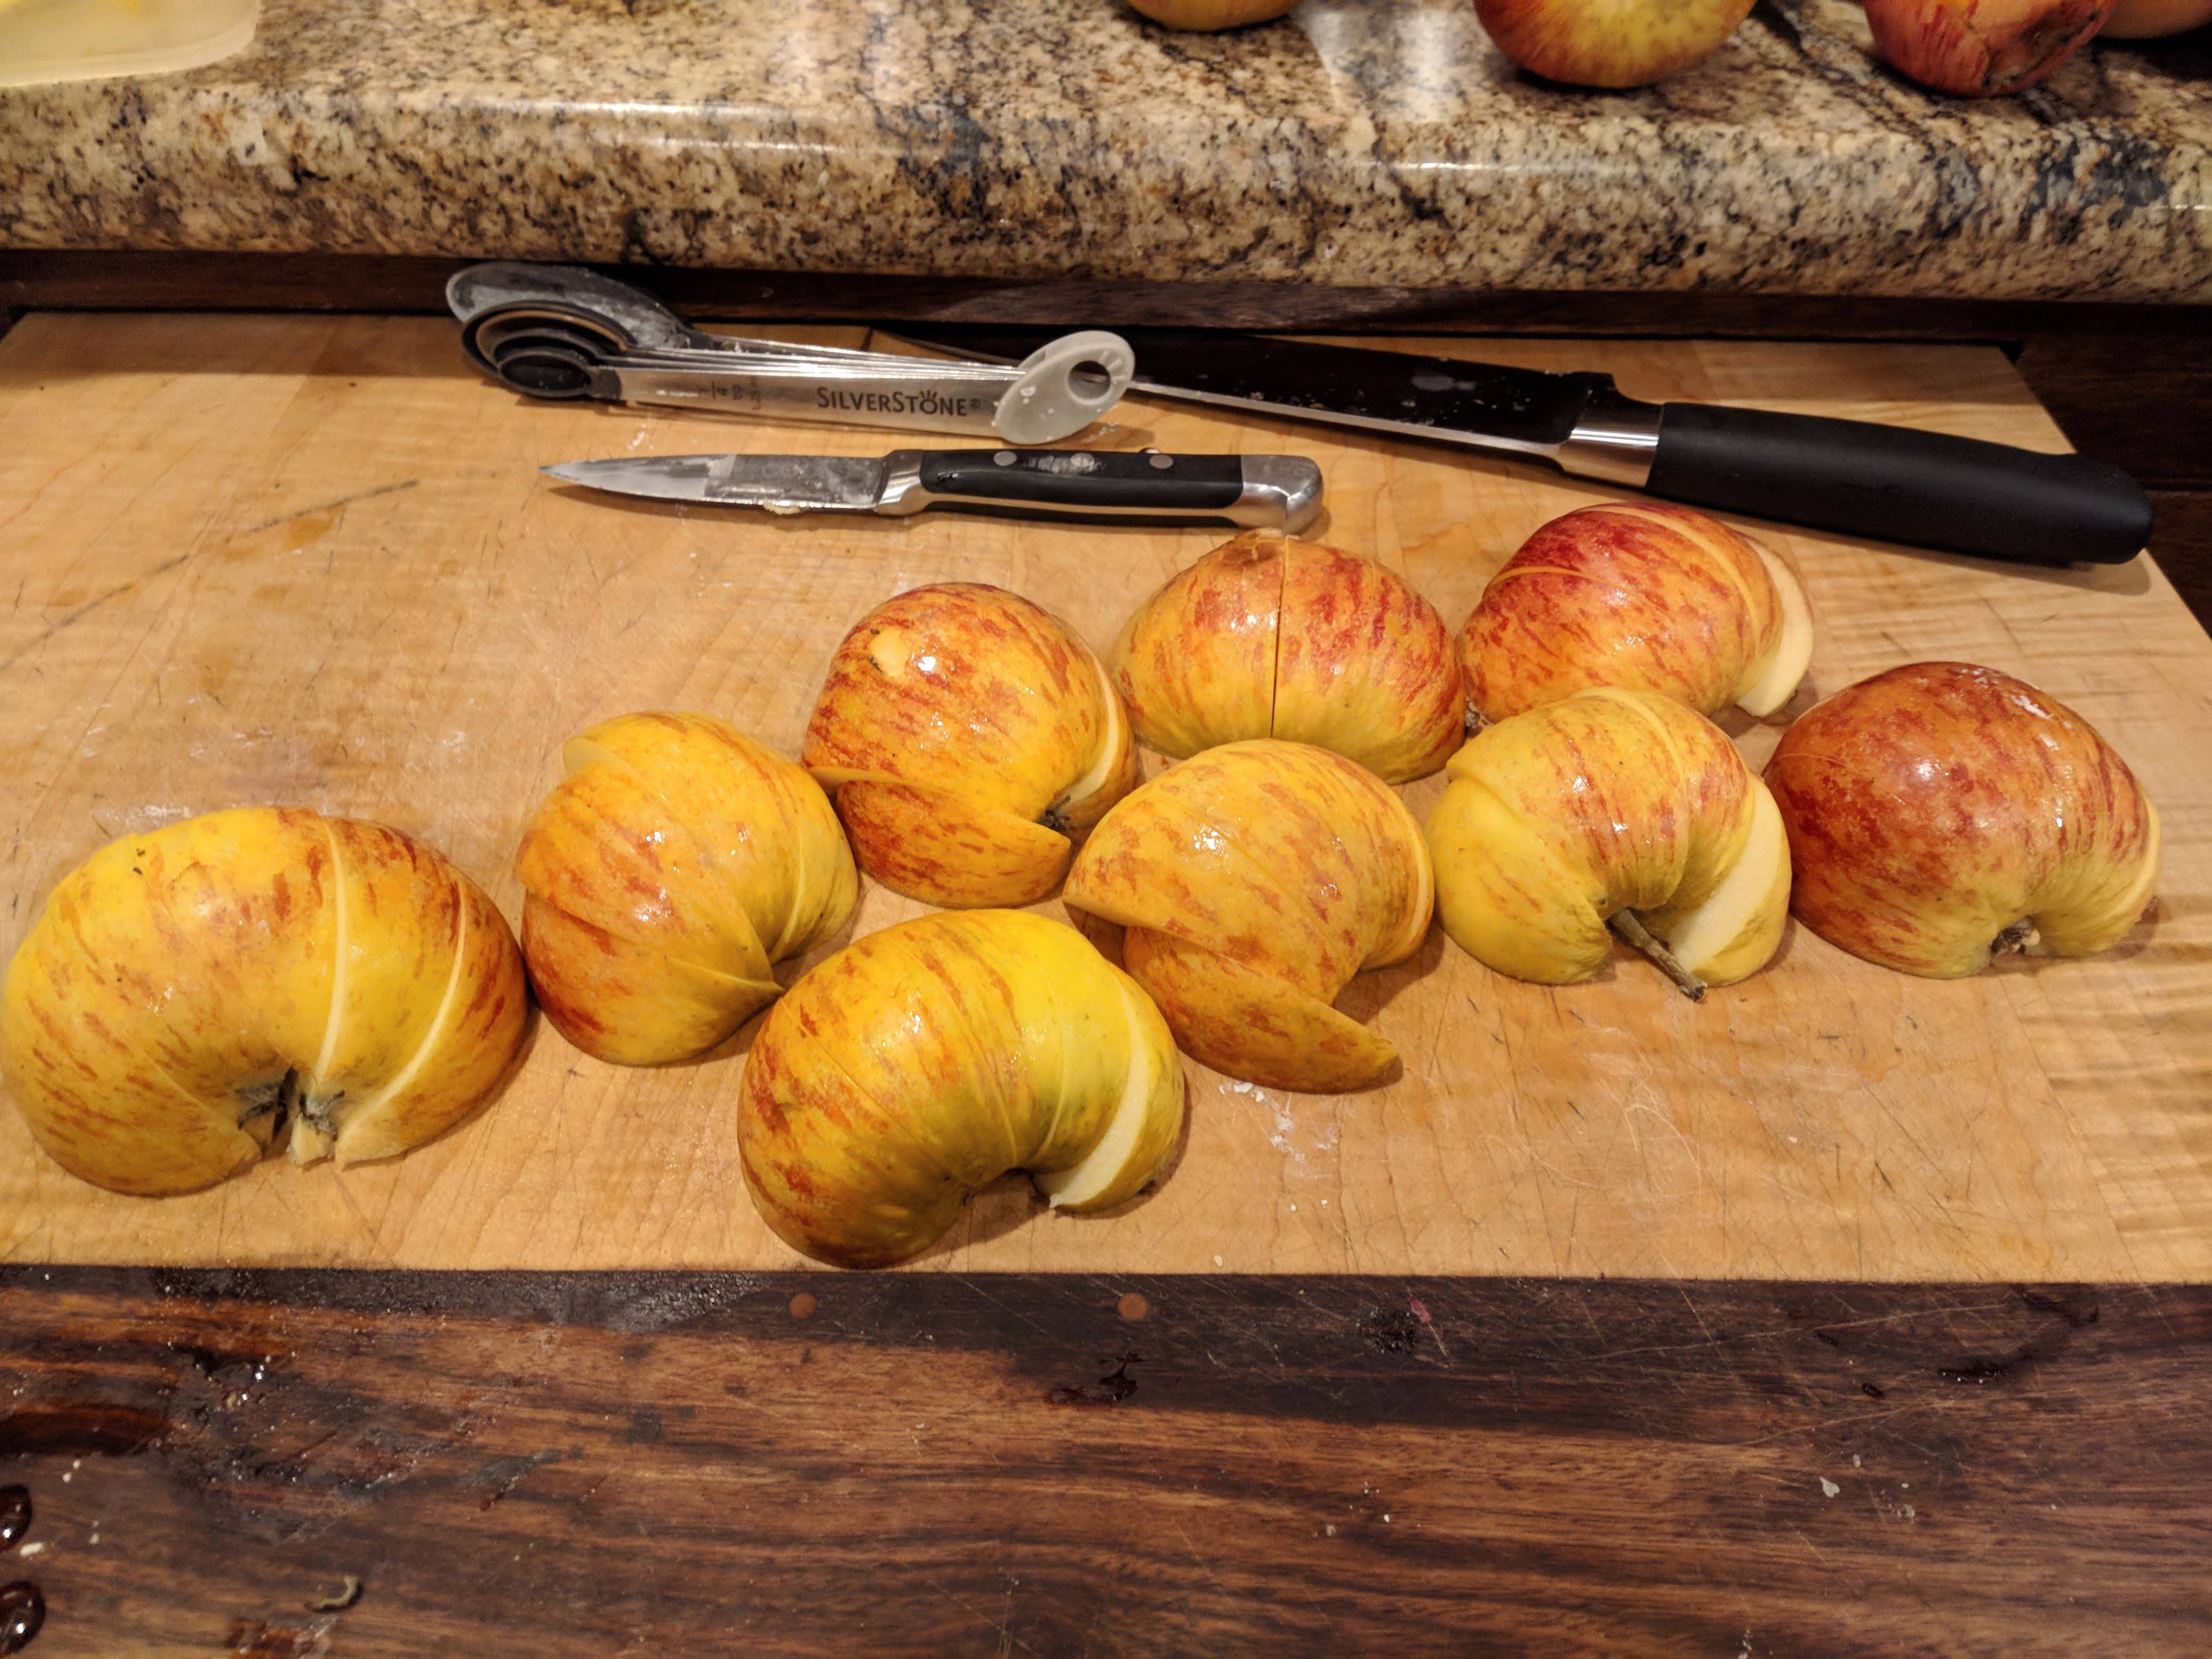
While the dough is chilling and the oven is heating, make the filling. I use apples from my tree, which are much smaller than typical store apples, so I cannot tell you precisely how many to use... but you want approximately 2lb of sliced apples when you're through. For me, that was 8 or 9 little garden apples... but if you buy your apples like a normal person, you may only need 3 or 4. Hopefully you weighed them when you bought them, but if not, prepare 4 and you can always just eat the extras that don't fit.
|
|
|
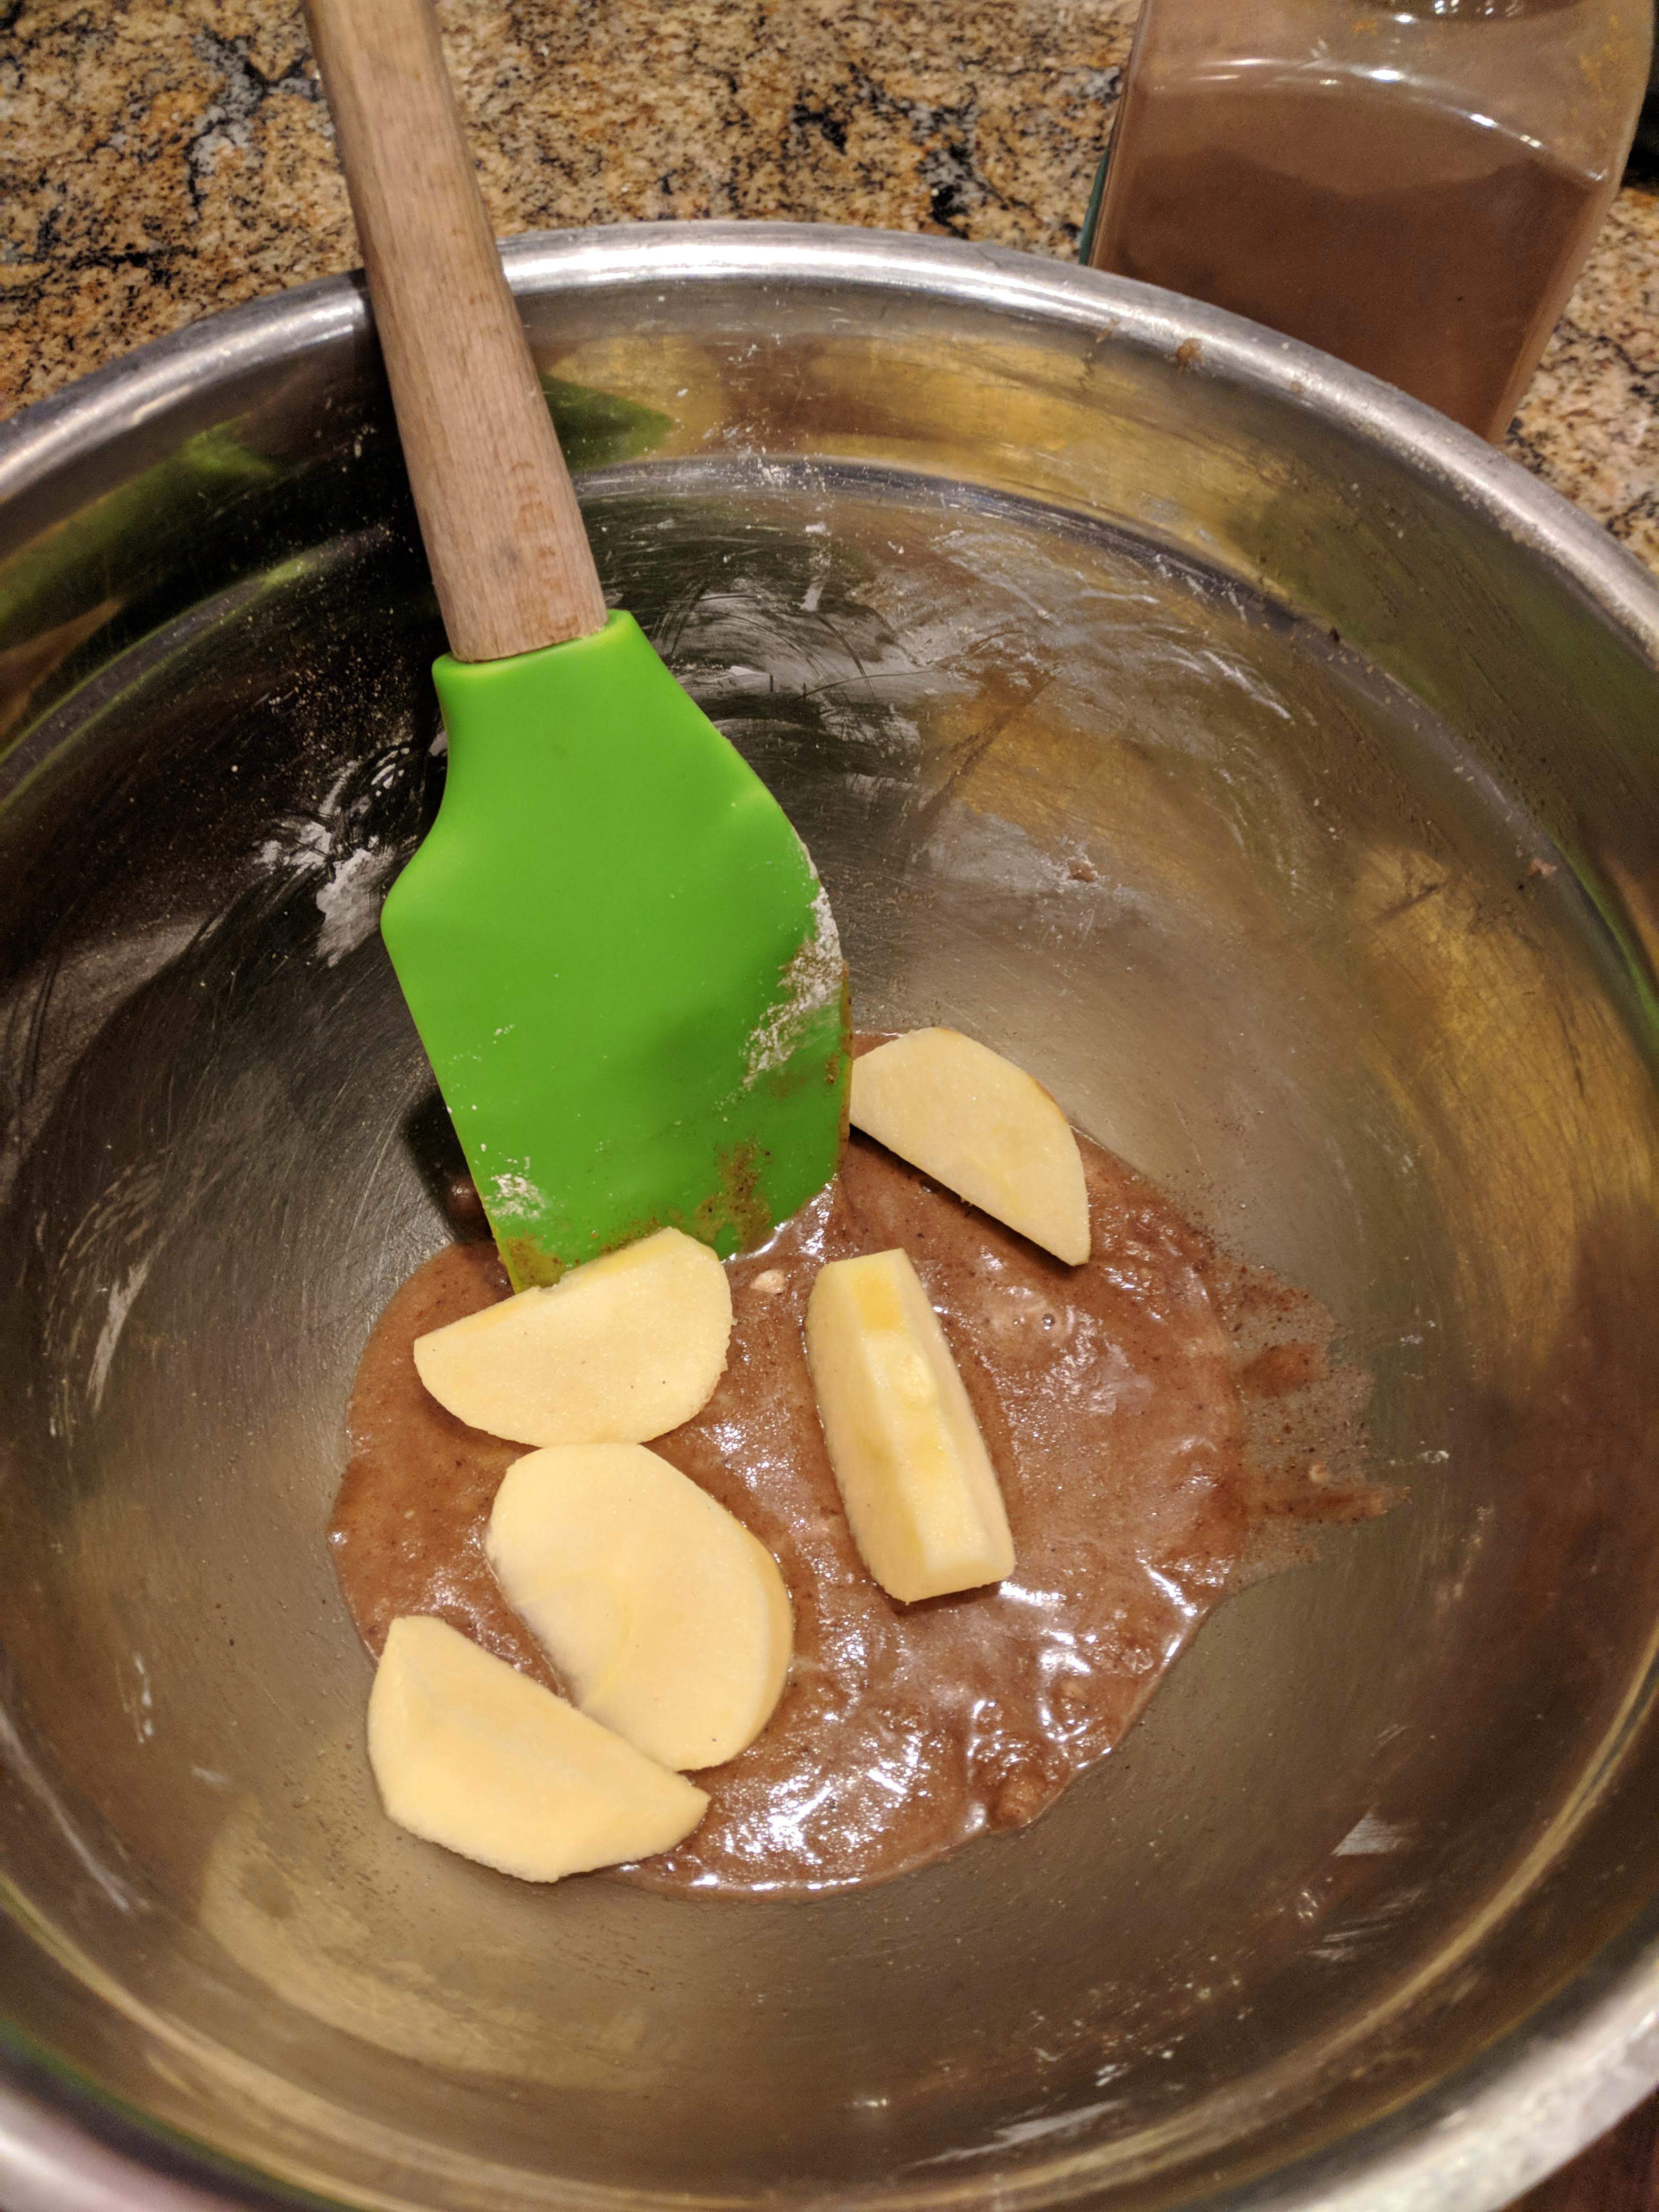
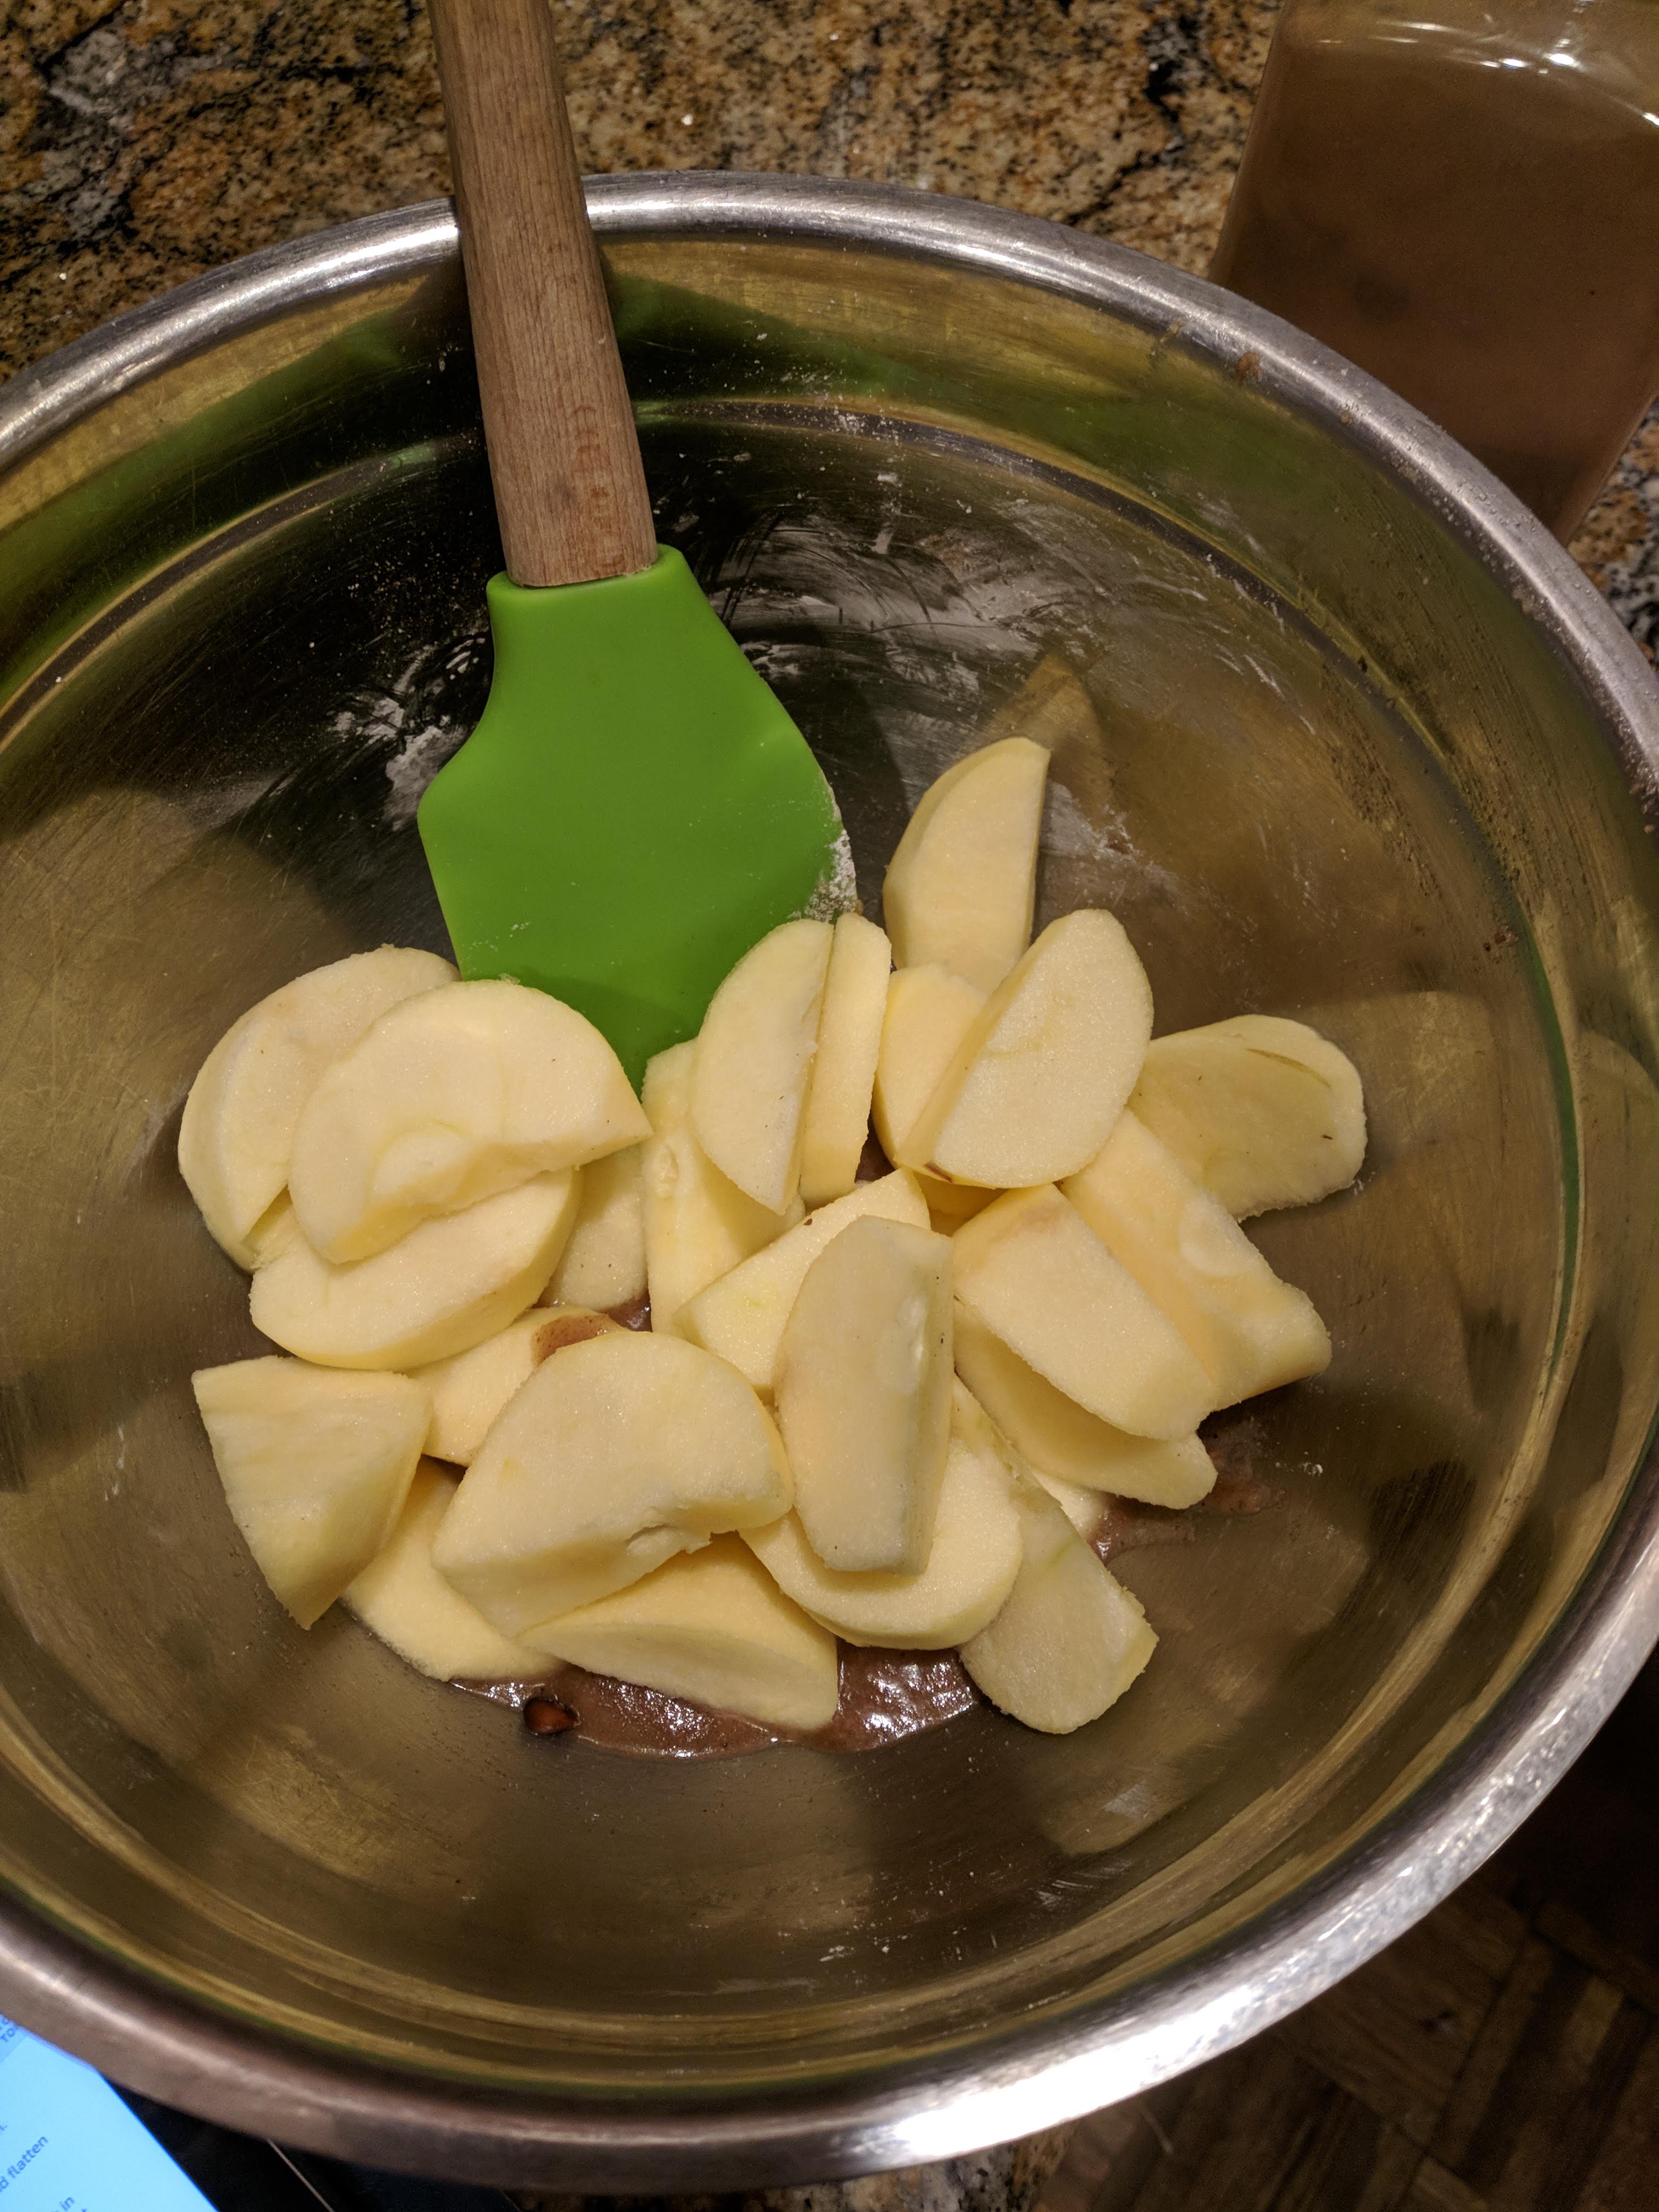
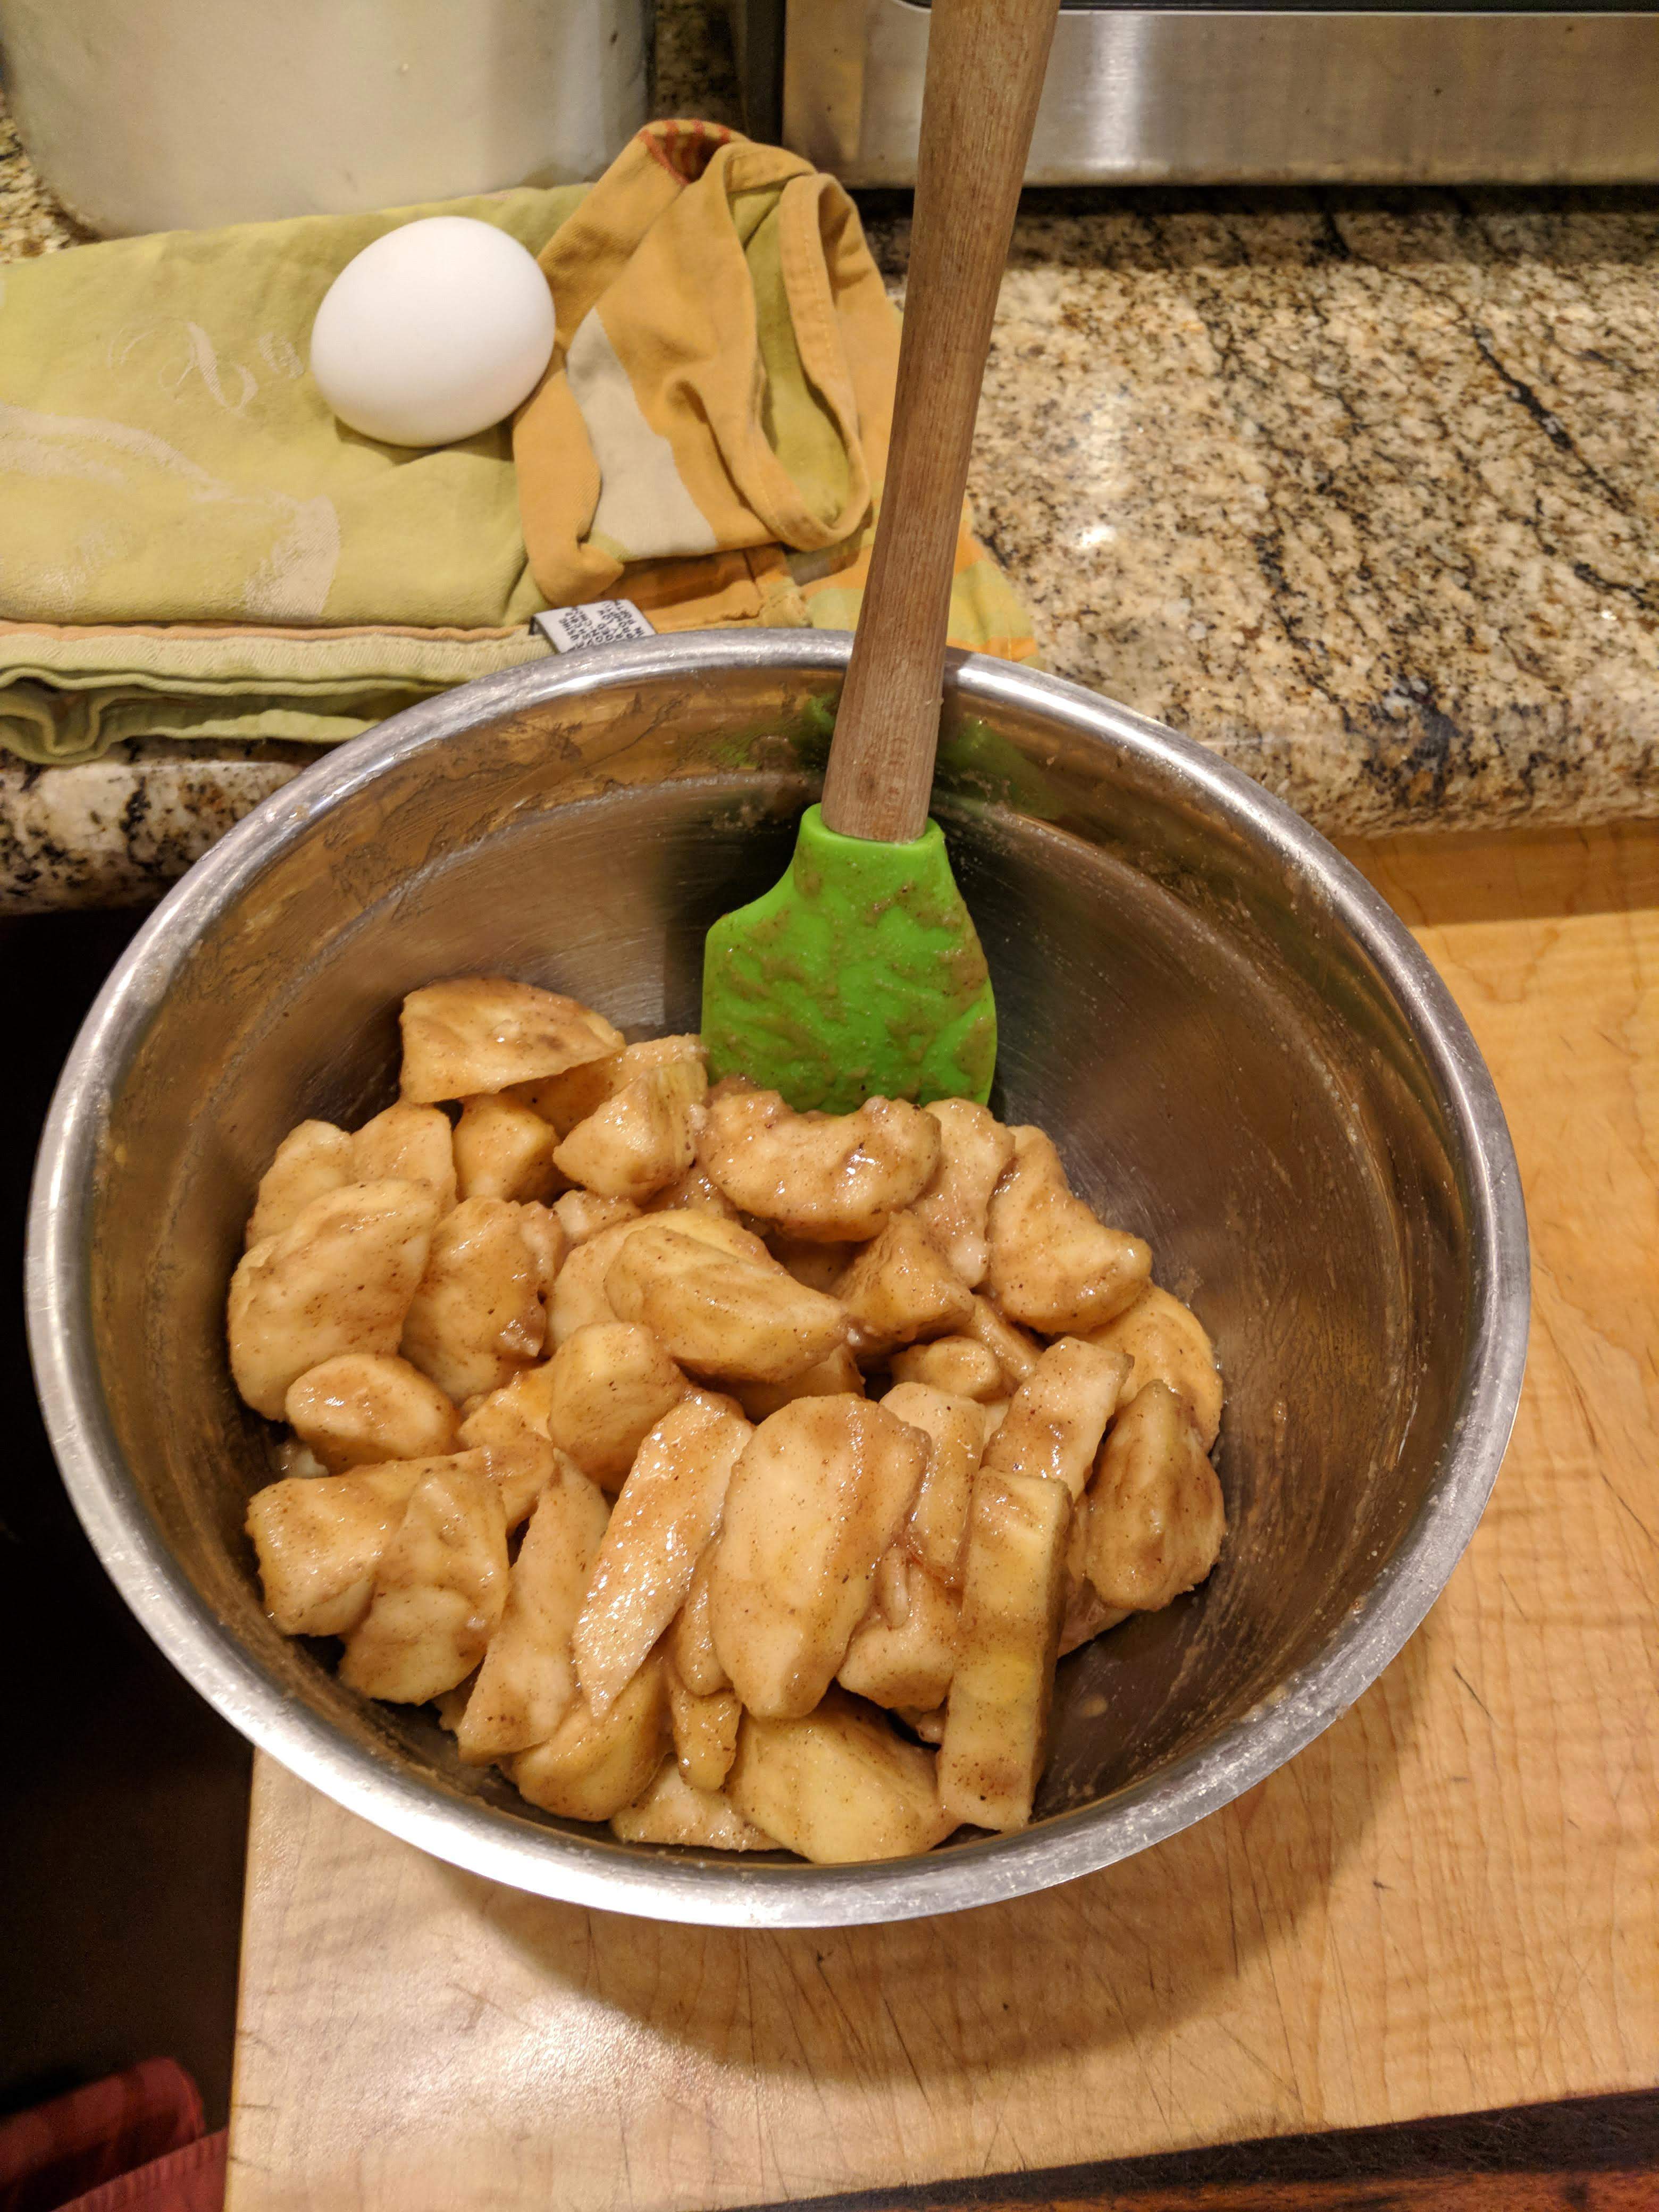
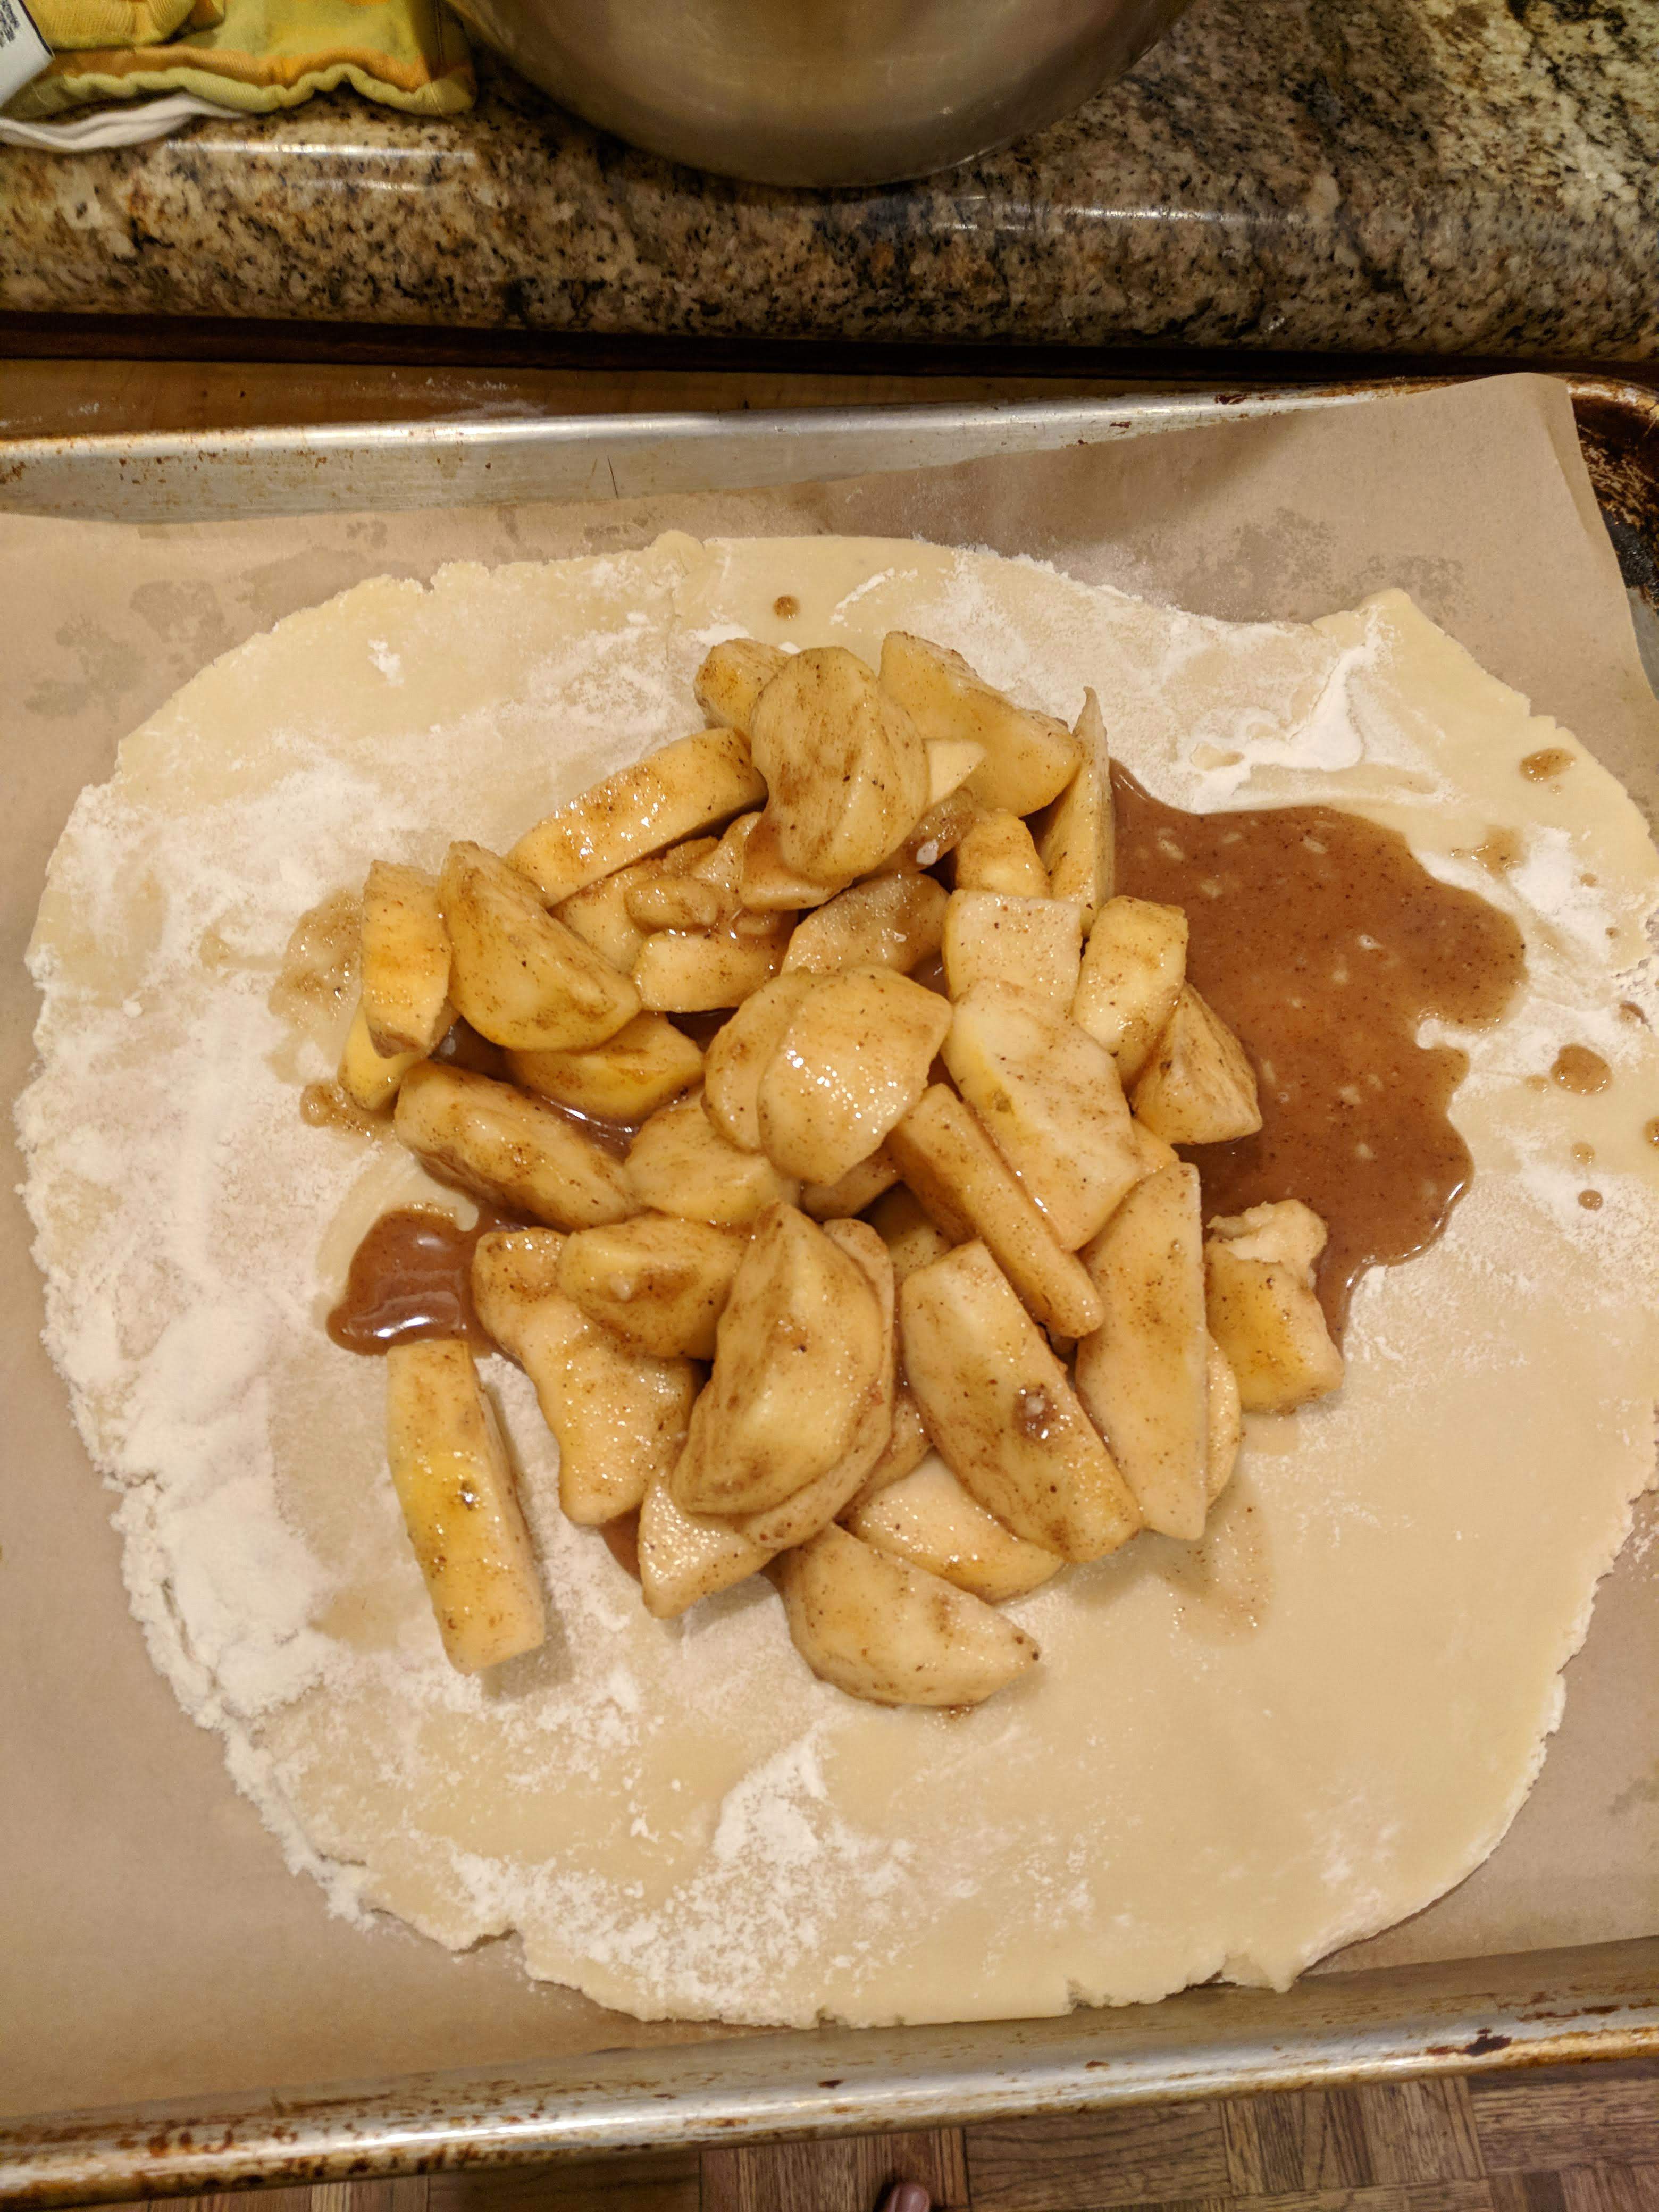
In a large bowl, stir together the sugar, lemon juice, cinnamon, nutmeg, salt and cornstarch. Mix it into a paste, and then toss in the apples until evenly coated. Set aside.
|
|
|
|
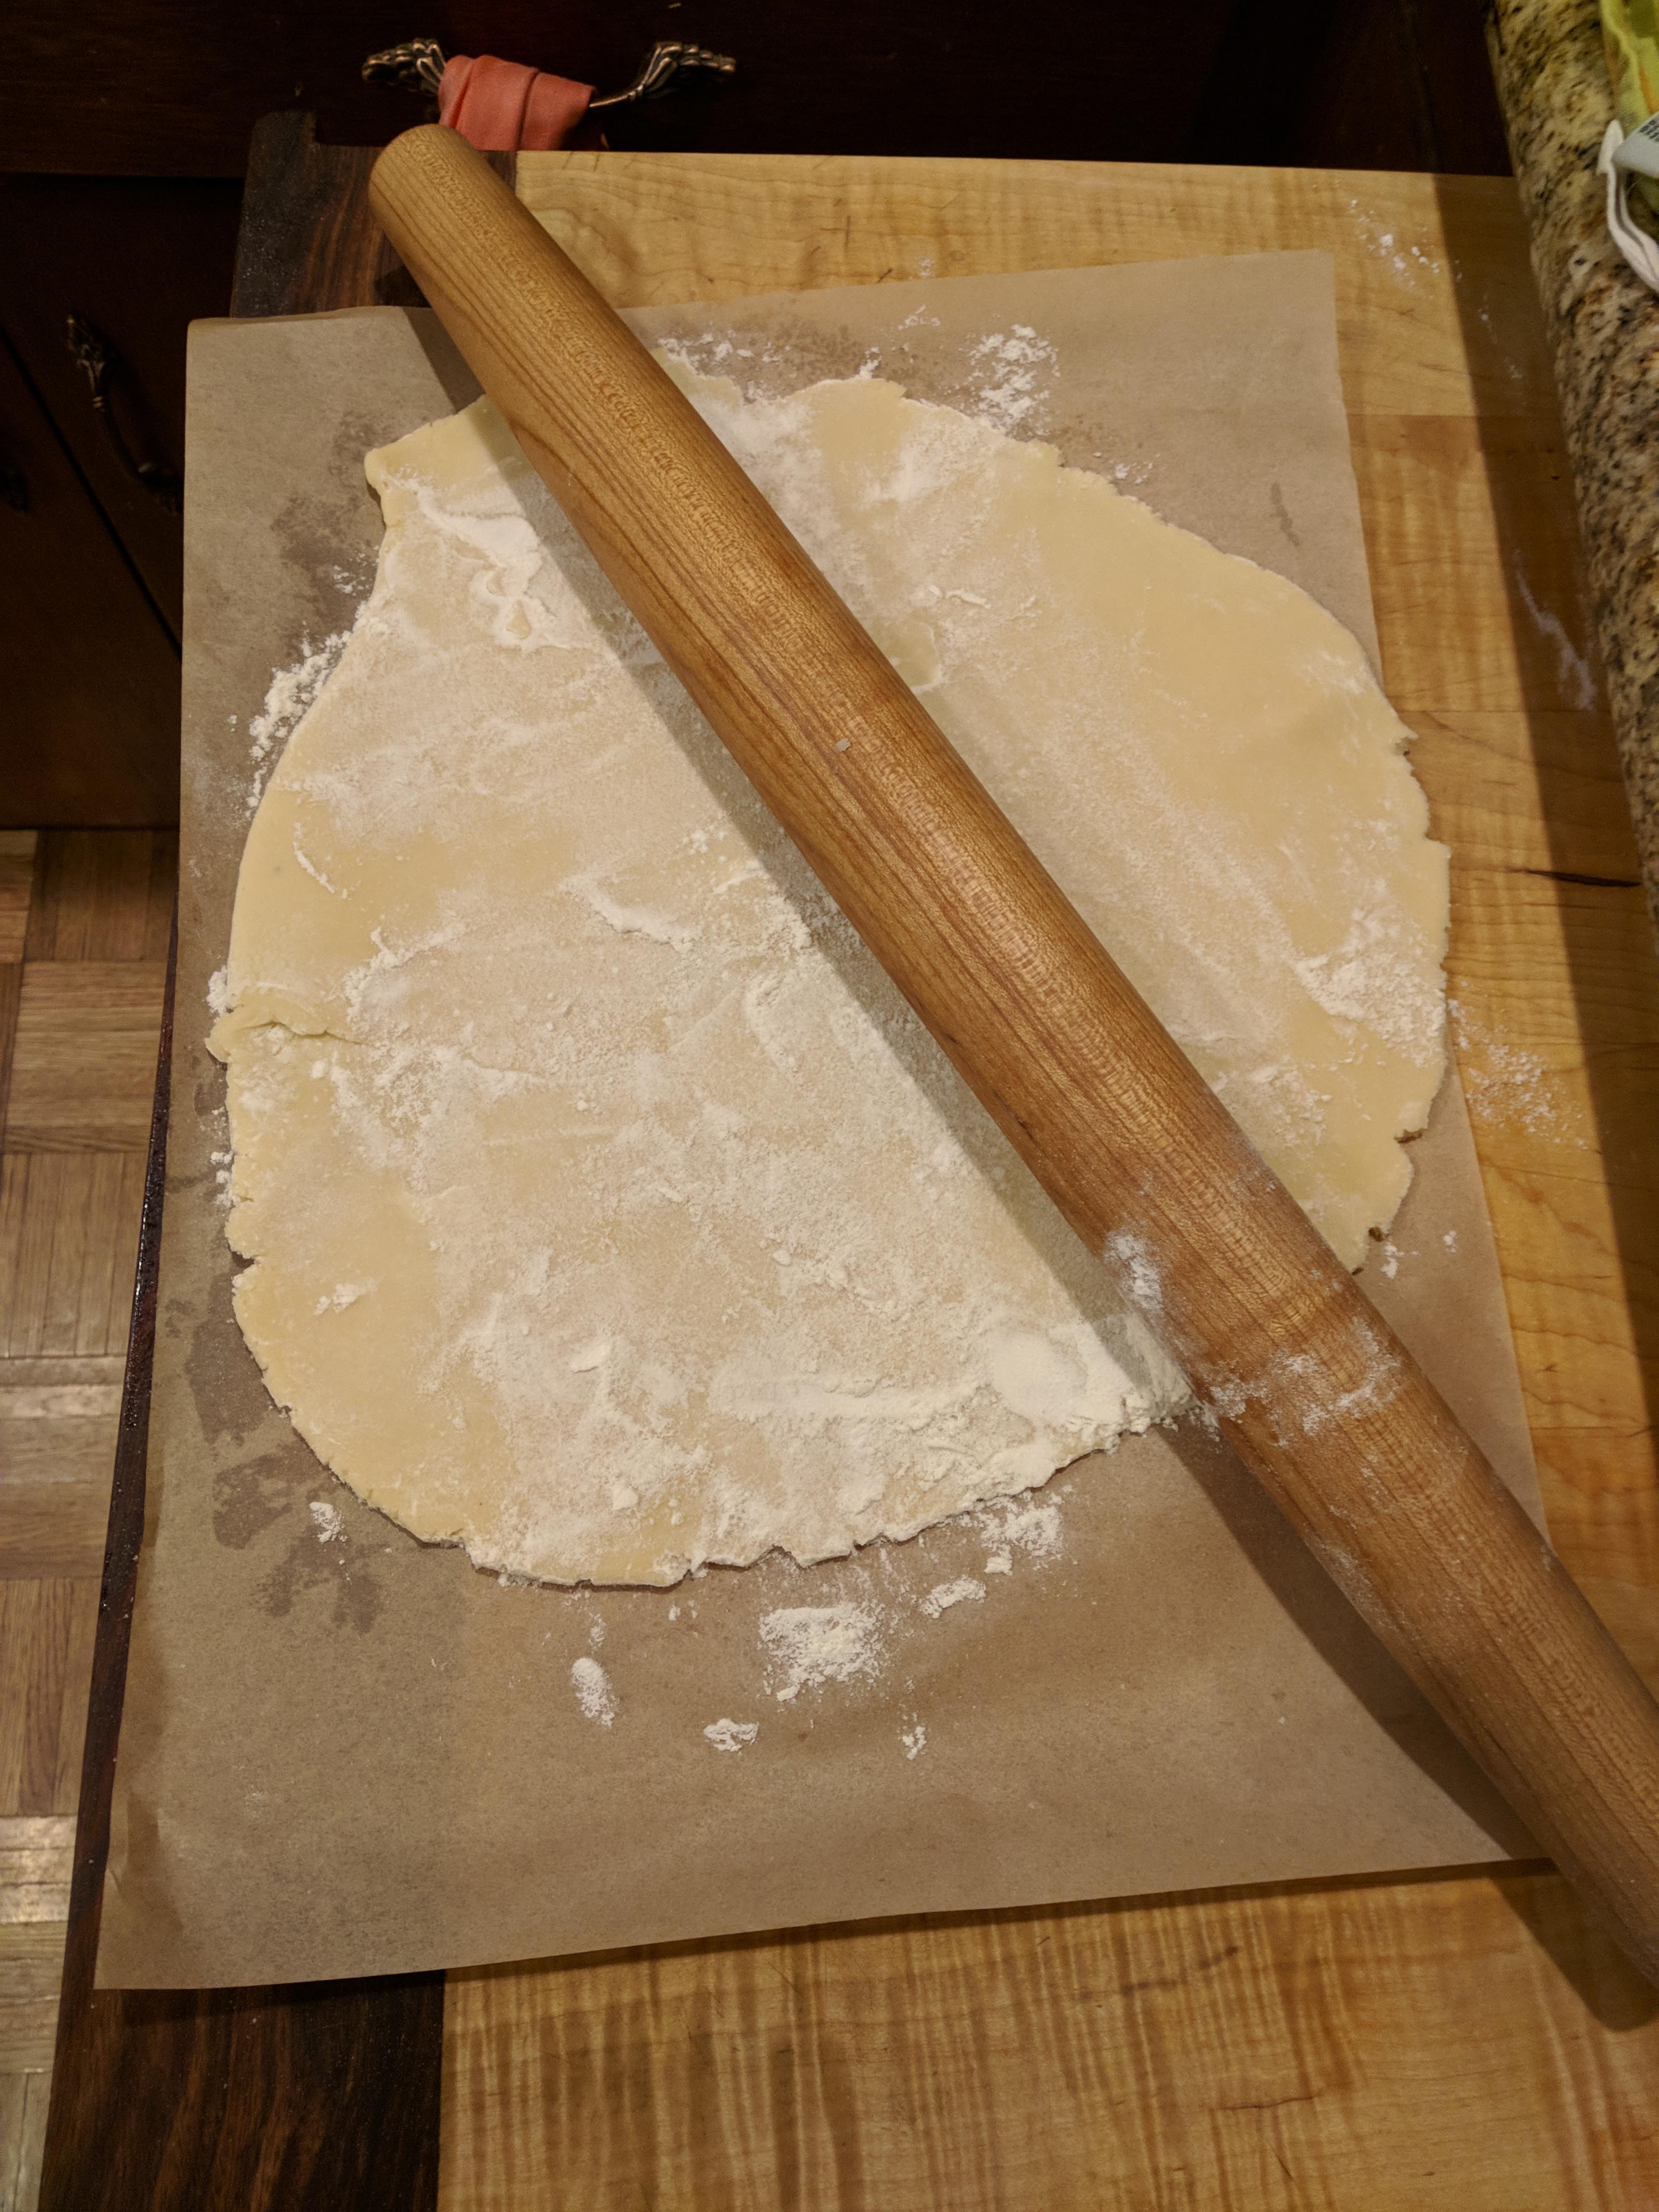
Remove the dough from the refrigerator an place it on a lightly floured cutting board or waxed paper. Roll it out into a loose 12-14 inch round. This is a rustic dessert so it doesn't have to be perfect. Brush off the excess flour. Transfer the dough to the prepared baking sheet. I like using parchment paper.
Arrange the apple filling in the center of the dough, mounding the fruit into a little pyramid and leaving a 2 or 3 inch border. Gently fold up the edges of the dough over the apples, pinching it when necessary to make it hold loosely together.
|
|
|
|

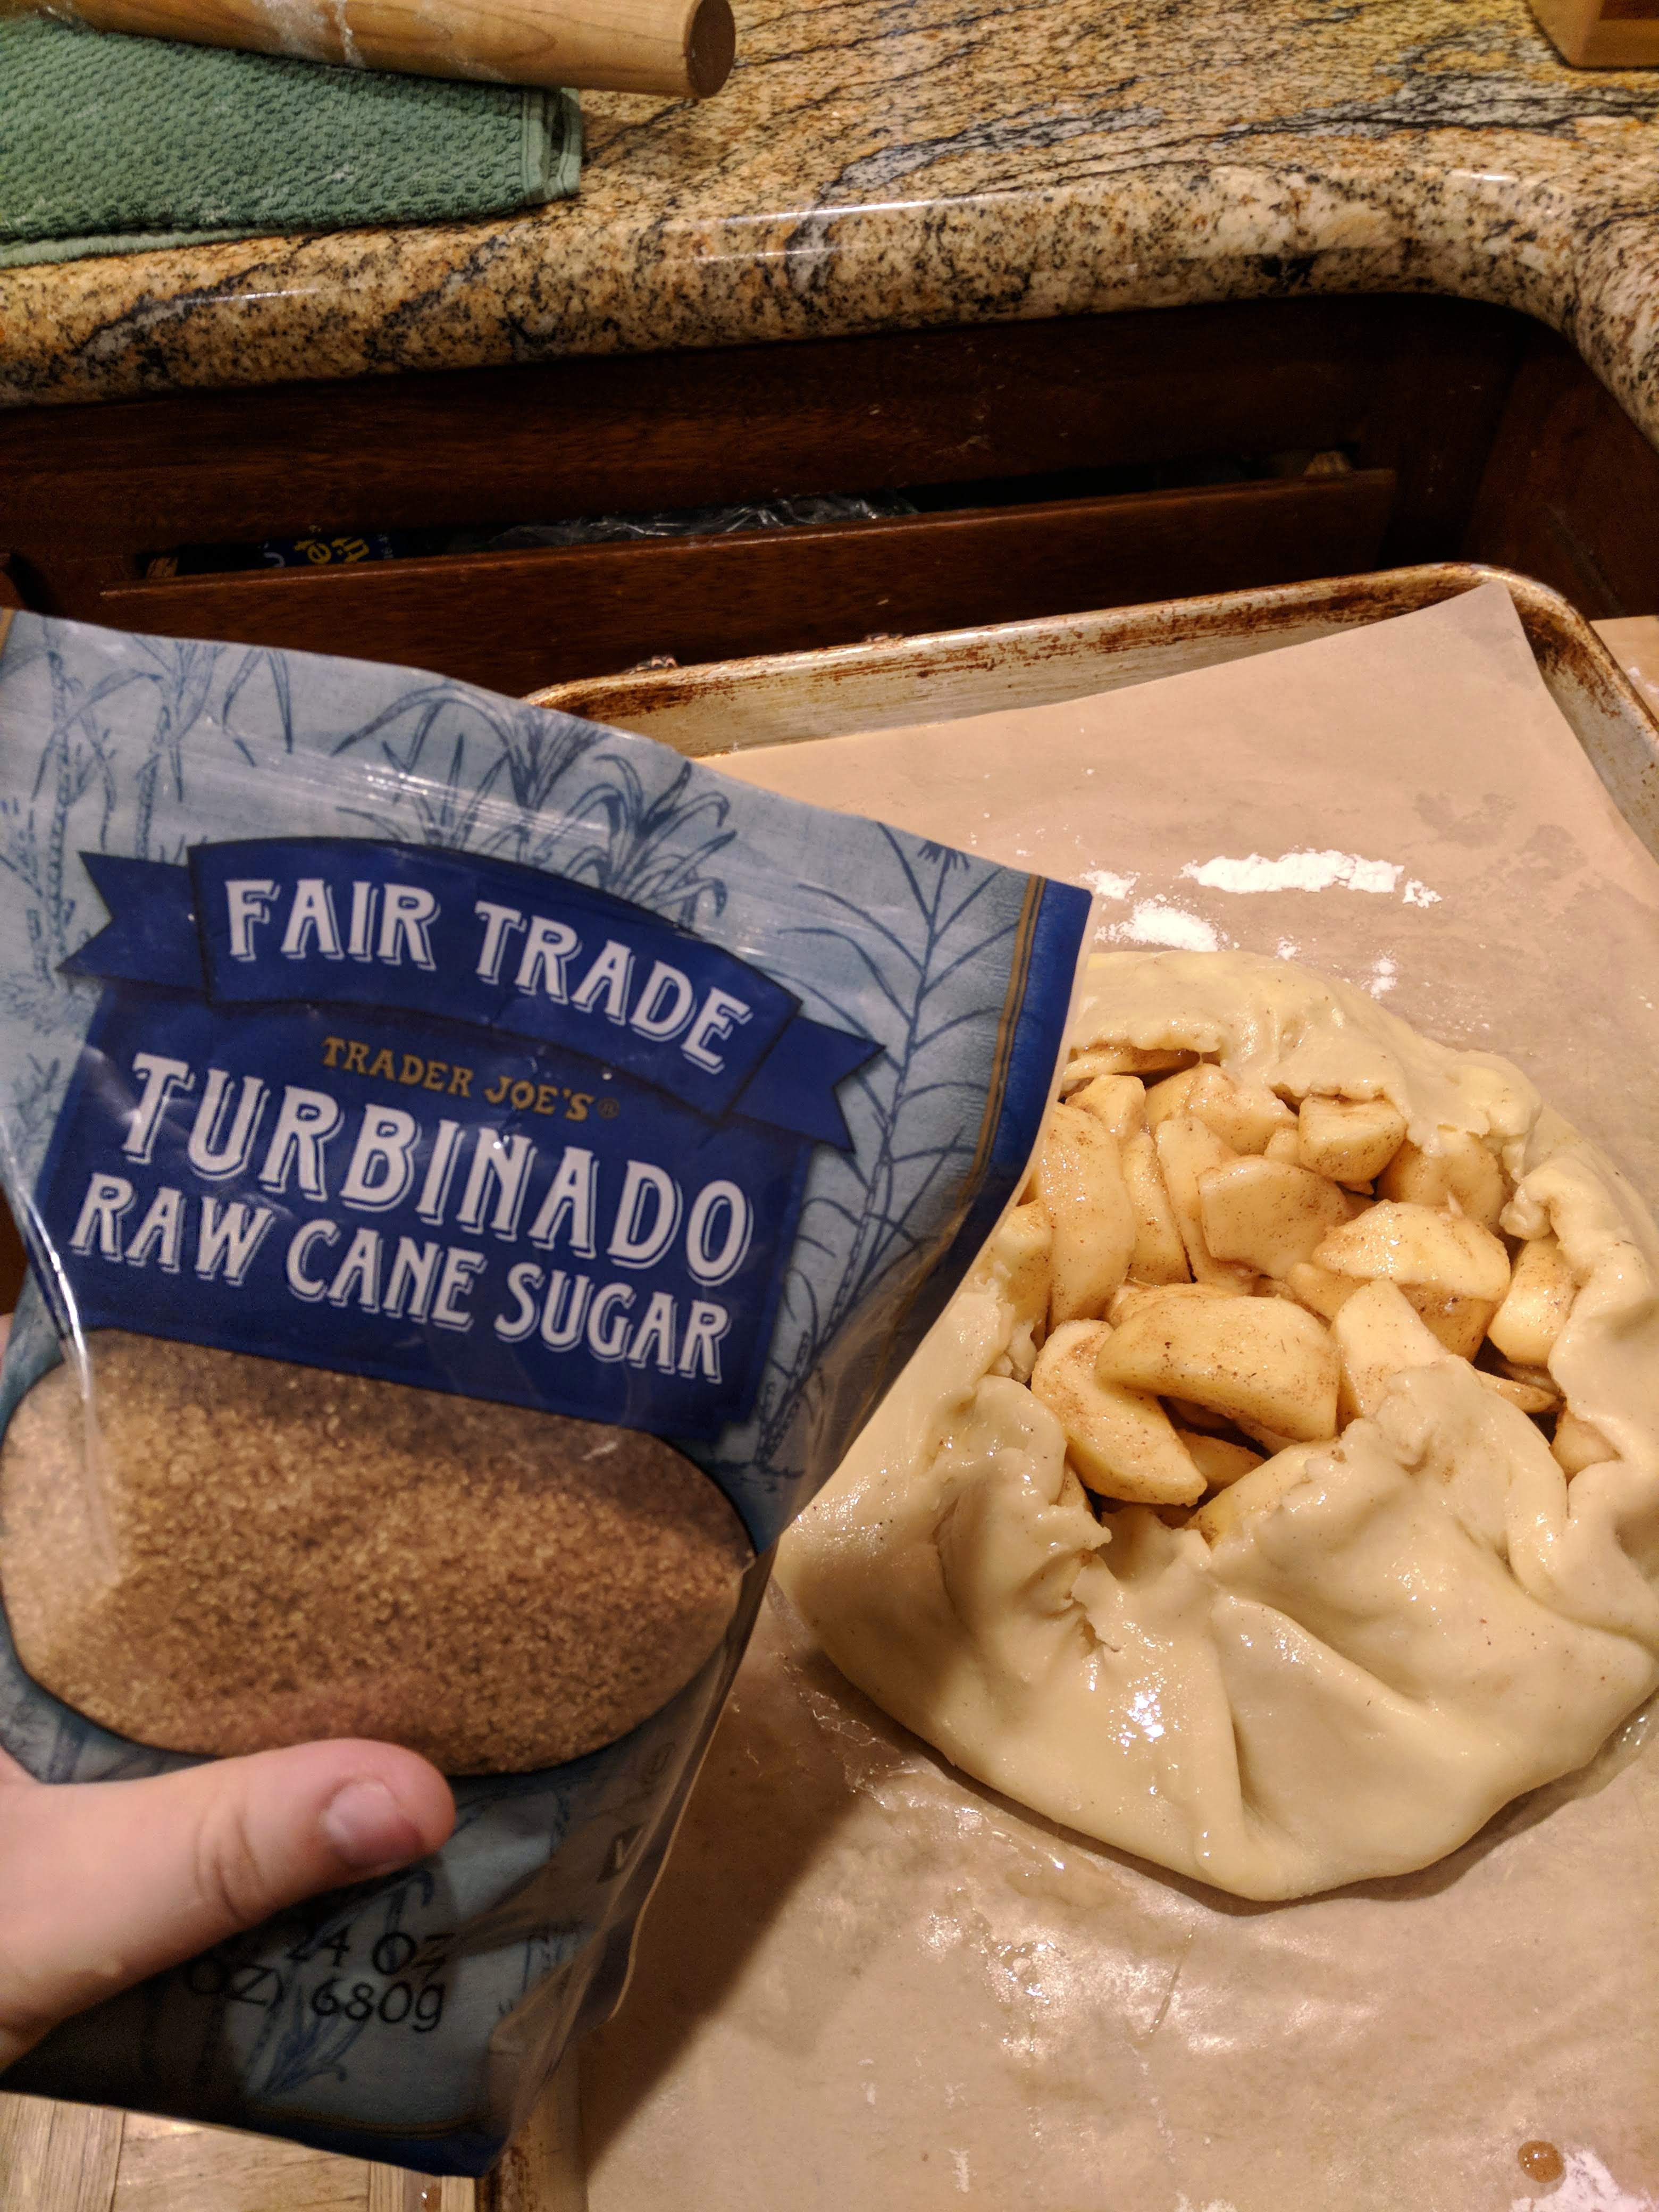
Now for the gross (fun!) part: Brush the dough with the beaten egg. I use my fingers for this process because they work SO much better than a basting brush, but you can do whatever makes you happy. Just try to coat the entire visible dough surface with the beaten egg because this is what makes the pastry its beautiful golden brown color. If you skip this part, you'll have a chalky beige dessert that is quite a bit more rustic looking than you were perhaps hoping for. Still tastes great, but not as pretty.
Lightly sprinkle some sugar over the apples and egg-sticky dough. It will now stick beautifully! If you can find it, use big granules because they're extra gorgeous and will impress your guests.
|
|
|
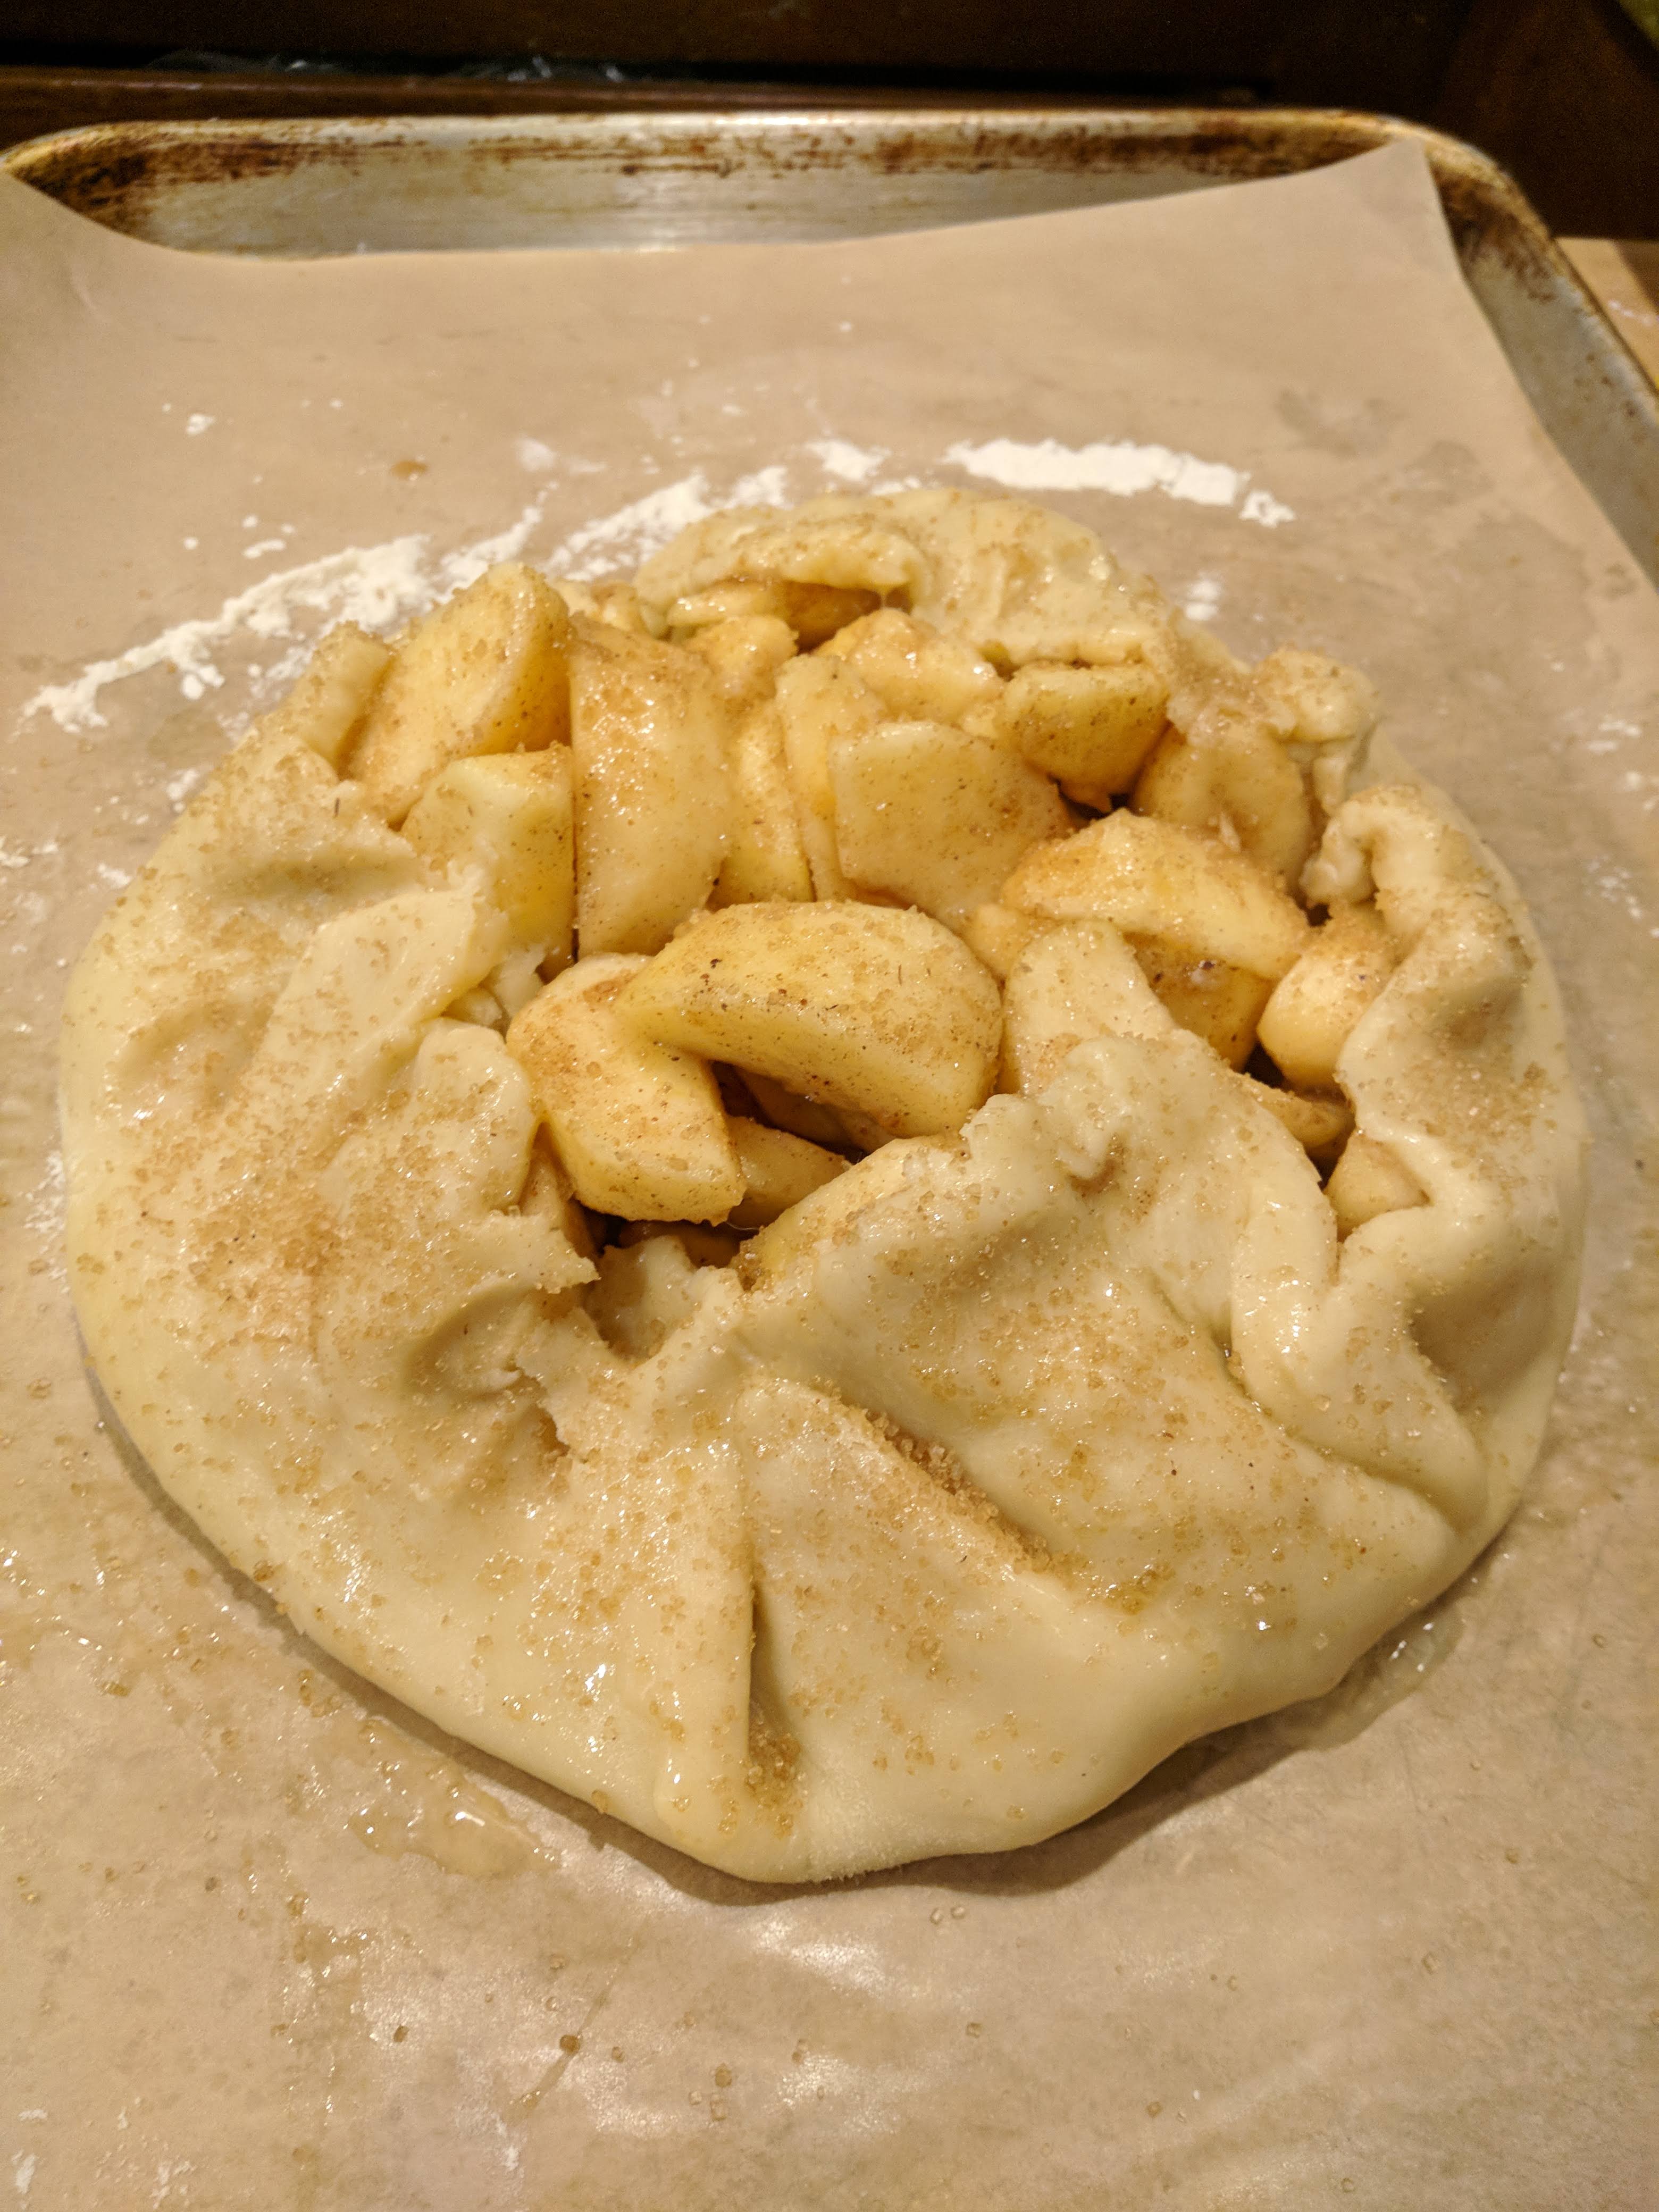
Bake this gorgeous concoction until the crust is golden brown and the apples are tender, about 45 minutes to 1 hour. Check after 30 minutes and put foil over the top, and reduce the temperature to 350° if you see any burning on the apples or crust.
|
|
|
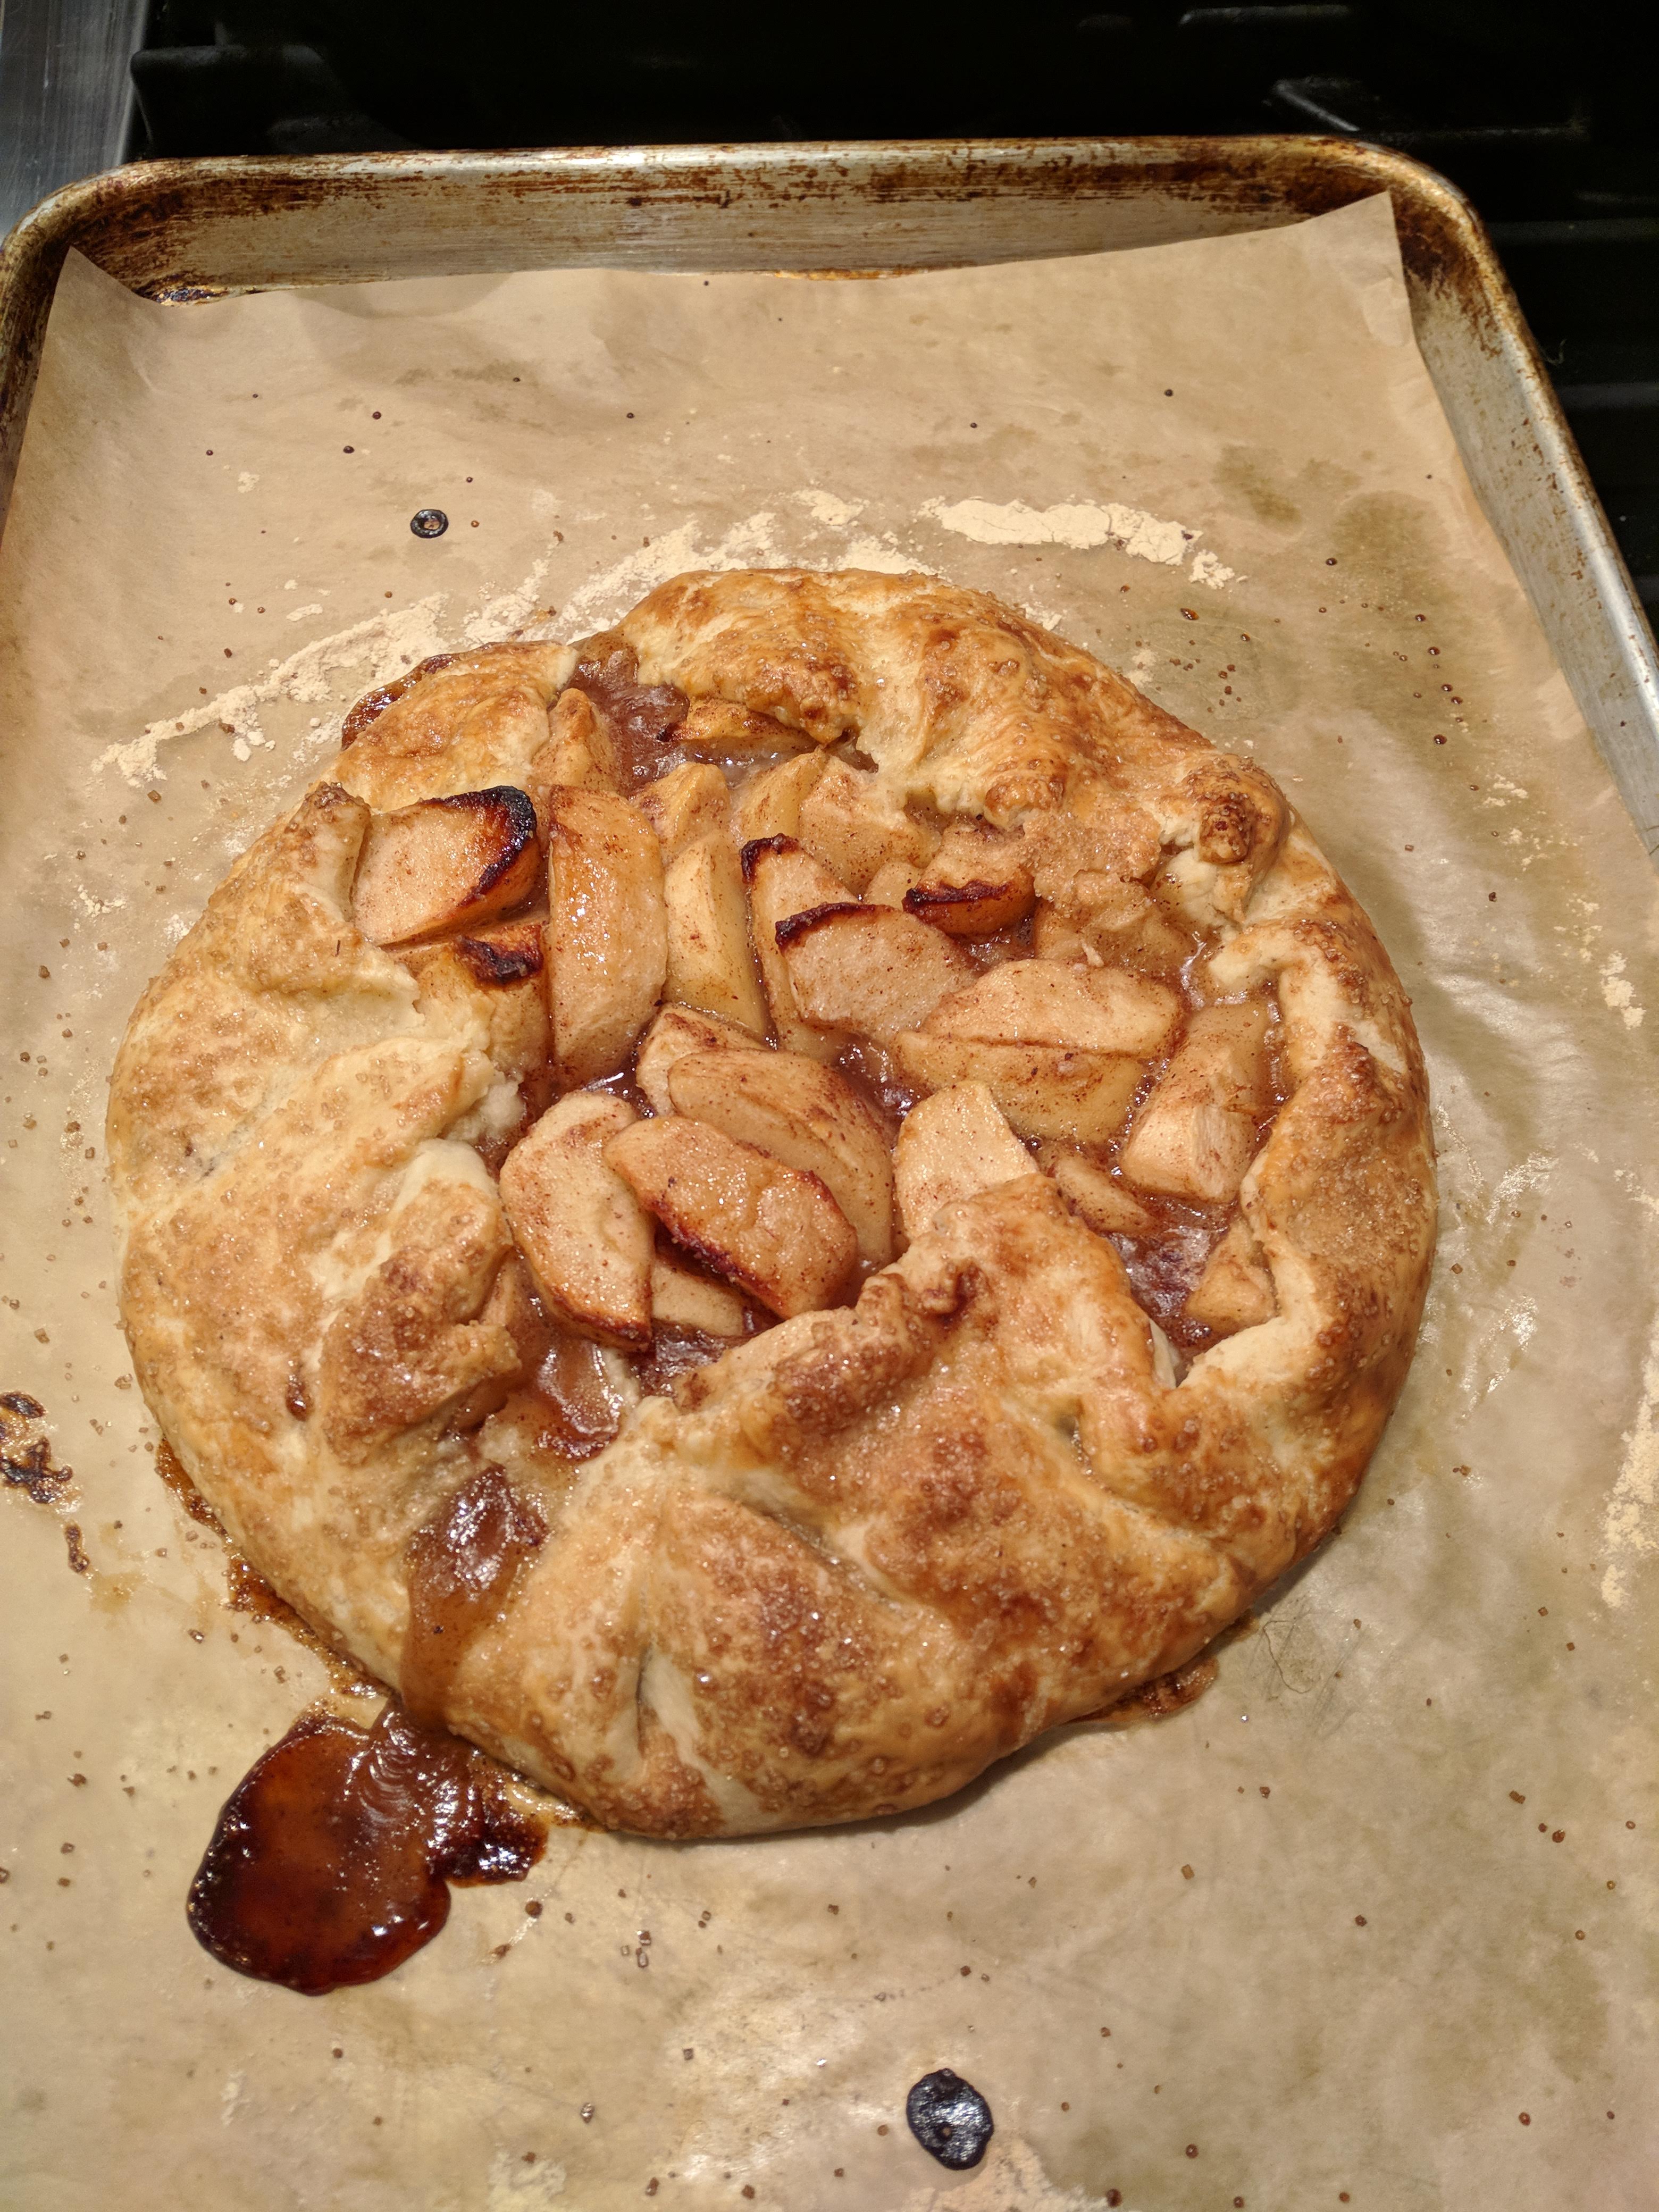
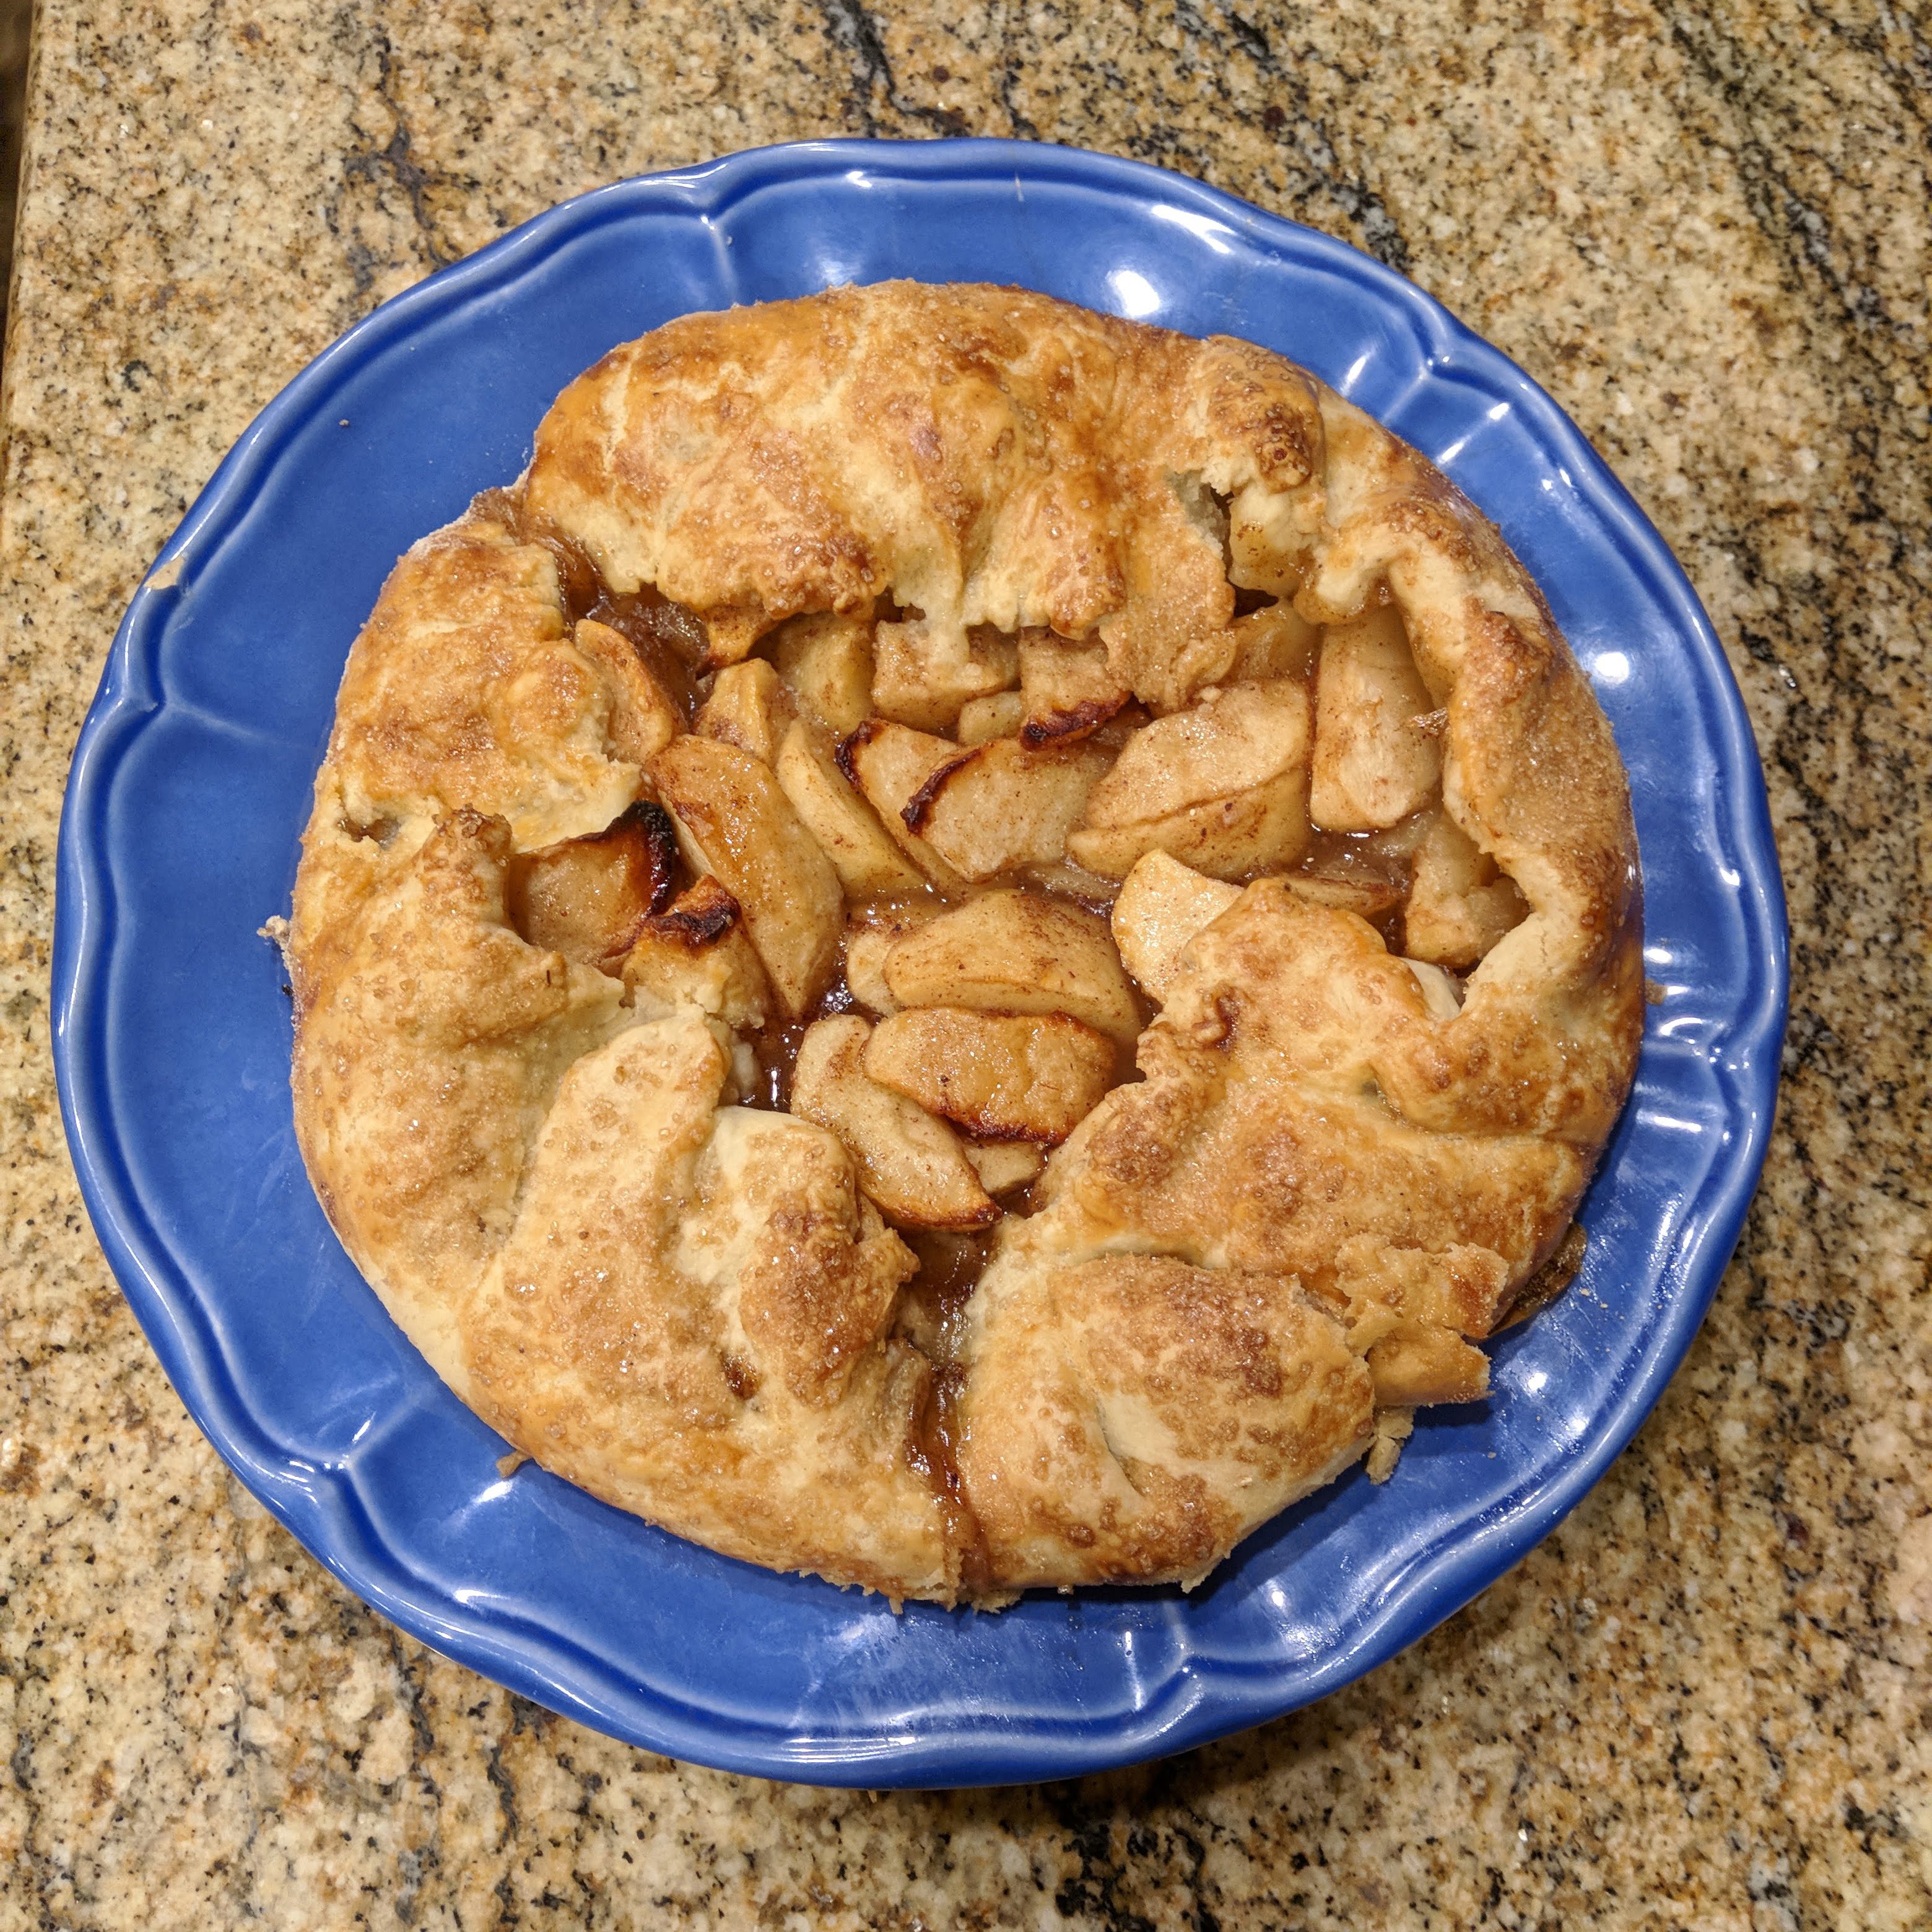
When fully cooked, let the galette cool for up to an hour. I prefer to serve it fresh and warm, but it's easy to reheat if your timing isn't perfect.
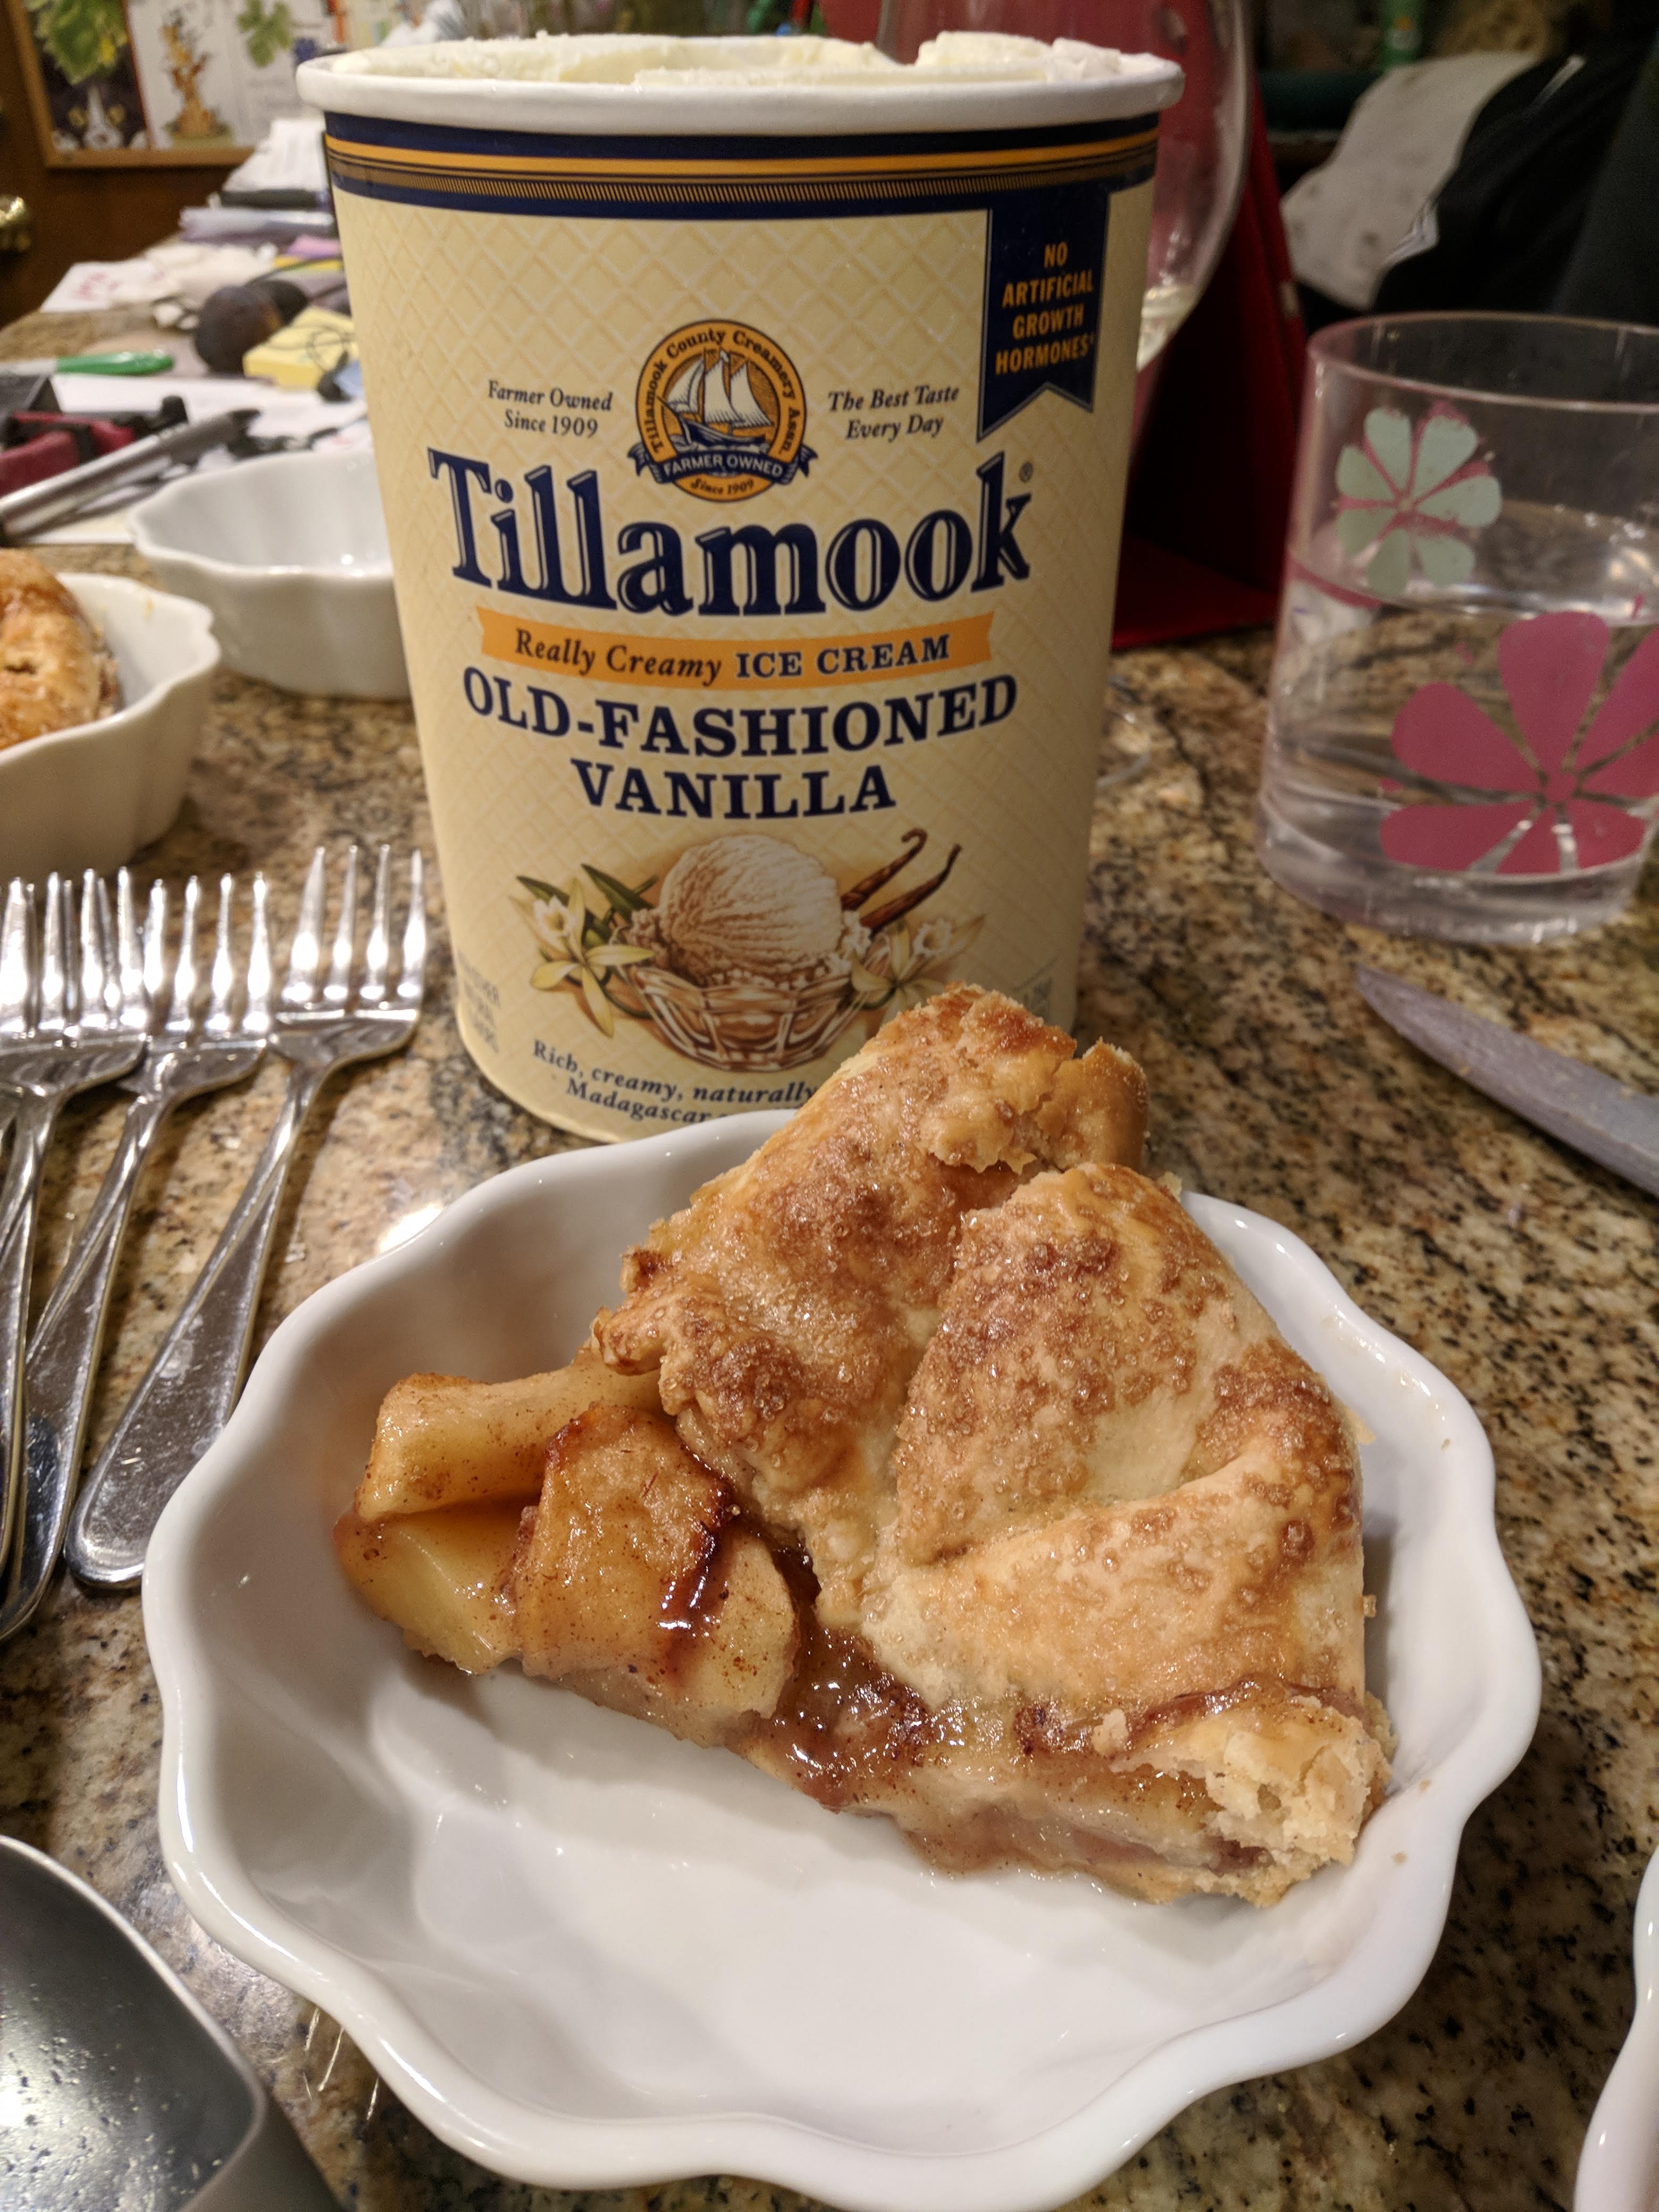
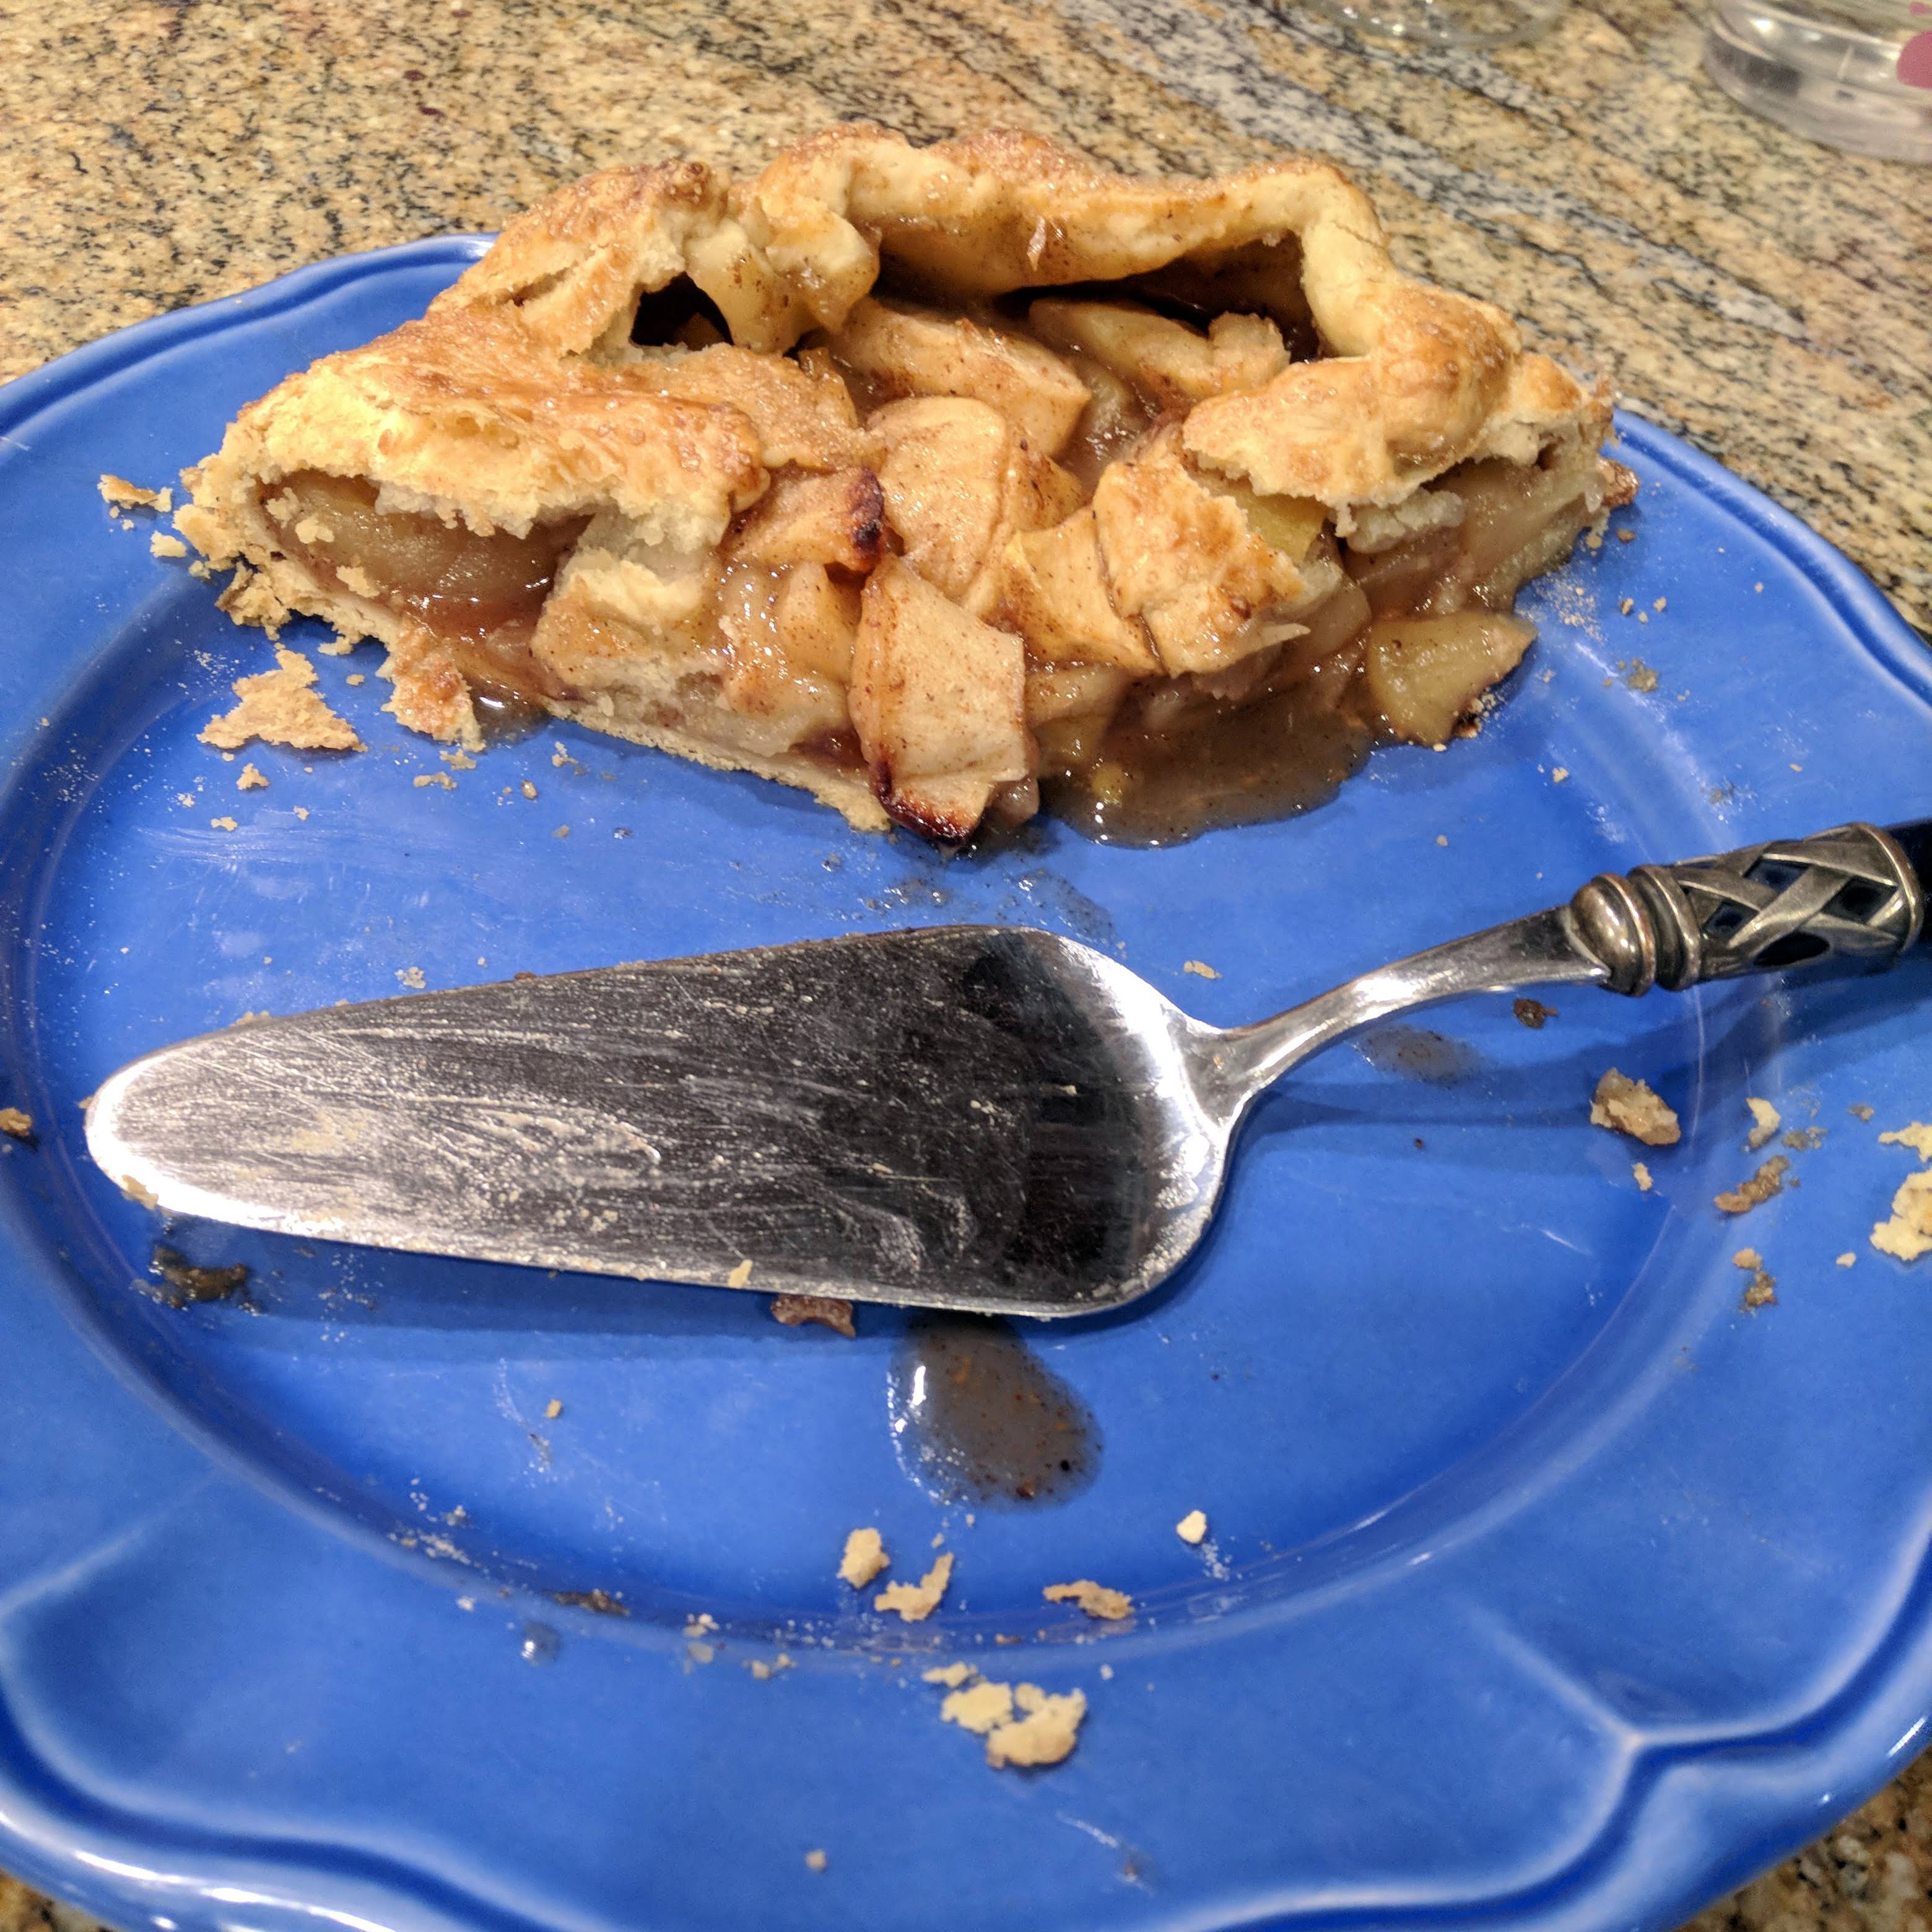
Cut the galette into 8 slices and add a small scoop of vanilla ice cream. (I highly recommend Tillamook ice cream for this purpose, if your local store carries it. They are Dairy Masters, and their vanilla ice cream is heavenly.)
|
|
|
|
Recent Posts
-
How to Choose the Right Chemicals for Your Experiments
IntroductionWhen embarking on scientific experiments, the selectio …22nd Mar 2026 -
Smart Storage Solutions for Your Laboratory Supplies
IntroductionEffective storage solutions in laboratories are not ju …15th Mar 2026 -
What to Look for in a Lab Supply Distributor
In the ever-evolving landscape of laboratory operations, choosing …8th Mar 2026